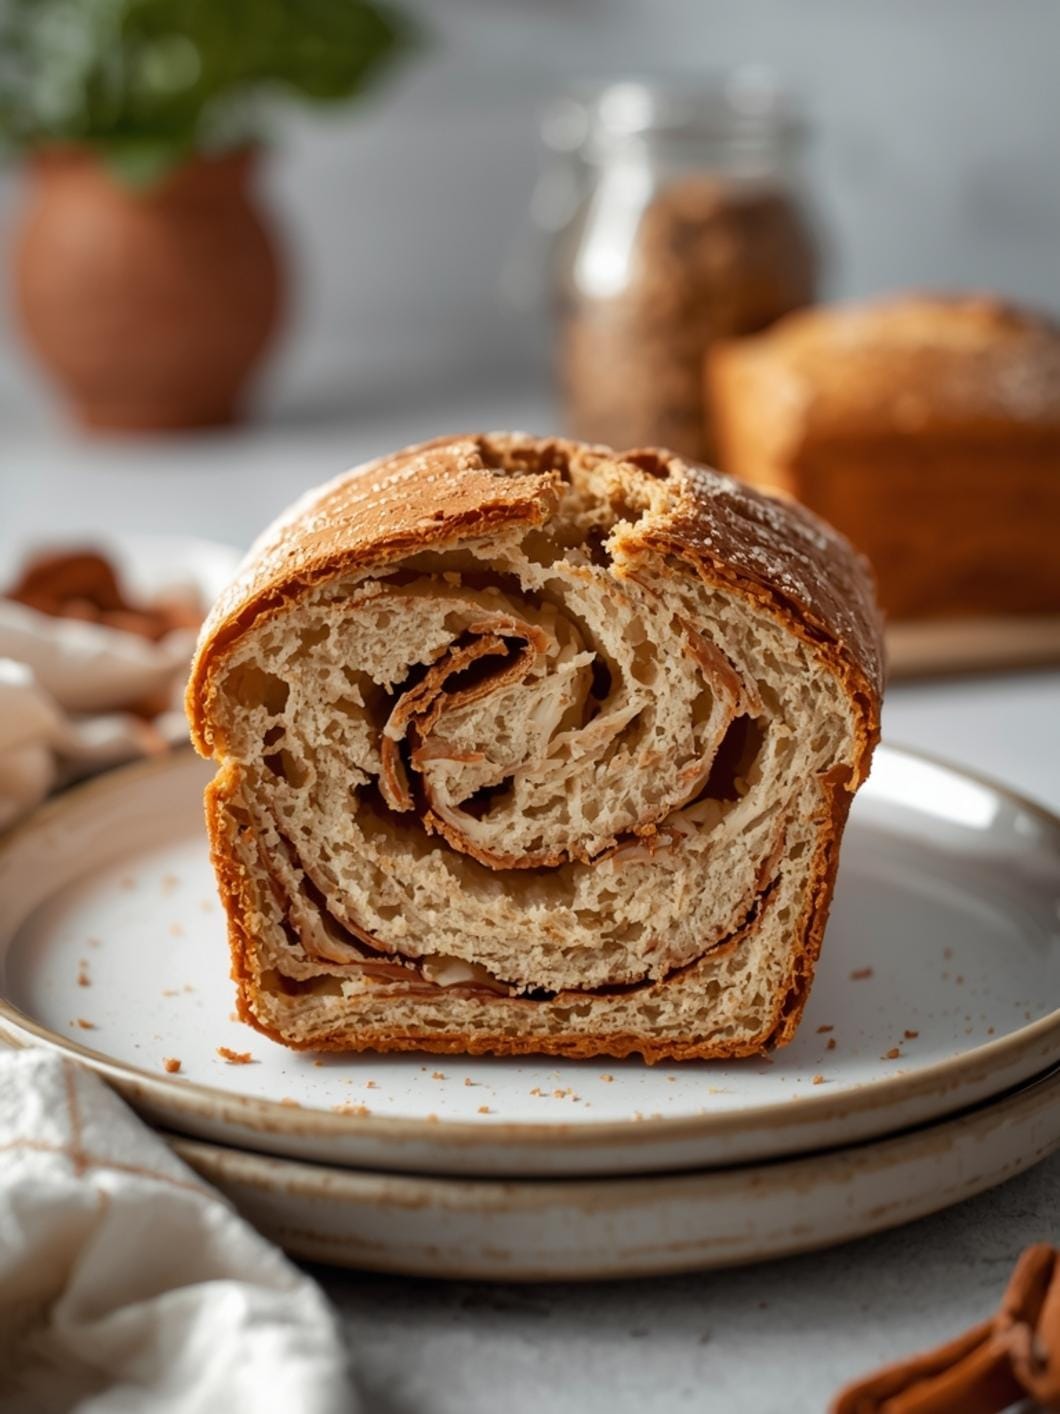
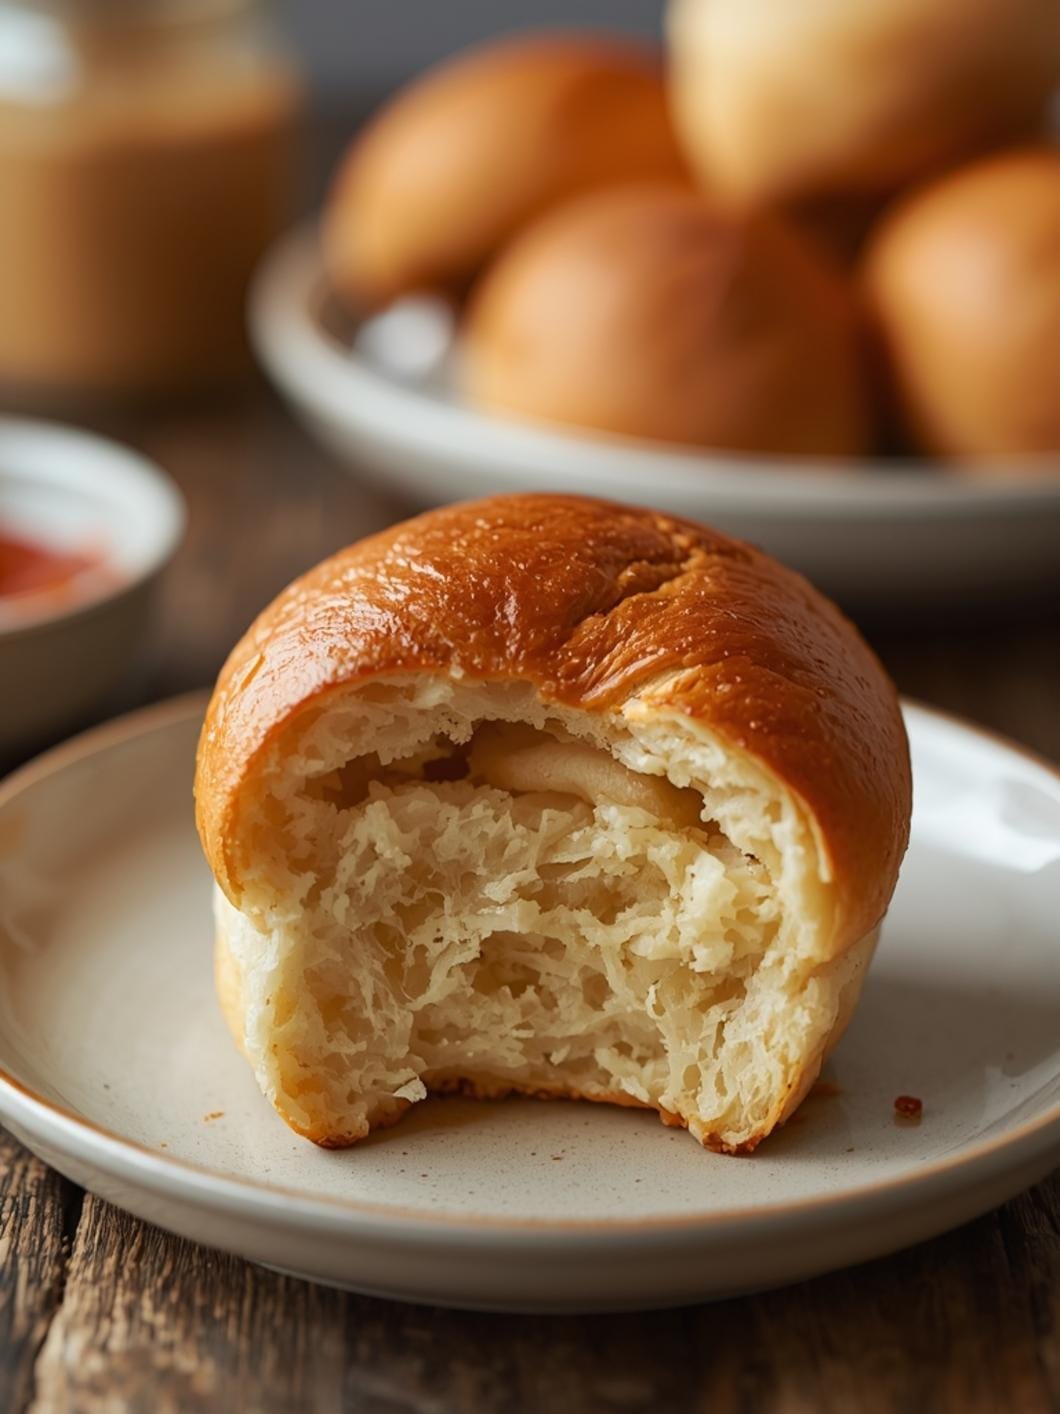
Making delicious homemade sub rolls might sound intimidating, but it’s actually quite simple, especially when you have a reliable recipe. These soft sourdough sub rolls are designed for ease and amazing flavor, perfect for elevating your everyday sandwiches.

Forget store-bought options that can be dry or lack character. This recipe delivers a tender, airy crumb and a slightly chewy crust, making it the ideal vessel for everything from classic deli meats to hearty meatball subs. Get ready to impress your family and friends with these bakery-quality rolls straight from your kitchen.
Table of Contents
- What You’ll Love About This Quick And Easy Recipe
- Everything You Need To Make This Recipe Without Stress
- Time Needed From Start To Finish
- How To Make It Step By Step With Visual Cues
- Easy Variations And Serving Ideas That Fit Real Life
- Common Slip-Ups And How To Avoid Them
- How To Store It And Make It Ahead Without Ruining Texture

Soft Sourdough Sub Rolls
- Total Time: 1 hour 35 minutes to 2 hours 10 minutes
- Yield: 6-8 rolls 1x
Description
These soft sourdough sub rolls are designed for ease and amazing flavor, perfect for elevating your everyday sandwiches. This recipe delivers a tender, airy crumb and a slightly chewy crust, making it the ideal vessel for everything from classic deli meats to hearty meatball subs.
Ingredients
Instructions
1. 1. Activate the Yeast: In a large mixing bowl, combine the warm water, active dry yeast, and granulated sugar. Stir gently and let it sit for 5-10 minutes until the mixture becomes foamy. This foaminess indicates that your yeast is active and ready to work.
2. 2. Combine Wet Ingredients: Add the sourdough starter discard (or your flour and water mixture) and olive oil to the yeast mixture. Stir until well combined.
3. 3. Add Dry Ingredients: Gradually add the all-purpose flour and salt to the wet ingredients. Mix with a wooden spoon or your hands until a shaggy dough forms.
4. 4. Knead the Dough: Turn the dough out onto a lightly floured surface. Knead for 8-10 minutes until the dough is smooth and elastic. It should spring back when gently poked. If using a stand mixer, use the dough hook attachment and knead on medium speed for 6-8 minutes.
5. 5. First Rise (Proofing): Lightly grease a clean bowl with olive oil. Place the dough in the bowl, turning once to coat. Cover the bowl with plastic wrap or a clean kitchen towel and let it rise in a warm place for 60-90 minutes, or until doubled in size. The dough should look puffy and feel light.
6. 6. Shape the Rolls: Gently punch down the risen dough to release the air. Divide the dough into 6-8 equal pieces. On a lightly floured surface, shape each piece into an oblong sub roll shape, about 6-8 inches long. Place the shaped rolls on a baking sheet lined with parchment paper, leaving some space between them.
7. 7. Second Rise: Cover the baking sheet loosely with plastic wrap or a clean kitchen towel and let the rolls rise again for 20-30 minutes, or until noticeably puffy.
8. 8. Bake the Rolls: Preheat your oven to 375 F (190 C). If desired, brush the tops of the rolls with the beaten egg wash and sprinkle with sesame or poppy seeds. Bake for 15-20 minutes, or until golden brown and cooked through. The internal temperature should be around 200-210 F (93-99 C). Let them cool on a wire rack before slicing and serving.
- Prep Time: 20 minutes
- Cook Time: 15-20 minutes
- Category: main dish
- Method: baking
- Cuisine: american
Nutrition
- Serving Size: 1 roll
Keywords: sourdough, sub rolls, sandwich bread, homemade bread, easy bread, dinner rolls, baking, comfort food, lunch, weeknight
What You’ll Love About This Quick And Easy Recipe
This recipe is a game-changer for anyone looking to upgrade their sandwich game without spending hours in the kitchen. It’s perfect for busy parents, beginner bakers, or anyone who appreciates the taste of fresh, homemade bread. The “sourdough” aspect here refers to the flavor profile, achieved through a clever shortcut that gives you that tangy depth without needing a traditional sourdough starter. This means you get incredible flavor with minimal fuss. These rolls are fantastic for weeknight dinners, weekend lunches, or even packing into lunchboxes. They hold up beautifully to various fillings, ensuring your sandwich stays intact and delicious from the first bite to the last.
Everything You Need To Make This Recipe Without Stress
Gathering your ingredients before you start makes the baking process smooth and enjoyable. This recipe uses common pantry staples, so you likely have most of what you need already.
INGREDIENTS:

- 1 cup warm water (105-115°F)
- 2 teaspoons active dry yeast
- 1 tablespoon granulated sugar
- 1 cup unfed sourdough starter discard (or 1/2 cup all-purpose flour + 1/2 cup water mixed)
- 3 cups all-purpose flour, plus more for dusting
- 1 teaspoon salt
- 2 tablespoons olive oil, plus more for greasing
- 1 large egg, beaten (for egg wash, optional)
- Sesame seeds or poppy seeds (optional, for topping)
For the “sourdough starter discard,” if you don’t maintain a sourdough starter, don’t worry! You can easily create a quick substitute by mixing 1/2 cup of all-purpose flour with 1/2 cup of water. This will provide a similar texture and a hint of tanginess without the long fermentation process. For the flour, a good quality unbleached all-purpose flour works wonderfully. You can also experiment with bread flour for an even chewier texture, though it’s not strictly necessary.
Time Needed From Start To Finish
This recipe is surprisingly quick for homemade bread, making it a perfect project for a relaxed afternoon or even a busy weeknight.
- Prep time: 20 minutes
- Proofing time: 60-90 minutes
- Bake time: 15-20 minutes
- Total time: Approximately 1 hour 35 minutes to 2 hours 10 minutes
How To Make It Step By Step With Visual Cues

Follow these simple steps to create perfectly soft and delicious sub rolls. Don’t be afraid to get your hands a little floury – that’s part of the fun!
- Activate the Yeast: In a large mixing bowl, combine the warm water, active dry yeast, and granulated sugar. Stir gently and let it sit for 5-10 minutes until the mixture becomes foamy. This foaminess indicates that your yeast is active and ready to work.
- Combine Wet Ingredients: Add the sourdough starter discard (or your flour and water mixture) and olive oil to the yeast mixture. Stir until well combined.
- Add Dry Ingredients: Gradually add the all-purpose flour and salt to the wet ingredients. Mix with a wooden spoon or your hands until a shaggy dough forms.
- Knead the Dough: Turn the dough out onto a lightly floured surface. Knead for 8-10 minutes until the dough is smooth and elastic. It should spring back when gently poked. If using a stand mixer, use the dough hook attachment and knead on medium speed for 6-8 minutes.
- First Rise (Proofing): Lightly grease a clean bowl with olive oil. Place the dough in the bowl, turning once to coat. Cover the bowl with plastic wrap or a clean kitchen towel and let it rise in a warm place for 60-90 minutes, or until doubled in size. The dough should look puffy and feel light.
- Shape the Rolls: Gently punch down the risen dough to release the air. Divide the dough into 6-8 equal pieces. On a lightly floured surface, shape each piece into an oblong sub roll shape, about 6-8 inches long. Place the shaped rolls on a baking sheet lined with parchment paper, leaving some space between them.
- Second Rise: Cover the baking sheet loosely with plastic wrap or a clean kitchen towel and let the rolls rise again for 20-30 minutes, or until noticeably puffy.
- Bake the Rolls: Preheat your oven to 375°F (190°C). If desired, brush the tops of the rolls with the beaten egg wash and sprinkle with sesame or poppy seeds. Bake for 15-20 minutes, or until golden brown and cooked through. The internal temperature should be around 200-210°F (93-99°C). Let them cool on a wire rack before slicing and serving.
Easy Variations And Serving Ideas That Fit Real Life
These soft sourdough sub rolls are incredibly versatile and can be adapted to suit any meal or preference. For a quick kid-friendly option, slice them open and fill with classic ham and cheese, or mini hot dogs for “pigs in a blanket.” For a heartier meal, they are absolutely perfect for classic meatball subs, Philly cheesesteaks, or chicken parmesan sandwiches.
You can also get creative with toppings before baking. A sprinkle of dried herbs like oregano or Italian seasoning mixed with a little garlic powder can add a wonderful aromatic touch. For a slightly crispier crust, you can spray the rolls with water a couple of times during the first few minutes of baking. These rolls are also fantastic for making garlic bread or even tearing into pieces for a rustic bread salad.
Common Slip-Ups And How To Avoid Them
Even experienced bakers can encounter small challenges, but knowing what to look out for can save you a lot of trouble.
- Not Activating the Yeast Properly: If your water isn’t warm enough, the yeast won’t activate. If it’s too hot, it will kill the yeast. Aim for water that feels like a warm bath (105-115°F). If your yeast mixture doesn’t get foamy after 10 minutes, your yeast might be old or inactive, and it’s best to start over with fresh yeast.
- Over-flouring the Dough: Adding too much flour can make your rolls dense and dry. Only add enough flour during kneading to prevent sticking. The dough should still be slightly tacky, not stiff.
- Not Kneading Enough: Under-kneading results in a weak gluten structure, leading to flat, crumbly rolls. Knead until the dough is smooth and elastic, passing the “windowpane test” (where a small piece of dough can be stretched thin enough to see light through it without tearing).
- Improper Proofing: If your dough doesn’t double in size during the first rise, it won’t be as airy. Ensure your rising environment is warm enough (around 70-75°F). Conversely, over-proofing can lead to a yeasty flavor and a deflated dough. Watch for the visual cue of doubling in size rather than strictly adhering to a time limit.
- Over-baking: Baking too long will dry out your rolls. Keep an eye on them and remove them from the oven once they are golden brown and sound hollow when tapped on the bottom. Using an instant-read thermometer to check for an internal temperature of 200-210°F is the most accurate way to ensure they are perfectly baked.
How To Store It And Make It Ahead Without Ruining Texture
These homemade sub rolls are best enjoyed fresh, but they can be stored and even made ahead with great results.
Storage: Once completely cooled, store the rolls in an airtight container or a large zip-top bag at room temperature for up to 2-3 days. To keep them fresh longer, you can freeze them.
Freezing: Wrap individual cooled rolls tightly in plastic wrap, then place them in a freezer-safe bag. They can be frozen for up to 2-3 months. To reheat from frozen, simply unwrap and bake in a preheated 350°F (175°C) oven for 10-15 minutes, or until warmed through and soft. You can also thaw them at room temperature and then warm them briefly in the oven.
Make Ahead: You can prepare the dough up to the end of the first rise. After punching down the dough, shape the rolls and place them on a parchment-lined baking sheet. Cover tightly with plastic wrap and refrigerate overnight (up to 12-18 hours). The next day,

FAQs
- Can I make these ahead? Yes—prep ahead, refrigerate, then serve when ready.
- How long do leftovers last? Store covered in the fridge for 3–4 days for best texture.
- Can I adjust sweetness? Yes—add more or less sweetener to taste.
- Can I change the fruit? Yes—swap strawberries for blueberries, raspberries, or sliced banana.