Unlocking the secrets to perfect sourdough bagels doesn’t have to be complicated.

This essential hydration chart is designed specifically for beginners, guiding you through the ideal ratios to achieve amazing results every time. Forget the guesswork and dive into the satisfying world of homemade sourdough with confidence.
This guide simplifies the foundational aspects of sourdough baking, making it incredibly easy to create delicious, artisan-quality bagels right in your own kitchen. We’ll break down the details, ensuring your journey into sourdough bread is both enjoyable and successful.
Table of Contents
- What You’ll Love About This Quick And Easy Recipe
- Everything You Need To Make This Recipe Without Stress
- Time Needed From Start To Finish
- How To Make It Step By Step With Visual Cues
- Easy Variations And Serving Ideas That Fit Real Life
- Common Slip-Ups And How To Avoid Them
- How To Store It And Make It Ahead Without Ruining Texture
- Questions People Always Ask Before Making This Recipe

Sourdough Bagel Hydration Chart Guide
- Total Time: 25-35 minutes
- Yield: 1 batch of dough
Description
This guide simplifies the foundational aspects of sourdough baking, making it incredibly easy to create delicious, artisan-quality bagels right in your own kitchen. It focuses on understanding and applying hydration principles for perfect sourdough bagel dough.
Ingredients
Instructions
1. Understand the Basics of Hydration: Hydration in baking refers to the ratio of water to flour in your dough. It’s often expressed as a percentage, where the weight of water is divided by the weight of flour, then multiplied by 100. For example, if you have 100g of flour and 60g of water, your hydration is 60%.
2. Factor in Your Sourdough Starter: Your sourdough starter itself contains both flour and water (typically a 100% hydration starter has equal parts flour and water). When calculating total hydration for your dough, you must account for the flour and water contributed by the starter.
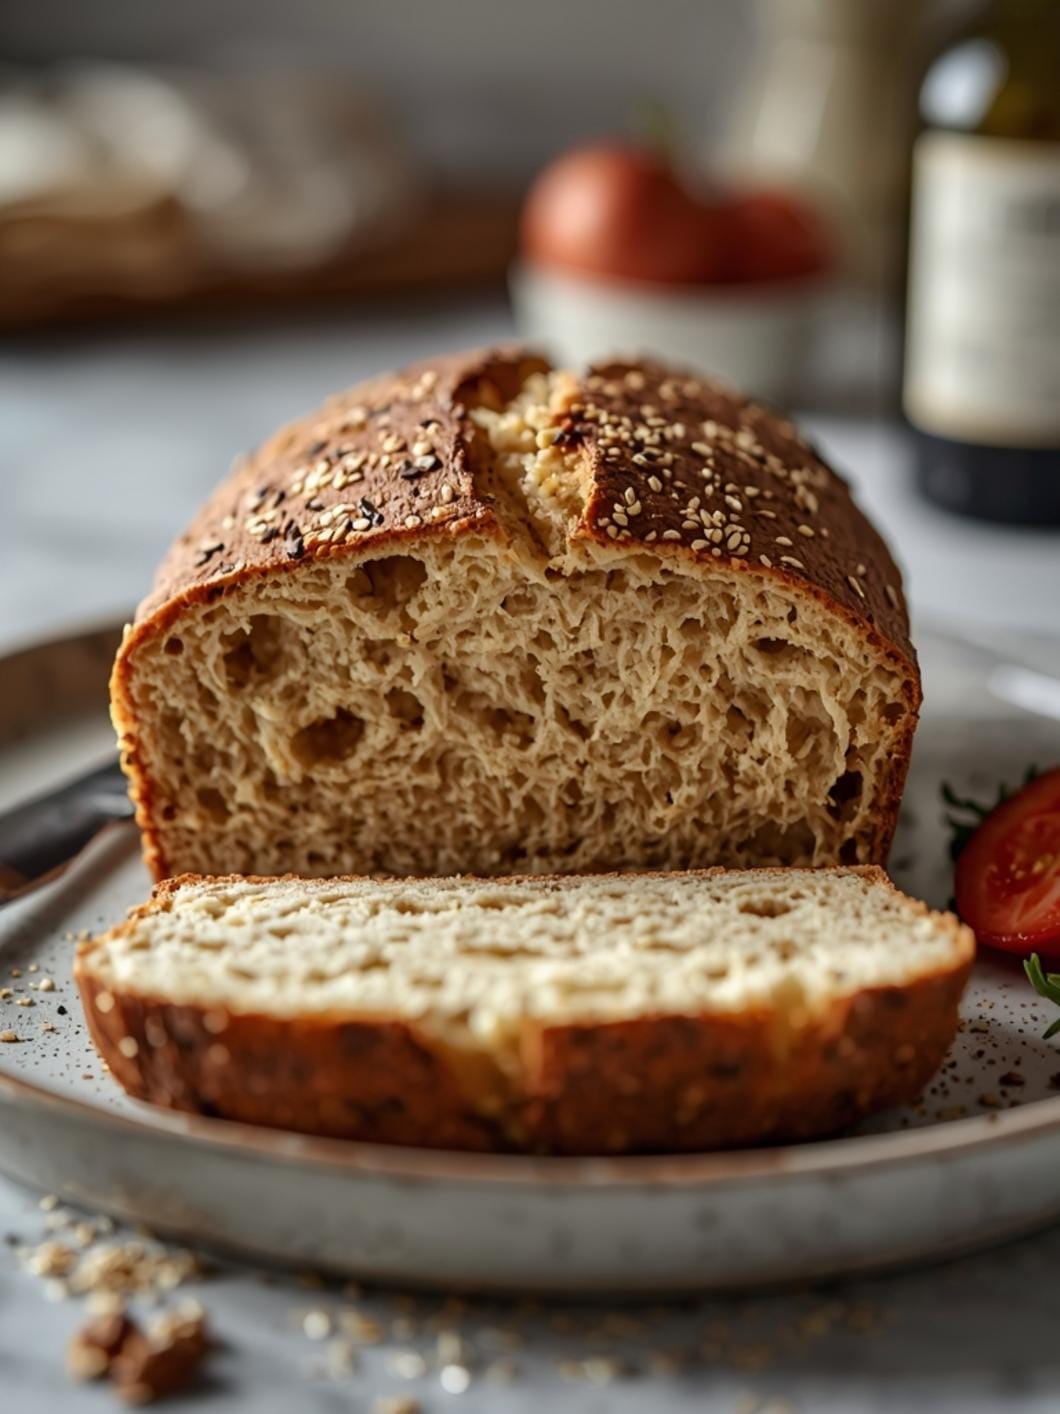
3. Consult the Hydration Chart for Bagels: A typical sourdough bagel dough has a lower hydration than many sourdough breads, usually ranging from 50% to 58%. This lower hydration is key to achieving that dense, chewy texture. The chart will provide specific weight ratios for flour, water, and starter to hit these percentages.
4. Calculate Your Dough’s Total Hydration: Using the chart, select your desired hydration percentage. Then, calculate the total flour and total water from both your main recipe ingredients and your starter. For instance, if your recipe calls for 500g bread flour, 250g water, and 100g of 100% hydration starter (which is 50g flour + 50g water), your total flour is 550g and total water is 300g. Your hydration would be (300/550) * 100 = ~54.5%.
5. Adjust Water or Flour to Meet Desired Hydration: If your initial calculation doesn’t match your target hydration from the chart, adjust either the water or flour incrementally. For a stiffer dough, reduce water or increase flour. For a slightly softer dough, increase water or reduce flour. Always make small adjustments.
6. Observe Your Dough’s Consistency: As you mix your dough, pay attention to its feel. A lower hydration bagel dough will be quite stiff and firm, not sticky. It should hold its shape well. This visual and tactile cue is crucial for confirming you’ve hit the right hydration.
- Prep Time: 10-15 minutes
- Cook Time: 0 minutes
- Category: baking
- Method: baking
- Cuisine: american
Nutrition
- Serving Size: 1 bagel
Keywords: sourdough, bagels, hydration, baking, starter, dough, homemade, bread, chewy, artisan
What You’ll Love About This Quick And Easy Recipe
This hydration chart is a game-changer for anyone new to sourdough baking, especially when it comes to bagels. You’ll love its straightforward approach, which demystifies the often-intimidating world of sourdough ratios. It works because it provides clear, actionable guidance, removing the common beginner’s fear of “getting it wrong.” This guide is perfect for home bakers who want to elevate their breakfast or brunch game, or simply enjoy the satisfaction of baking from scratch without needing years of experience. Serve these perfect sourdough bagels at family breakfasts, weekend brunches, or even as a sophisticated base for your favorite sandwiches. They’re sure to impress with their chewy texture and classic sourdough tang.
Everything You Need To Make This Recipe Without Stress
This section focuses on understanding the core components of sourdough bagel dough hydration. We’re not listing ingredients for a specific recipe here, but rather the fundamental elements that dictate hydration levels in any sourdough bagel dough. Think of these as the building blocks for your perfect bagel.
INGREDIENTS:

- Sourdough starter (active and fed)
- Bread flour (high protein content is ideal)
- Water (filtered, room temperature)
- Salt (fine sea salt or kosher salt)
- Malt syrup or barley malt (optional, for flavor and crust)
When it comes to your sourdough starter, ensure it’s active and bubbly, having been fed 4-12 hours prior to mixing. For flour, bread flour is highly recommended due to its higher protein content, which develops strong gluten for that characteristic bagel chew. While specific brands aren’t necessary, look for unbleached bread flour. Filtered water is always best to avoid any chemicals that might interfere with your starter’s activity. Salt is crucial for flavor and controlling fermentation, and malt syrup adds a subtle sweetness and helps with browning and crust development, though it can be omitted if unavailable.
Time Needed From Start To Finish
- Preparation Time (for understanding the chart): 10-15 minutes
- Application Time (for mixing dough based on chart): 15-20 minutes
- Total Time (for initial understanding and mixing): 25-35 minutes
This time estimate focuses on the initial learning and dough mixing phase, not the entire sourdough bagel process which includes bulk fermentation, shaping, proofing, and baking. This chart equips you for the crucial first step.
How To Make It Step By Step With Visual Cues

This guide focuses on understanding the hydration chart itself, which is the foundational step for making sourdough bagels. The “steps” here are about interpreting and applying the chart to your dough.
- Understand the Basics of Hydration: Hydration in baking refers to the ratio of water to flour in your dough. It’s often expressed as a percentage, where the weight of water is divided by the weight of flour, then multiplied by 100. For example, if you have 100g of flour and 60g of water, your hydration is 60%.
- Factor in Your Sourdough Starter: Your sourdough starter itself contains both flour and water (typically a 100% hydration starter has equal parts flour and water). When calculating total hydration for your dough, you must account for the flour and water contributed by the starter.
- Consult the Hydration Chart for Bagels: A typical sourdough bagel dough has a lower hydration than many sourdough breads, usually ranging from 50% to 58%. This lower hydration is key to achieving that dense, chewy texture. The chart will provide specific weight ratios for flour, water, and starter to hit these percentages.
- Calculate Your Dough’s Total Hydration: Using the chart, select your desired hydration percentage. Then, calculate the total flour and total water from both your main recipe ingredients and your starter. For instance, if your recipe calls for 500g bread flour, 250g water, and 100g of 100% hydration starter (which is 50g flour + 50g water), your total flour is 550g and total water is 300g. Your hydration would be (300/550) * 100 = ~54.5%.
- Adjust Water or Flour to Meet Desired Hydration: If your initial calculation doesn’t match your target hydration from the chart, adjust either the water or flour incrementally. For a stiffer dough, reduce water or increase flour. For a slightly softer dough, increase water or reduce flour. Always make small adjustments.
- Observe Your Dough’s Consistency: As you mix your dough, pay attention to its feel. A lower hydration bagel dough will be quite stiff and firm, not sticky. It should hold its shape well. This visual and tactile cue is crucial for confirming you’ve hit the right hydration.
Easy Variations And Serving Ideas That Fit Real Life
While this guide focuses on the hydration chart for plain sourdough bagels, the beauty of having a perfectly hydrated dough means you can easily customize them. For kid-friendly options, once baked and cooled, slice them open and spread with cream cheese and sprinkles, or peanut butter and banana slices. For a more adult palate, toast and top with smoked salmon, capers, and dill, or a simple avocado smash with everything bagel seasoning.
You can also incorporate mix-ins during the final stages of dough mixing. Think about adding dried cranberries and walnuts for a sweet-savory twist, or shredded cheddar cheese and jalapeños for a spicy kick. For party or buffet serving, mini bagels made from the same dough are always a hit, served with a variety of cream cheese spreads or dips like hummus. Don’t forget the classic butter and jam for a simple, satisfying treat.
Common Slip-Ups And How To Avoid Them
One of the most common slip-ups when working with sourdough bagel dough hydration is miscalculating the water and flour contributed by your sourdough starter. Beginners often forget to account for this, leading to dough that is either too wet or too dry. To avoid this, always break down your starter into its component flour and water weights before calculating total hydration.
Another common mistake is not accurately weighing ingredients. Baking, especially sourdough, is a science, and small inaccuracies in measuring water or flour can significantly alter the dough’s consistency. Invest in a reliable digital kitchen scale and use it for all your measurements. Eyeballing amounts will almost certainly lead to frustration.
Finally, don’t rush the process of mixing and observing your dough. Even with a perfect hydration chart, environmental factors (like humidity) can slightly affect how your dough feels. Pay attention to the dough’s texture as you mix. If it feels too dry and crumbly, add water a teaspoon at a time. If it’s too sticky, add flour a tablespoon at a time, until you reach the desired stiff, firm consistency characteristic of bagel dough.
How To Store It And Make It Ahead Without Ruining Texture
Once you’ve mastered the hydration and baked your perfect sourdough bagels, proper storage is key to maintaining their delicious texture. For short-term storage (1-2 days), keep freshly baked and cooled bagels in an airtight container or a sealed plastic bag at room temperature. This prevents them from drying out too quickly.
For longer storage, freezing is your best friend. Slice the bagels in half before freezing, or freeze them whole. Place them in a freezer-safe bag, removing as much air as possible, and they will keep well for up to 3 months. When you’re ready to enjoy, simply pop a frozen bagel half directly into the toaster, or let whole bagels thaw at room temperature before toasting or warming in an oven. Freezing is an excellent make-ahead strategy, allowing you to enjoy fresh-ttasting bagels whenever the craving strikes, without compromising their chewy texture.
Questions People Always Ask Before Making This Recipe
What is hydration in sourdough baking? Hydration refers to the ratio of water to flour in your dough, expressed as a percentage. It’s a critical factor that determines the dough’s consistency and the final texture of your baked goods.
Why is lower hydration important for bagels? Bagels are known for their dense, chewy texture. A lower hydration (typically 50-58%) creates a stiffer dough that develops more gluten, resulting in that characteristic chew and helps them hold their shape during boiling and baking.
How do I calculate hydration when using a sourdough starter? You need to account for the flour and water in your starter. If you use a 100% hydration starter (equal parts flour and water), a 100g starter contributes 50g flour and 50

FAQs
- Can I make these ahead? Yes—prep ahead, refrigerate, then serve when ready.
- How long do leftovers last? Store covered in the fridge for 3–4 days for best texture.
- Can I adjust sweetness? Yes—add more or less sweetener to taste.
- Can I change the fruit? Yes—swap strawberries for blueberries, raspberries, or sliced banana.