Achieving that perfect chewy texture in sourdough bagels can feel like a culinary quest, but it doesn’t have to be complicated.

The secret often lies in understanding and mastering dough hydration. This guide is designed to demystify the process, helping you create delicious, perfectly chewy bagels right in your own kitchen.
We’ll tackle common sourdough challenges, like dense bread, and provide a clear, step-by-step approach to ensure your bagel-making journey is a success. Get ready to transform your sourdough starter into incredible bagels that will impress everyone!
Table of Contents
- What You’ll Love About This Quick And Easy Recipe
- Everything You Need To Make This Recipe Without Stress
- Time Needed From Start To Finish
- How To Make It Step By Step With Visual Cues
- Easy Variations And Serving Ideas That Fit Real Life
- Common Slip-Ups And How To Avoid Them
- How To Store It And Make It Ahead Without Ruining Texture

Chewy Sourdough Bagels
- Total Time: 12-16 hours (mostly inactive)
- Yield: 8-12 bagels
Description
This guide demystifies the process of making perfectly chewy sourdough bagels, focusing on dough hydration and providing a step-by-step approach to achieve delicious results. It addresses common sourdough challenges like dense bread and offers tips for success, transforming your sourdough starter into impressive bagels.
Ingredients
Instructions
1. Activate Your Sourdough Starter: The day before you plan to mix your dough, feed your sourdough starter. It should be active, bubbly, and pass the float test (a small spoonful floats in water) before you begin. This ensures it has enough strength to leaven your bagels.
2. Mix the Dough Ingredients: In a large mixing bowl, combine your active sourdough starter, warm water, and barley malt syrup (or honey). Stir until the starter is mostly dissolved. Then, add the bread flour and salt. Mix with a sturdy spoon or your hands until a shaggy dough forms and no dry flour remains.
3. Initial Kneading and Rest: Turn the dough out onto a lightly floured surface. Knead for about 5-7 minutes until the dough starts to become smoother and more elastic. It will still be a bit sticky. Form it into a ball, place it back in the bowl, cover it with a damp cloth or plastic wrap, and let it rest for 30 minutes. This rest allows the flour to fully hydrate.
4. Develop Gluten with Stretch and Folds: Over the next 2-3 hours, perform a series of “stretch and folds” every 30-45 minutes. To do this, gently stretch a portion of the dough up from the bowl and fold it over itself. Rotate the bowl and repeat 3-4 times. This builds gluten strength without intensive kneading. The dough will become noticeably smoother and more elastic with each set.
5. Bulk Fermentation: After the stretch and folds, cover the bowl and let the dough bulk ferment at room temperature (around 70-75 F) for 4-6 hours, or until it has increased in volume by about 30-50% and feels airy. The exact time will depend on your starter’s activity and room temperature.
6. Shape the Bagels: Gently turn the dough out onto a lightly floured surface. Divide it into 8-12 equal pieces (depending on desired bagel size). Roll each piece into a smooth ball. Then, using your thumb, poke a hole through the center of each ball and gently stretch the hole to about 1.5-2 inches in diameter. Place the shaped bagels on a parchment-lined baking sheet.
7. Cold Proofing: Cover the baking sheet loosely with plastic wrap and refrigerate the bagels for 8-16 hours. This cold proofing develops flavor and makes the bagels easier to handle. They should feel slightly puffy but not overly risen.
8. Boil and Bake: Preheat your oven to 450 F (230 C) with a baking stone or inverted baking sheet inside. Bring a large pot of water to a rolling boil and add 1 tablespoon of baking soda. Gently drop 2-3 bagels into the boiling water (don’t overcrowd). Boil for 30-60 seconds per side. Remove with a slotted spoon, drain well, and place them back on the parchment-lined baking sheet. If desired, sprinkle with toppings immediately. Bake for 18-22 minutes, or until golden brown and cooked through.
- Prep Time: 20-30 minutes active
- Cook Time: 20-25 minutes
- Category: breakfast
- Method: baking
- Cuisine: american
Nutrition
- Serving Size: 1 bagel
Keywords: sourdough, bagels, chewy, homemade, baking, starter, bread, breakfast, fermentation, dough
What You’ll Love About This Quick And Easy Recipe
This guide is perfect for anyone looking to elevate their sourdough baking skills, especially when it comes to bagels. If you’ve ever struggled with overly dense sourdough bread or bagels that lack that signature chew, this tutorial is for you. We break down the often-intimidating concept of dough hydration into easy-to-understand steps, making it accessible for even beginner sourdough bakers. You’ll love how this approach helps you achieve consistently excellent results, turning your kitchen into a mini-bakery. It’s ideal for a weekend baking project, a special breakfast, or simply to enjoy the satisfaction of homemade, perfectly textured bagels.
Everything You Need To Make This Recipe Without Stress
The beauty of sourdough bagels is that they rely on a few fundamental ingredients, but getting the hydration right is key. Here’s what you’ll need to gather to embark on your bagel-making adventure.
INGREDIENTS:

- Active sourdough starter (fed and bubbly)
- High-protein bread flour
- Warm water
- Fine sea salt
- Barley malt syrup or honey (for the dough)
- Baking soda (for the boiling water bath)
- Optional toppings: sesame seeds, poppy seeds, everything bagel seasoning, coarse salt
You can easily substitute barley malt syrup with honey or even brown sugar in the dough if you don’t have it on hand, though barley malt syrup does contribute to that classic bagel flavor and sheen. For the water bath, baking soda is essential for helping achieve that characteristic chewy crust. When it comes to flour, using a high-protein bread flour is crucial for developing the strong gluten structure needed for chewy bagels. All-purpose flour can work in a pinch, but the texture might be slightly less robust.
Time Needed From Start To Finish
While sourdough baking requires patience, the active hands-on time for making the dough and shaping is quite manageable. The bulk of the time is dedicated to fermentation, which largely happens while you’re doing other things.
- Active Prep Time: 20-30 minutes (mixing dough, kneading, shaping)
- Fermentation Time: 8-12 hours (bulk fermentation and cold proofing)
- Boiling and Baking Time: 20-25 minutes
- Total Project Time: Approximately 12-16 hours (mostly inactive)
How To Make It Step By Step With Visual Cues

Mastering sourdough bagel dough hydration involves careful measurement and observation. Follow these steps for perfectly chewy bagels.
- Activate Your Sourdough Starter: The day before you plan to mix your dough, feed your sourdough starter. It should be active, bubbly, and pass the float test (a small spoonful floats in water) before you begin. This ensures it has enough strength to leaven your bagels.
- Mix the Dough Ingredients: In a large mixing bowl, combine your active sourdough starter, warm water, and barley malt syrup (or honey). Stir until the starter is mostly dissolved. Then, add the bread flour and salt. Mix with a sturdy spoon or your hands until a shaggy dough forms and no dry flour remains.
- Initial Kneading and Rest: Turn the dough out onto a lightly floured surface. Knead for about 5-7 minutes until the dough starts to become smoother and more elastic. It will still be a bit sticky. Form it into a ball, place it back in the bowl, cover it with a damp cloth or plastic wrap, and let it rest for 30 minutes. This rest allows the flour to fully hydrate.
- Develop Gluten with Stretch and Folds: Over the next 2-3 hours, perform a series of “stretch and folds” every 30-45 minutes. To do this, gently stretch a portion of the dough up from the bowl and fold it over itself. Rotate the bowl and repeat 3-4 times. This builds gluten strength without intensive kneading. The dough will become noticeably smoother and more elastic with each set.
- Bulk Fermentation: After the stretch and folds, cover the bowl and let the dough bulk ferment at room temperature (around 70-75°F) for 4-6 hours, or until it has increased in volume by about 30-50% and feels airy. The exact time will depend on your starter’s activity and room temperature.
- Shape the Bagels: Gently turn the dough out onto a lightly floured surface. Divide it into 8-12 equal pieces (depending on desired bagel size). Roll each piece into a smooth ball. Then, using your thumb, poke a hole through the center of each ball and gently stretch the hole to about 1.5-2 inches in diameter. Place the shaped bagels on a parchment-lined baking sheet.
- Cold Proofing: Cover the baking sheet loosely with plastic wrap and refrigerate the bagels for 8-16 hours. This cold proofing develops flavor and makes the bagels easier to handle. They should feel slightly puffy but not overly risen.
- Boil and Bake: Preheat your oven to 450°F (230°C) with a baking stone or inverted baking sheet inside. Bring a large pot of water to a rolling boil and add 1 tablespoon of baking soda. Gently drop 2-3 bagels into the boiling water (don’t overcrowd). Boil for 30-60 seconds per side. Remove with a slotted spoon, drain well, and place them back on the parchment-lined baking sheet. If desired, sprinkle with toppings immediately. Bake for 18-22 minutes, or until golden brown and cooked through.
Easy Variations And Serving Ideas That Fit Real Life
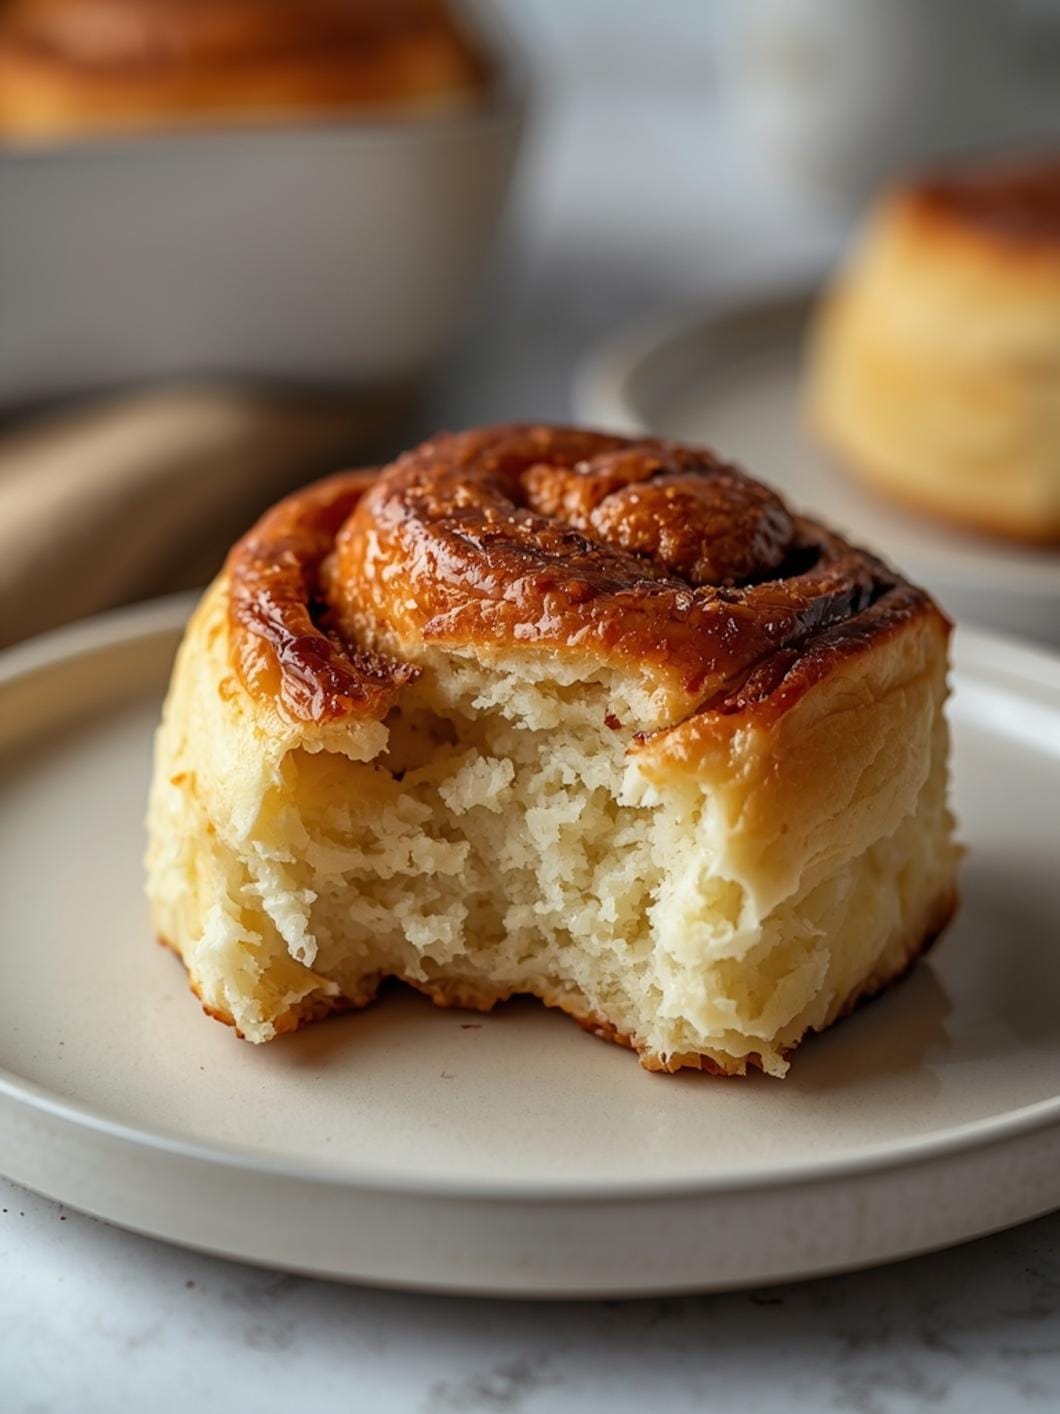
Once you’ve mastered the basic sourdough bagel, the possibilities for customization are endless! For a quick and easy breakfast, simply slice a warm bagel and spread it with cream cheese. Kids often love plain bagels or those topped with a little butter and jam.
Consider adding different toppings before baking: everything bagel seasoning, sesame seeds, poppy seeds, coarse sea salt, or even dried minced garlic and onion for a savory twist. For a sweeter option, try cinnamon-sugar bagels by boiling them in water with a touch of brown sugar and then coating them in cinnamon sugar before baking.
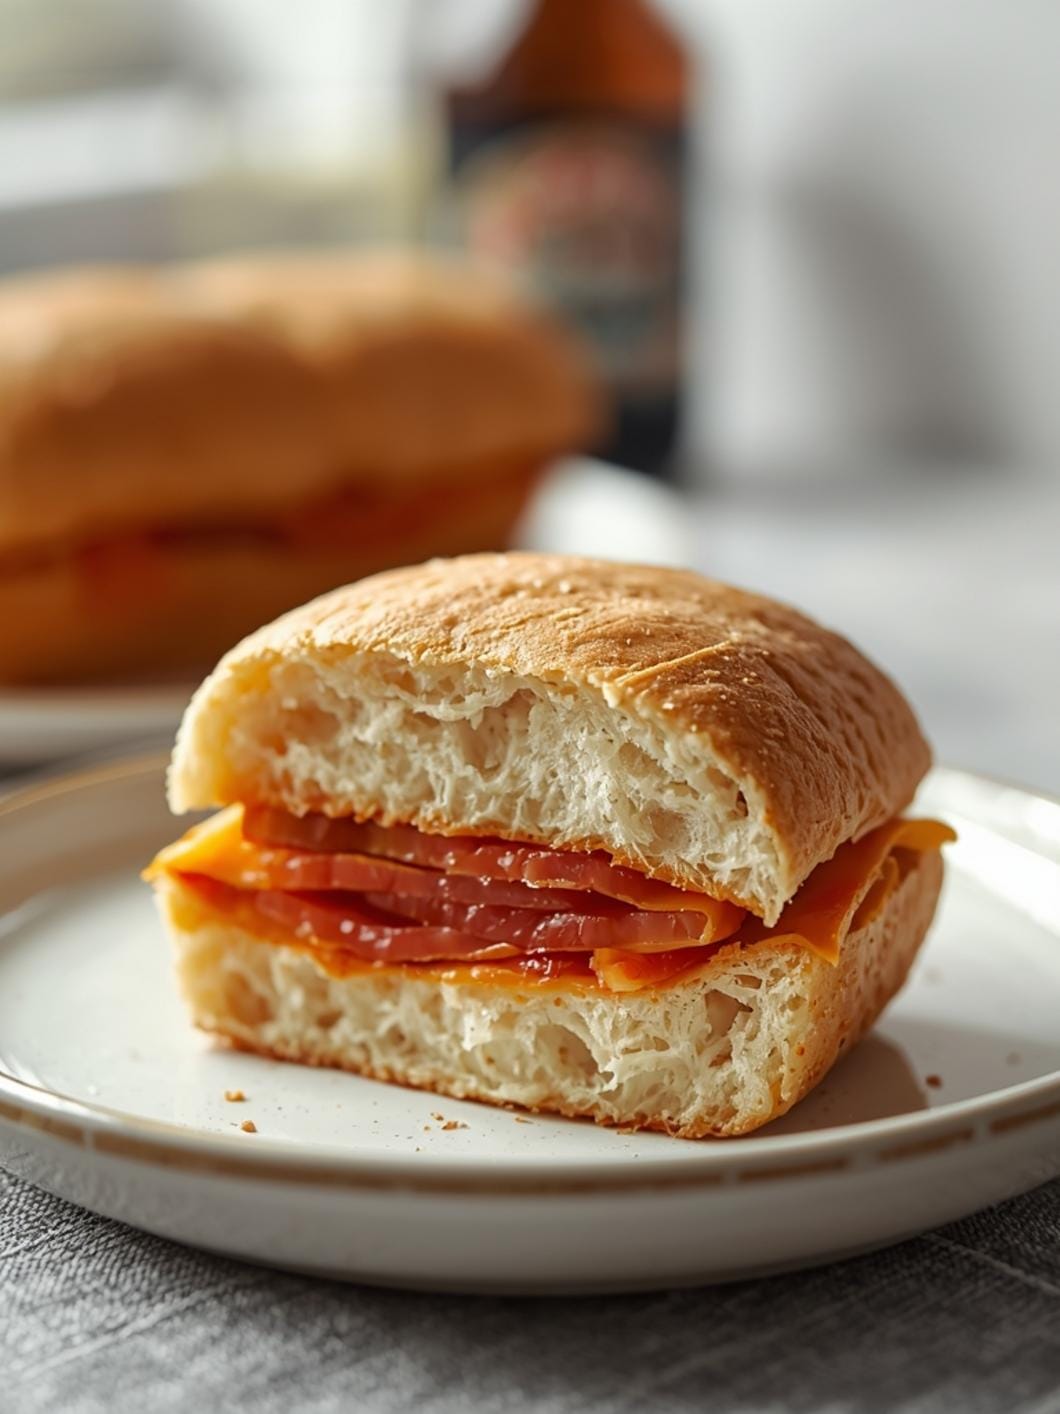
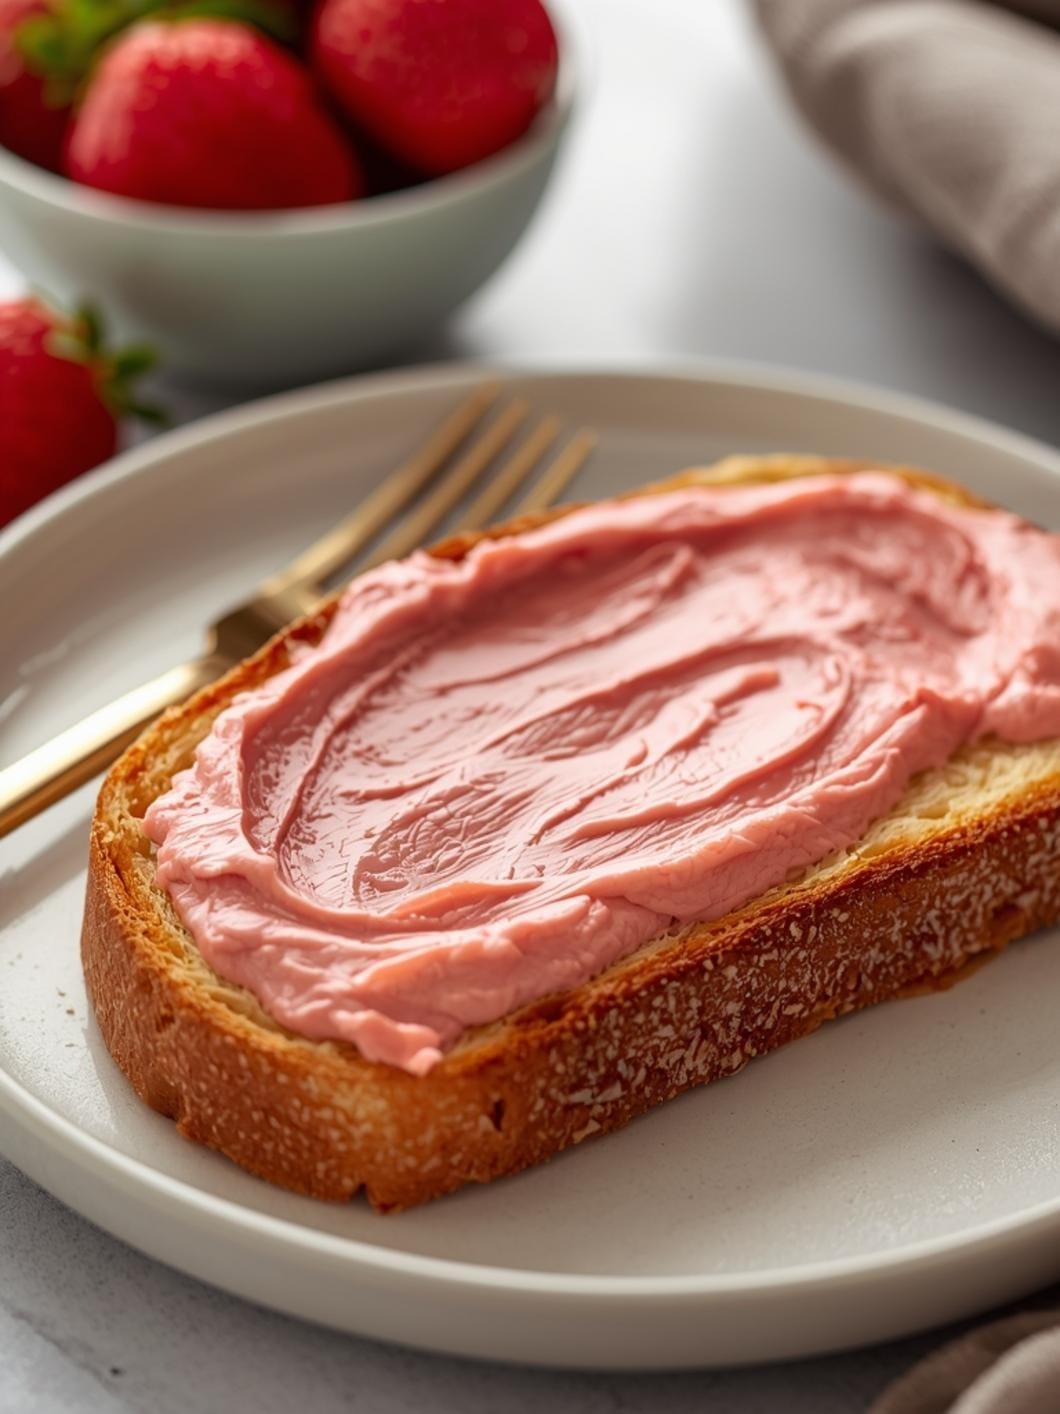
Bagels are incredibly versatile for meals beyond breakfast. Use them to make delicious sandwiches for lunch – think turkey and provolone, or a classic BLT. They’re also fantastic as a base for open-faced melts or even mini pizzas. For a party or brunch buffet, offer a bagel bar with various cream cheeses (plain, chive, strawberry), smoked salmon, capers, red onion, and fresh dill.
Common Slip-Ups And How To Avoid Them
Even experienced bakers can run into snags, especially with sourdough. Here are a few common issues and how to prevent them:
- Dense Bagels: This is often a sign of insufficient gluten development or an under-active starter. Ensure your starter is very bubbly and active before mixing. Don’t skip the stretch and folds, as they are crucial for building strength. Also, make sure you’re using high-protein bread flour.
- Bagels That Don’t Float in Water: If your bagels sink immediately in the boiling water, they are likely under-proofed. This means they haven’t developed enough gas to become buoyant. Give them more time during the bulk fermentation or cold proofing next time.
- Flat Bagels: This can happen if the dough is too wet (over-hydrated) or if it’s over-proofed. If your dough is too sticky to handle, try reducing the water slightly in your next batch. If they spread out rather than puffing up, they might have proofed too long and lost their structure.
- Tough, Leathery Crust: Boiling for too long can lead to a very thick, tough crust. Stick to the recommended 30-60 seconds per side. The baking soda in the water helps with the chew, but over-boiling will make them too hard.
- Holes Closing Up During Baking: This usually means you didn’t stretch the hole wide enough during shaping. Aim for a hole that’s about 1.5-2 inches in diameter, as it will shrink during proofing and baking.
How To Store It And Make It Ahead Without Ruining Texture
Sourdough bagels are best enjoyed fresh from the oven, but they can be stored and even made ahead for convenience.
- Storing Baked Bagels: Once completely cooled, store bagels in an airtight container or a plastic bag at room temperature for up to 2-3 days. For longer storage, slice them in half and freeze them in a freezer-safe bag for up to 3 months. When ready to eat, toast directly from frozen.
- **Making

FAQs
- Can I make these ahead? Yes—prep ahead, refrigerate, then serve when ready.
- How long do leftovers last? Store covered in the fridge for 3–4 days for best texture.
- Can I adjust sweetness? Yes—add more or less sweetener to taste.
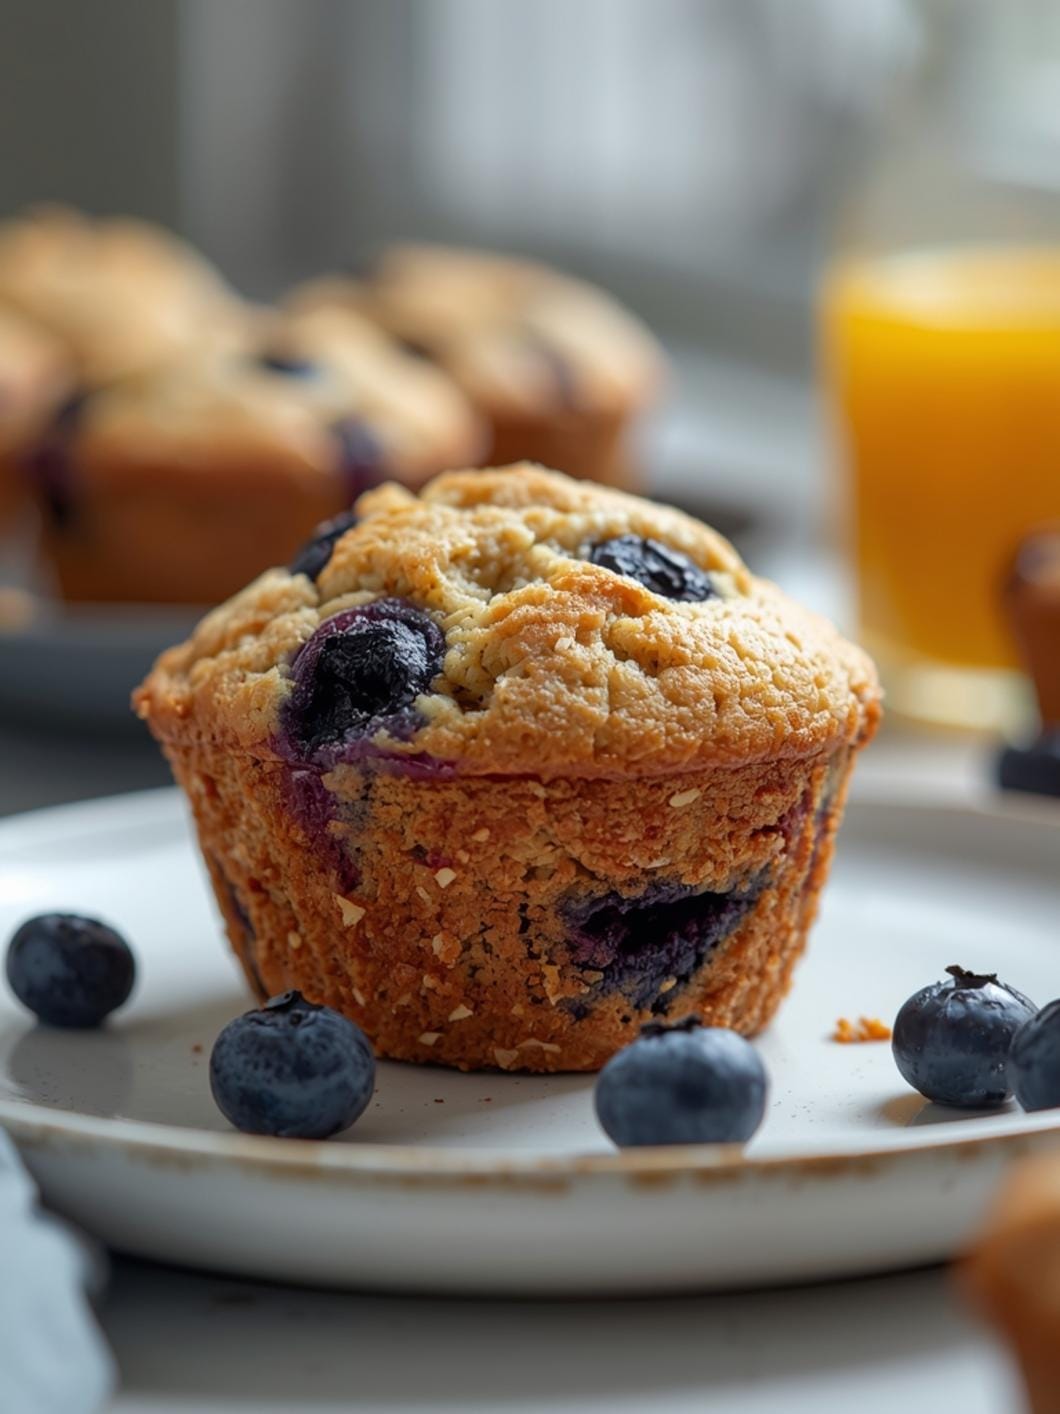
- Can I change the fruit? Yes—swap strawberries for blueberries, raspberries, or sliced banana.