Welcome to the beautiful world of sourdough baking, where rustic charm meets delicious artistry.

While the title might evoke images of complex baking processes, this article is all about appreciating the aesthetic and the simple joy of freshly baked bread. We’re focusing on the visual delight of sourdough flatlays, showcasing how to capture that perfect, inviting image of artisan loaves nestled in a basket.
This isn’t a recipe for baking sourdough from scratch, but rather an exploration of the elements that make these food photographs so appealing. Whether you’re a seasoned baker or simply an admirer of beautiful food, understanding the components of a stunning sourdough flatlay can inspire your next creative project or simply bring a moment of visual pleasure to your day.
Table of Contents
- What You’ll Love About This Quick And Easy Recipe
- Everything You Need To Make This Recipe Without Stress
- Time Needed From Start To Finish
- How To Make It Step By Step With Visual Cues
- Easy Variations And Serving Ideas That Fit Real Life
- Common Slip-Ups And How To Avoid Them
- How To Store It And Make It Ahead Without Ruining Texture

Sourdough Bread Flatlay Guide
- Total Time: 5-10 minutes
- Yield: 1 visual display 1x
Description
This guide focuses on creating visually appealing sourdough bread flatlays, emphasizing aesthetic arrangement and photography rather than baking. It provides instructions for setting up a rustic scene with bread, a basket, and props, perfect for food photographers, bloggers, or anyone who appreciates beautiful food presentation.
Ingredients
Instructions
1. Choose Your Setting and Light: Find a spot near a window with ample natural, diffused light. Avoid direct, harsh sunlight, which can create strong shadows. A plain, neutral background like a wooden table, a white countertop, or a simple linen tablecloth works best.
2. Lay Down Your Base: Place your chosen tea towel or linen cloth slightly crumpled or folded artfully on your surface. This adds texture and a soft foundation for your bread.
3. Position the Basket: Carefully place your woven basket on top of the linen. Consider its angle – sometimes a slight diagonal can be more visually interesting than perfectly straight.
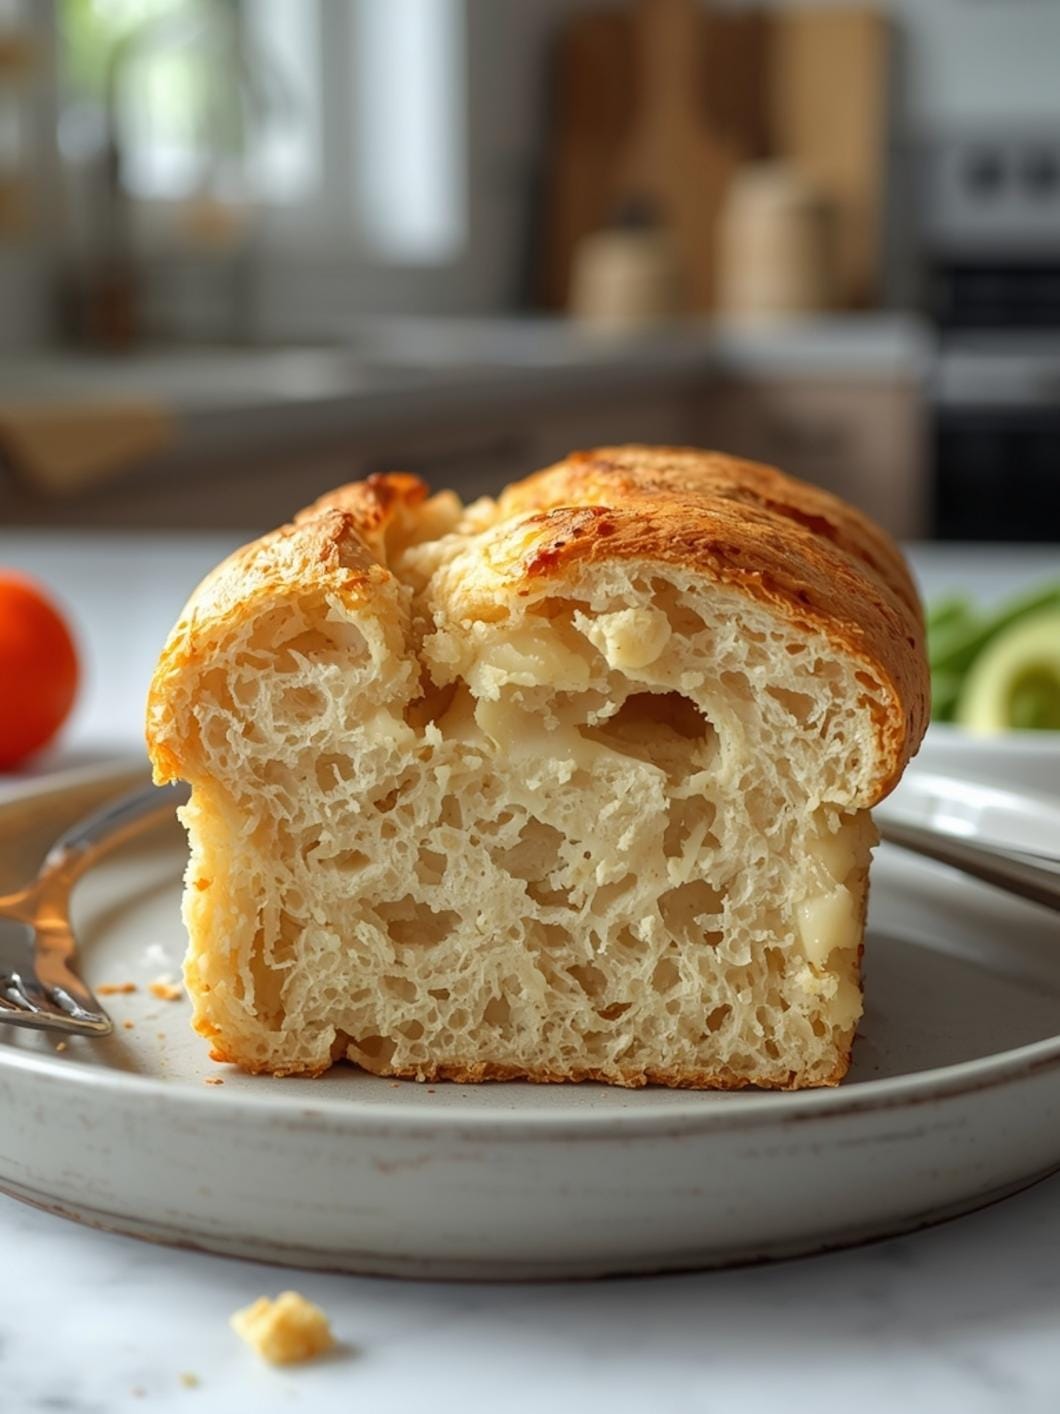
4. Arrange the Bread: Gently nestle your sourdough loaves into the basket. If you have two loaves, consider stacking them slightly or placing them side-by-side with one peeking out more than the other. Show off the beautiful crust and scoring marks.
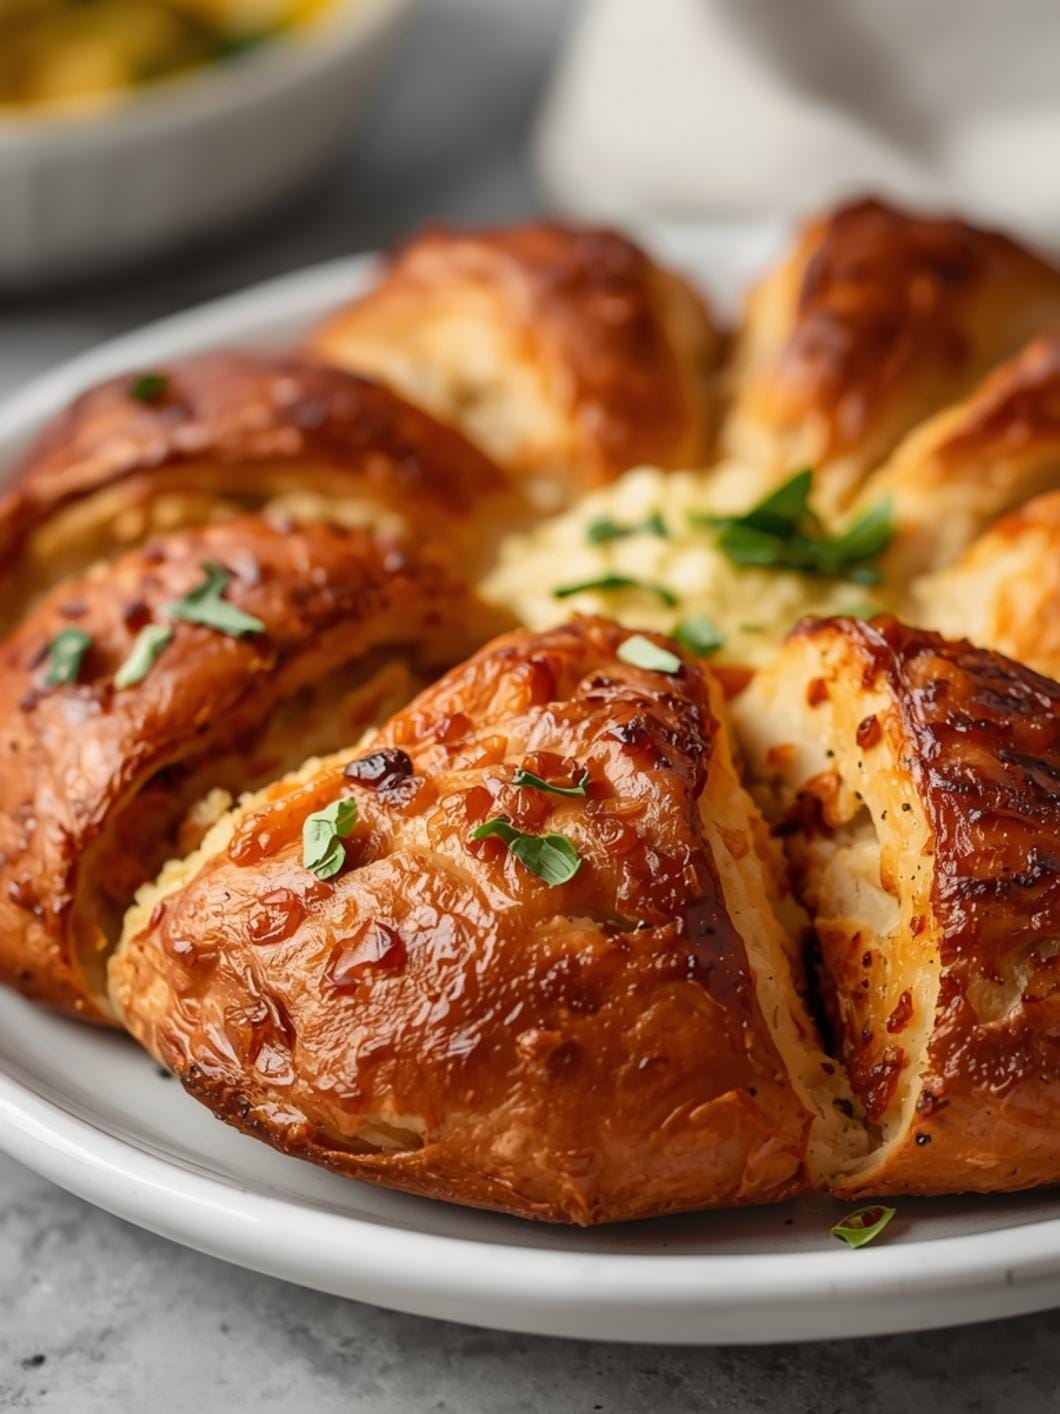
5. Add Your Greenery: Tuck a small sprig of fresh herbs, like rosemary or thyme, near the bread. This introduces a pop of natural color and a hint of freshness. Don’t overdo it; less is often more.
6. Introduce Small Props (Optional): If using, place a small bowl of sea salt flakes or a drizzle of olive oil nearby. A rustic bread knife or a small wooden spoon can also enhance the scene. Ensure these elements are small and don’t overpower the bread.
7. Adjust and Refine: Step back and look at your arrangement from above (the “flatlay” perspective). Adjust any elements that look out of place. Ensure there’s a good balance of negative space and that the bread remains the star of the show.
8. Capture Your Shot: Take several photos from directly above. Experiment with slight shifts in angle or minor adjustments to your props. Look for clear focus and good exposure to highlight the textures and colors of the bread.
- Prep Time: 5-10 minutes
- Cook Time: 0 minutes
- Category: food photography
- Method: arrangement
- Cuisine: visual art
Nutrition
- Serving Size: 1 display
Keywords: sourdough, flatlay, photography, rustic, bread, food styling, visual art, arrangement, aesthetic, props
What You’ll Love About This Quick And Easy Recipe
You’ll adore this guide because it’s less about a “recipe” in the traditional sense and more about crafting a visual feast. It’s perfect for anyone who appreciates the artistry of food photography, wants to create stunning content for their blog or social media, or simply enjoys arranging beautiful objects. This approach works wonderfully for showcasing store-bought artisan bread or your own homemade creations without the pressure of a complex baking tutorial. It’s for the visual storyteller, the home decorator, or anyone looking to add a touch of rustic elegance to their kitchen aesthetic. Serve it up as inspiration, a mood board, or simply a moment of calm appreciation for the simple beauty of bread.
Everything You Need To Make This Recipe Without Stress
Creating a beautiful sourdough bread flatlay doesn’t require culinary expertise, but rather an eye for detail and a few key props. Think of these as your “ingredients” for a visually appealing setup. The beauty lies in the simplicity and the natural textures.
INGREDIENTS:

- 1-2 loaves of rustic sourdough bread (store-bought or homemade)
- 1 woven basket (wicker, rattan, or similar natural material)
- 1 clean linen or cotton tea towel
- A small sprig of fresh herbs (rosemary, thyme, or oregano work well)
- A small bowl of sea salt or olive oil (optional)
- A cutting board (wooden or slate preferred)
- Natural light source (a window is ideal)
- A camera or smartphone with a good lens
For simple substitutions and brand-neutral options, consider any type of crusty, artisan-style bread if sourdough isn’t available. A simple baguette or a country loaf can work just as well. For the basket, any natural-fiber container will do, even a shallow wooden crate. Instead of fresh herbs, a few dried wheat stalks or a small bunch of wildflowers can add a similar organic touch. The key is to choose elements that complement the rustic, natural feel of the bread.
Time Needed From Start To Finish
This “recipe” is incredibly quick to assemble, focusing on arrangement rather than cooking.
- Prep Time: 5-10 minutes (gathering props, arranging bread)
- Cook Time: 0 minutes
- Total Time: 5-10 minutes
The beauty of this is that it’s a nearly instant gratification project, allowing you to focus on the creative process without any waiting.
How To Make It Step By Step With Visual Cues

Creating a captivating sourdough bread flatlay is all about thoughtful arrangement and leveraging natural elements. Follow these steps to achieve that perfect rustic aesthetic.
- Choose Your Setting and Light: Find a spot near a window with ample natural, diffused light. Avoid direct, harsh sunlight, which can create strong shadows. A plain, neutral background like a wooden table, a white countertop, or a simple linen tablecloth works best.
- Lay Down Your Base: Place your chosen tea towel or linen cloth slightly crumpled or folded artfully on your surface. This adds texture and a soft foundation for your bread.
- Position the Basket: Carefully place your woven basket on top of the linen. Consider its angle – sometimes a slight diagonal can be more visually interesting than perfectly straight.
- Arrange the Bread: Gently nestle your sourdough loaves into the basket. If you have two loaves, consider stacking them slightly or placing them side-by-side with one peeking out more than the other. Show off the beautiful crust and scoring marks.
- Add Your Greenery: Tuck a small sprig of fresh herbs, like rosemary or thyme, near the bread. This introduces a pop of natural color and a hint of freshness. Don’t overdo it; less is often more.
- Introduce Small Props (Optional): If using, place a small bowl of sea salt flakes or a drizzle of olive oil nearby. A rustic bread knife or a small wooden spoon can also enhance the scene. Ensure these elements are small and don’t overpower the bread.
- Adjust and Refine: Step back and look at your arrangement from above (the “flatlay” perspective). Adjust any elements that look out of place. Ensure there’s a good balance of negative space and that the bread remains the star of the show.
- Capture Your Shot: Take several photos from directly above. Experiment with slight shifts in angle or minor adjustments to your props. Look for clear focus and good exposure to highlight the textures and colors of the bread.
Easy Variations And Serving Ideas That Fit Real Life
While this isn’t a traditional “recipe” for eating, the visual presentation can inspire real-life serving ideas and variations for enjoying bread.
- Cheese Board Companion: Use your beautifully arranged bread basket as the centerpiece for a rustic cheese and charcuterie board. Surround it with various cheeses, cured meats, olives, and fruit.
- Soup Dippers: Serve the rustic bread alongside a hearty bowl of homemade soup or chili. The visual appeal of the flatlay can be translated to a comforting meal.
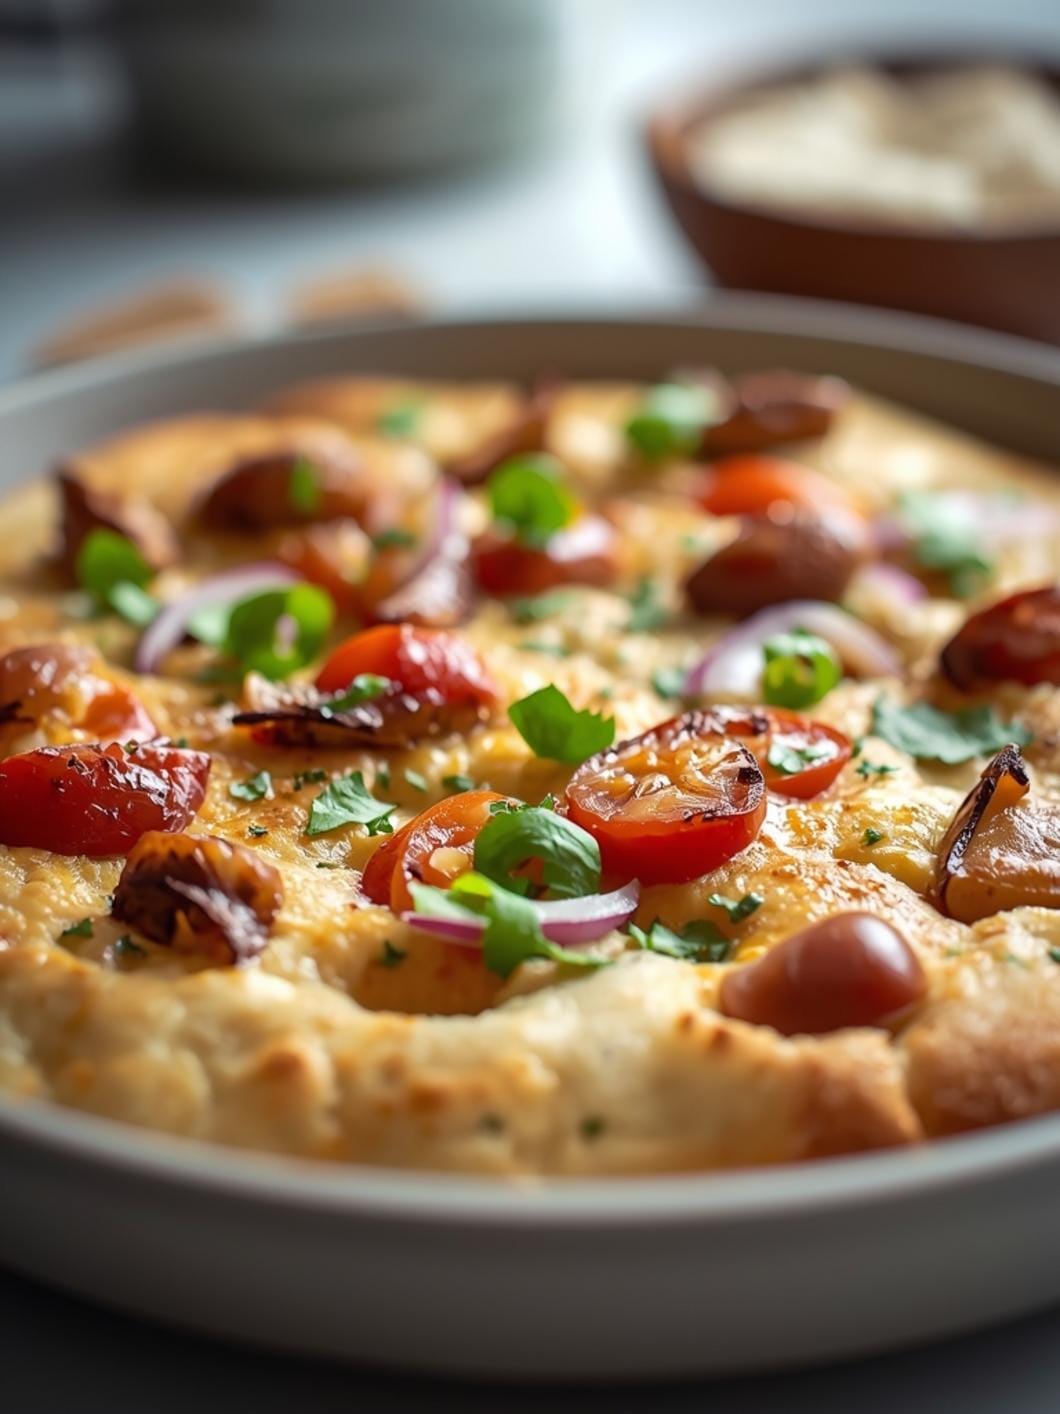
- Bruschetta Bar: Slice the bread and toast it lightly, then offer an array of toppings like diced tomatoes and basil, olive tapenade, or roasted red pepper spread for a build-your-own bruschetta experience.
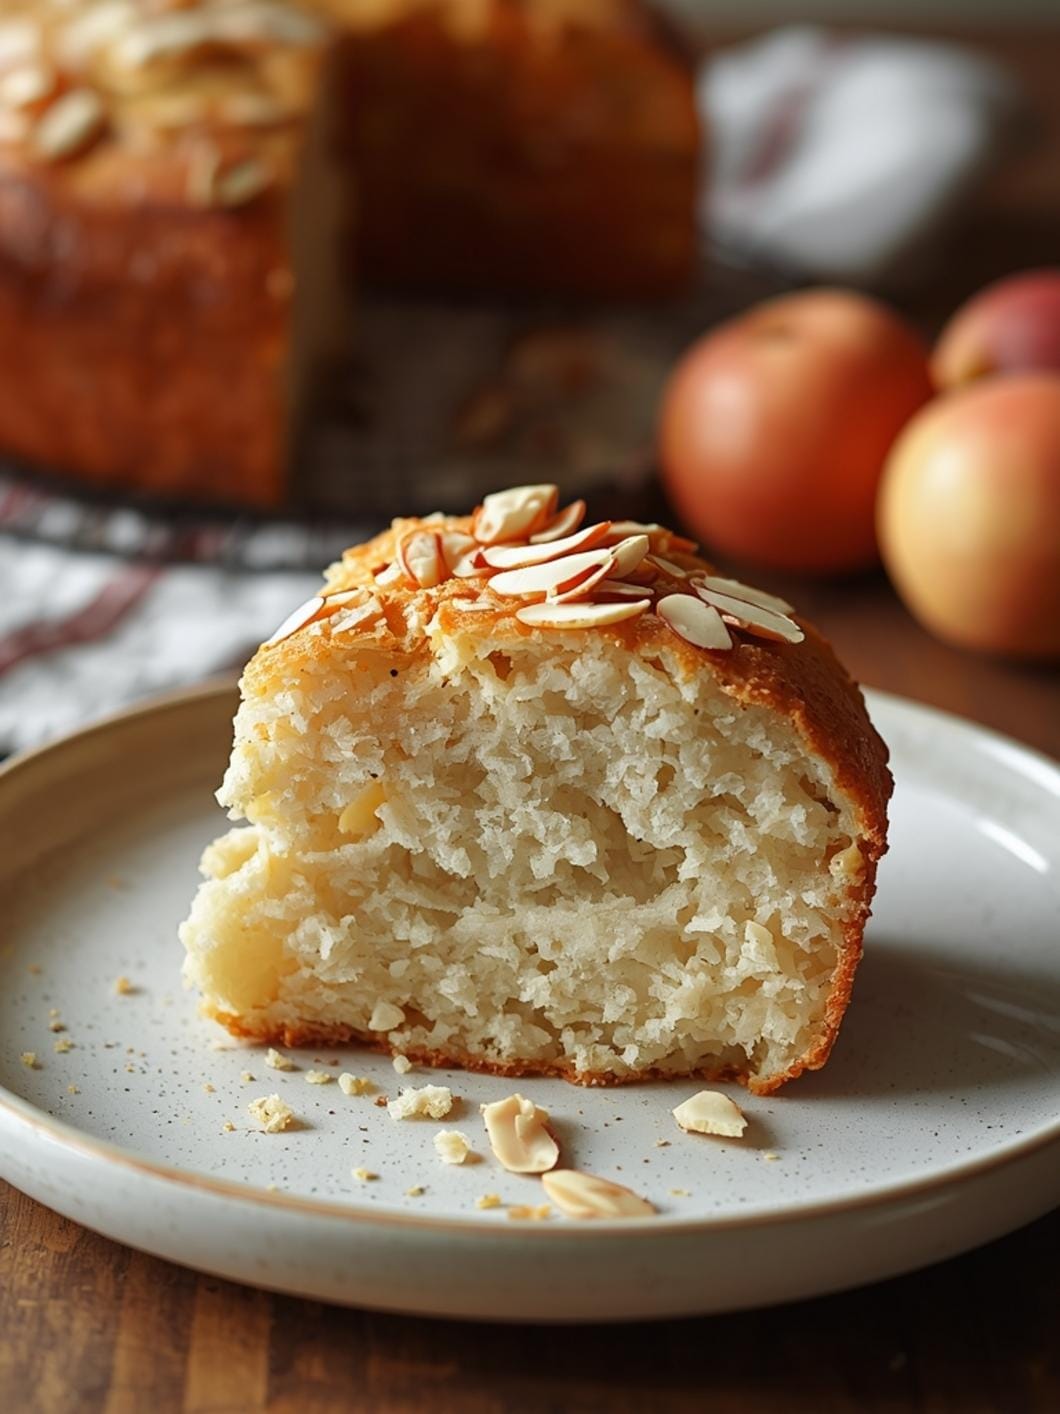
- Breakfast Bread Basket: For a cozy morning, arrange smaller artisan rolls or slices of sourdough with butter, jam, and honey for a delightful breakfast spread.
- Kid-Friendly Dipping: While sourdough might be a more acquired taste for some kids, offer slices with a simple dip like hummus or a mild cream cheese spread. The visual presentation can make it more appealing.
- Seasonal Touches: In autumn, add small gourds or colorful leaves to your flatlay. For spring, a few delicate blossoms can enhance the fresh aesthetic.
Common Slip-Ups And How To Avoid Them
Even in the realm of visual arrangement, there are common missteps that can detract from your desired aesthetic.
- Overcrowding the Scene: A common mistake is adding too many props or elements. This can make the image look cluttered and distract from the star – the bread. *Solution: Keep it simple. Stick to 3-5 main elements, including the bread and basket.*
- Poor Lighting: Harsh shadows or dim, yellow light can make even the most beautiful bread look unappetizing. *Solution: Always use natural light, ideally from a window. If the light is too direct, use a sheer curtain to diffuse it.*
- Cluttered Backgrounds: A busy background can pull focus away from your subject. *Solution: Choose a clean, simple background. If your table is busy, use a large, plain placemat or a piece of poster board underneath your setup.*
- Lack of Texture: Flatlays thrive on texture. If everything is smooth, the image can look dull. *Solution: Incorporate textured elements like woven baskets, linen towels, rustic cutting boards, and the naturally craggy crust of the sourdough.*
- Unflattering Angles: While “flatlay” implies an overhead shot, a slight tilt or an angle that cuts off important elements can be detrimental. *Solution: Shoot directly from above, ensuring all key elements are within the frame. Take multiple shots, slightly adjusting your position.*
- Forgetting the “Story”: A good flatlay tells a mini-story. If elements don’t relate, it can feel disjointed. *Solution: Think about the narrative. What mood are you trying to convey? Rustic, cozy, elegant? Choose props that support that theme.*
How To Store It And Make It Ahead Without Ruining Texture
Since this “recipe” is about visual presentation rather than immediate consumption, “storing” refers more to maintaining the freshness of your bread for future enjoyment or photography.
- Short-Term Storage (1-2 days): Store rustic sourdough bread at room temperature, ideally in a bread box, a paper bag, or wrapped loosely in a clean linen cloth. Avoid airtight plastic bags, which can make the crust soft and chewy.
- Long-Term Storage (up to 3 months): For longer storage, slice the bread and freeze it in an airtight freezer bag. You can then pull out individual slices as needed and toast them.
- Making Ahead: The beauty of this visual “recipe” is that you can gather all your props (basket, towels, herbs) well in advance. The bread, of course, should be as fresh as possible for the best visual appeal and taste if you plan to eat

FAQs
- Can I make these ahead? Yes—prep ahead, refrigerate, then serve when ready.
- How long do leftovers last? Store covered in the fridge for 3–4 days for best texture.
- Can I adjust sweetness? Yes—add more or less sweetener to taste.
- Can I change the fruit? Yes—swap strawberries for blueberries, raspberries, or sliced banana.