Sourdough baking has captured the hearts of many, not just for its delicious results but also for the beautiful aesthetic it brings to a home.

Imagine a rustic scene, bathed in soft, natural light, showcasing your freshly baked loaves alongside simple, charming elements. This isn’t just about food; it’s about creating a mood, a feeling of warmth, and a connection to a simpler, farm-inspired lifestyle.
These flatlay ideas are designed to help you style your homemade sourdough creations in a way that evokes that beautiful farm life aesthetic. Whether you’re sharing your baking triumphs with friends and family or simply want to appreciate the beauty of your efforts, these arrangements are easy to achieve and incredibly rewarding. Let’s dive into how you can create these pretty food displays with minimal effort and maximum charm.
Table of Contents
- What You’ll Love About This Quick And Easy Recipe
- Everything You Need To Make This Recipe Without Stress
- Time Needed From Start To Finish
- How To Make It Step By Step With Visual Cues
- Easy Variations And Serving Ideas That Fit Real Life
- Common Slip-Ups And How To Avoid Them
- How To Store It And Make It Ahead Without Ruining Texture

Sourdough Flatlay Styling Guide: Farm Life Aesthetic
- Total Time: 15-30 minutes
- Yield: 1 styled flatlay
Description
This guide provides creative flatlay ideas to beautifully showcase freshly baked sourdough, evoking a rustic, farm-inspired aesthetic. It focuses on arranging simple props and natural elements to create visually appealing displays for home bakers.
Ingredients
Instructions
1. Choose Your Surface and Light: Start by selecting a clean, flat surface. A wooden table, a plain countertop, or even a large piece of neutral fabric (like a white sheet or linen tablecloth) makes an excellent background. Position your surface near a window for soft, natural light. Avoid direct, harsh sunlight.
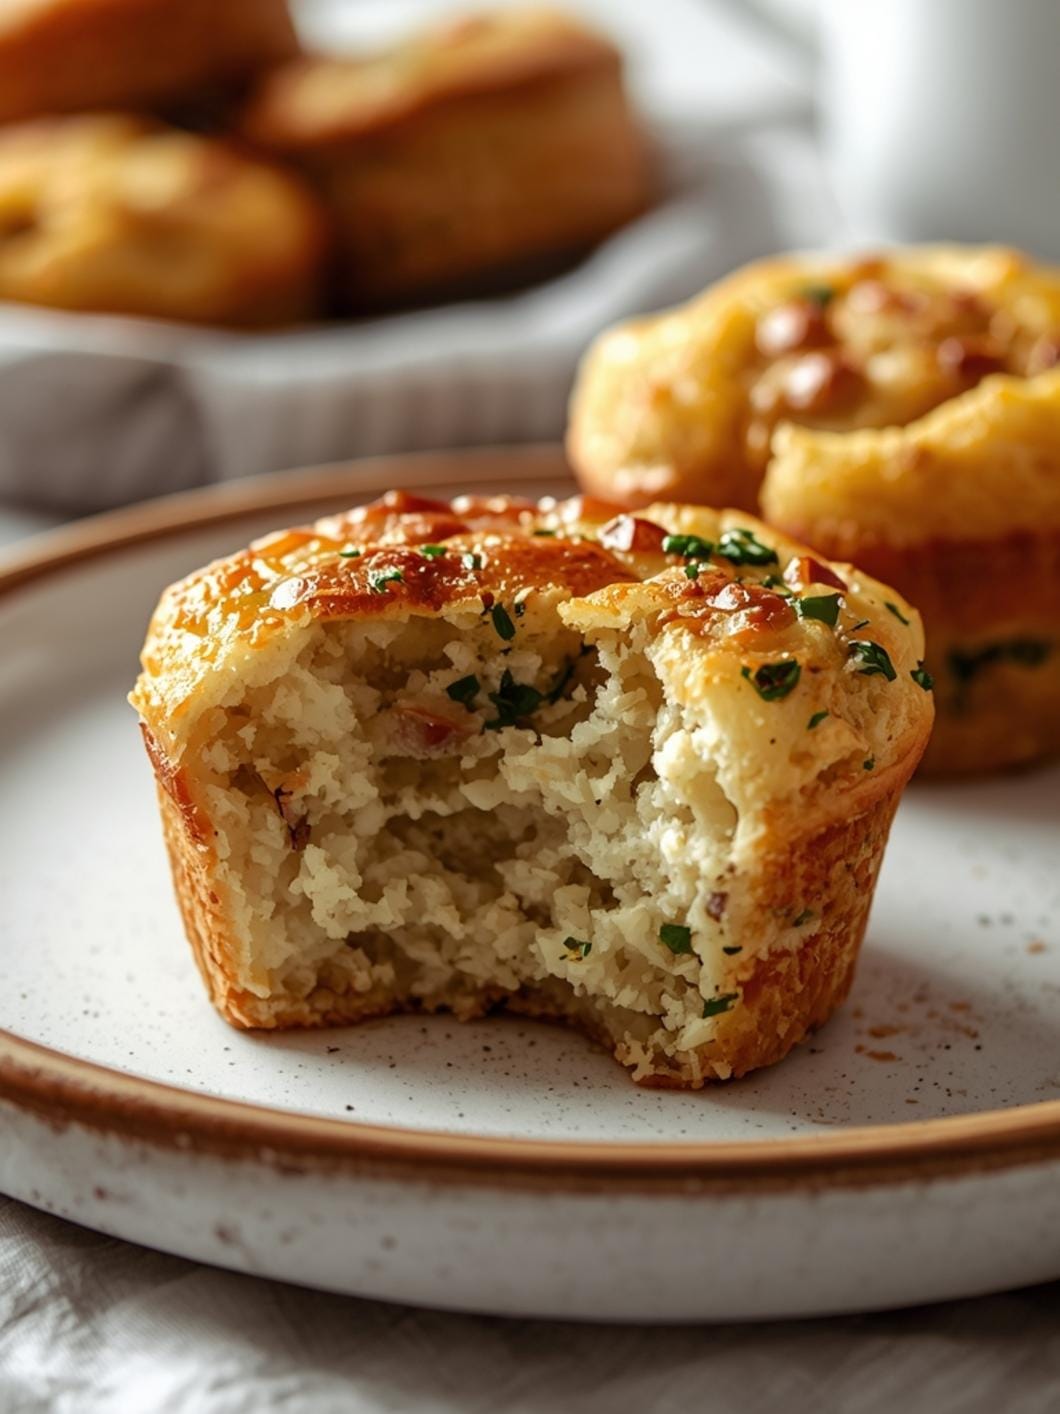
2. Anchor with Your Sourdough: Place your freshly baked sourdough loaf (or loaves) as the main focal point. Position it slightly off-center for a more dynamic composition. You can slice a piece off to show the beautiful crumb structure.
3. Introduce a Rustic Base: Slide a wooden cutting board or a rustic tray partly underneath your sourdough. This adds a layer of texture and helps ground your main subject.
4. Add Softness with Fabric: Drape a linen or cotton tea towel artfully around the base of your sourdough or peeking out from under the cutting board. Don’t make it perfectly neat; a slight rumple adds to the natural, lived-in feel.
5. Incorporate Natural Elements: Scatter a few whole grains (like wheat berries or oats) lightly around the board, or place them in a small ceramic dish. Add a sprig of fresh herbs (rosemary, thyme, or lavender) near the bread or on the tea towel for a pop of green and an aromatic touch.
6. Introduce Tools and Texture: Place a small bread knife or a bread lame near the loaf, perhaps resting on the cutting board. A small bowl of flour, slightly dusted around the edges, can also enhance the baking theme. If using, arrange a couple of fresh eggs in a small nest-like fashion or simply near the bread for an authentic farm feel.
7. Consider Height and Depth: Use a small stack of cookbooks or a small wooden block under one side of your cutting board to slightly elevate it, adding depth to your flatlay. This creates interest and prevents the arrangement from looking too flat.
8. Refine and Adjust: Step back and look at your arrangement. Adjust elements until you achieve balance. Make sure there’s enough “negative space” so the items don’t look too crowded. The goal is an effortless, natural look.
- Prep Time: 5-10 minutes
- Cook Time: N/A
- Category: food styling
- Method: arrangement
- Cuisine: european
Nutrition
- Serving Size: N/A
Keywords: sourdough, flatlay, styling, rustic, farmhouse, aesthetic, baking, photography, food display, home decor
What You’ll Love About This Quick And Easy Recipe
You’ll adore these flatlay ideas because they transform your baking into a visual feast without requiring any advanced photography skills or expensive props. This approach is perfect for anyone who loves the rustic charm of farm life and wants to infuse that feeling into their kitchen and dining spaces. It’s especially great for home bakers who want to celebrate their creations and for families looking to add a touch of simple beauty to their everyday meals or special gatherings. These styling tips are designed to be practical, using items you likely already have around your home, making them accessible for everyone. You can use these ideas to showcase your sourdough at breakfast, brunch, or even as a centerpiece for a casual dinner.
Everything You Need To Make This Recipe Without Stress
Creating a beautiful sourdough flatlay isn’t about making a recipe, but rather about artfully arranging your baked goods and complementary items. The “ingredients” here are more about props and styling elements that evoke a farm lifestyle aesthetic. You don’t need to buy anything new; often, the most charming flatlays are made with everyday items found in your kitchen or garden.
INGREDIENTS:

- Freshly baked sourdough loaf (or a few smaller rolls/boules)
- Wooden cutting board or rustic tray
- Linen or cotton tea towel
- Small bowl of flour
- Sprig of fresh herbs (rosemary, thyme, or lavender work well)
- Small knife or bread lame
- A few whole grains (wheat berries, oats)
- Small ceramic dish or bowl
- A couple of fresh eggs (optional, for a farm feel)
- A piece of twine or natural string
- A simple, neutral background (wooden table, plain countertop, or a white sheet)
- Natural light source
For simple substitutions, consider using a woven placemat instead of a tea towel, or a slate board if you don’t have a wooden one. If you don’t have fresh herbs, a small bunch of dried lavender or even a few bay leaves can add a nice touch. Instead of wheat berries, you could use a small handful of oats or even some coffee beans for a different texture. The key is to use items that feel natural, unpretentious, and connect to the idea of home and hearth.
Time Needed From Start To Finish
The beauty of creating a sourdough flatlay is that the “cooking” time is already done once your bread is baked! The actual styling process is quite quick and enjoyable.
- Prep Time: 5-10 minutes (gathering your props and setting up your surface)
- Styling Time: 10-20 minutes (arranging the elements until you’re happy with the look)
- Total Time: 15-30 minutes
This makes it a perfect activity for a relaxed morning or afternoon, allowing you to savor the moment and appreciate your baking efforts.
How To Make It Step By Step With Visual Cues

Creating a beautiful sourdough flatlay is all about thoughtful arrangement and playing with textures and natural elements. Follow these steps to achieve that charming farm lifestyle aesthetic.
- Choose Your Surface and Light: Start by selecting a clean, flat surface. A wooden table, a plain countertop, or even a large piece of neutral fabric (like a white sheet or linen tablecloth) makes an excellent background. Position your surface near a window for soft, natural light. Avoid direct, harsh sunlight.
- Anchor with Your Sourdough: Place your freshly baked sourdough loaf (or loaves) as the main focal point. Position it slightly off-center for a more dynamic composition. You can slice a piece off to show the beautiful crumb structure.
- Introduce a Rustic Base: Slide a wooden cutting board or a rustic tray partly underneath your sourdough. This adds a layer of texture and helps ground your main subject.
- Add Softness with Fabric: Drape a linen or cotton tea towel artfully around the base of your sourdough or peeking out from under the cutting board. Don’t make it perfectly neat; a slight rumple adds to the natural, lived-in feel.
- Incorporate Natural Elements: Scatter a few whole grains (like wheat berries or oats) lightly around the board, or place them in a small ceramic dish. Add a sprig of fresh herbs (rosemary, thyme, or lavender) near the bread or on the tea towel for a pop of green and an aromatic touch.
- Introduce Tools and Texture: Place a small bread knife or a bread lame near the loaf, perhaps resting on the cutting board. A small bowl of flour, slightly dusted around the edges, can also enhance the baking theme. If using, arrange a couple of fresh eggs in a small nest-like fashion or simply near the bread for an authentic farm feel.
- Consider Height and Depth: Use a small stack of cookbooks or a small wooden block under one side of your cutting board to slightly elevate it, adding depth to your flatlay. This creates interest and prevents the arrangement from looking too flat.
- Refine and Adjust: Step back and look at your arrangement. Adjust elements until you achieve balance. Make sure there’s enough “negative space” so the items don’t look too crowded. The goal is an effortless, natural look.
Easy Variations And Serving Ideas That Fit Real Life
These flatlay ideas are wonderfully versatile and can be adapted for various occasions and preferences. For a more colorful display, you could add a small bowl of fresh berries or a few vibrant cherry tomatoes. If you have a small jar of homemade jam or honey, placing it alongside the bread can add another layer of deliciousness and visual interest.
For a kid-friendly twist, consider arranging smaller sourdough rolls or even sourdough crackers with some cheese slices and fruit. This makes for an inviting snack display. When serving a crowd, arrange a few different types of sourdough (e.g., a round boule and a long baguette) on a larger wooden board with an assortment of dips like olive oil, balsamic vinegar, or a creamy herb spread. You can also include small bowls of olives or nuts for a more elaborate spread. The key is to keep it looking abundant yet artfully arranged.
Common Slip-Ups And How To Avoid Them
Even with simple styling, a few common mistakes can detract from your flatlay’s charm. Being aware of these can help you create a more appealing display.
- Overcrowding the Scene: A common mistake is trying to include too many props. This can make the flatlay look cluttered and busy, distracting from the sourdough itself. *To avoid this:* Start with your main subject (the bread) and add props one by one, stopping when it feels balanced and natural. Less is often more.
- Poor Lighting: Harsh, direct sunlight can create strong shadows and wash out your scene, while too little light can make it look dull. *To avoid this:* Always set up near a window with indirect, natural light. If the light is too bright, you can diffuse it with a sheer curtain or a white sheet.
- Lack of Texture: A flatlay that lacks varying textures can appear one-dimensional. *To avoid this:* Incorporate a mix of materials like rough wood, soft linen, smooth ceramic, and the crusty texture of the bread.
- Unnatural Arrangement: Items placed too perfectly or symmetrically can look staged rather than organic. *To avoid this:* Embrace asymmetry and a slightly “undone” look. Let the tea towel be a little rumpled, and scatter grains imperfectly.
- Distracting Background: A busy or colorful background can pull attention away from your beautiful sourdough. *To avoid this:* Stick to neutral, simple backgrounds like wood, white, or light gray.
How To Store It And Make It Ahead Without Ruining Texture
Since we’re focusing on styling rather than a specific recipe, the “storage” aspect primarily relates to your baked sourdough. To keep your sourdough fresh for future flatlays or simply for eating, proper storage is key.
- Storing Your Sourdough: Once your sourdough has cooled completely, store it at room temperature. A linen bread bag is ideal as it allows the bread to breathe while protecting it from drying out too quickly. Alternatively, you can wrap it in a clean tea towel and place it in a paper bag. Avoid plastic bags, as they can trap moisture and make the crust soggy.
- Make-Ahead Considerations: You can bake your sourdough a day or two in advance of your planned flatlay. Just ensure it’s stored correctly to maintain its freshness and crust. For the flatlay itself, all the “props” can be gathered and set

FAQs
- Can I make these ahead? Yes—prep ahead, refrigerate, then serve when ready.
- How long do leftovers last? Store covered in the fridge for 3–4 days for best texture.
- Can I adjust sweetness? Yes—add more or less sweetener to taste.
- Can I change the fruit? Yes—swap strawberries for blueberries, raspberries, or sliced banana.