Sourdough baking can seem intimidating, but understanding bulk fermentation and cold proofing is key to achieving that perfect loaf with a beautiful crumb and tangy flavor. This guide will demystify the process, helping you confidently manage your sourdough’s journey from mixing bowl to oven.

Getting the bulk fermentation right sets the stage for a successful bake, and cold proofing takes the flavor and texture to the next level. We’ll break down the ideal timing and provide practical tips to ensure your sourdough bread turns out delicious every time.
Table of Contents
- What You’ll Love About This Quick And Easy Recipe
- Everything You Need To Make This Recipe Without Stress
- Time Needed From Start To Finish
- How To Make It Step By Step With Visual Cues
- Easy Variations And Serving Ideas That Fit Real Life
- Common Slip-Ups And How To Avoid Them
- How To Store It And Make It Ahead Without Ruining Texture
- Questions People Always Ask Before Making This Recipe

Sourdough Bulk Fermentation and Cold Proofing Guide
- Total Time: 1-3 days
- Yield: 1 loaf
Description
This guide demystifies bulk fermentation and cold proofing, two critical stages in sourdough baking, helping you achieve a perfect loaf with a beautiful crumb and tangy flavor. It provides practical tips for managing your sourdough’s journey from mixing to oven, ensuring delicious results every time.
Ingredients
Instructions
1. 1. Mixing Your Dough and Initial Rest: Combine your active sourdough starter, water, flour, and salt in a large bowl. Mix until just combined and no dry flour remains. Cover the bowl and let it rest for 30 minutes to an hour. This initial rest, called autolyse or rest period, allows the flour to fully hydrate.
2. 2. Beginning Bulk Fermentation with Folds: After the rest, begin your bulk fermentation. This stage typically lasts several hours at room temperature. During this time, you’ll perform a series of “stretch and folds” or “coil folds” every 30-60 minutes for the first 2-3 hours. Gently stretch a portion of the dough up and fold it over itself, rotating the bowl as you go. This develops gluten and builds strength.
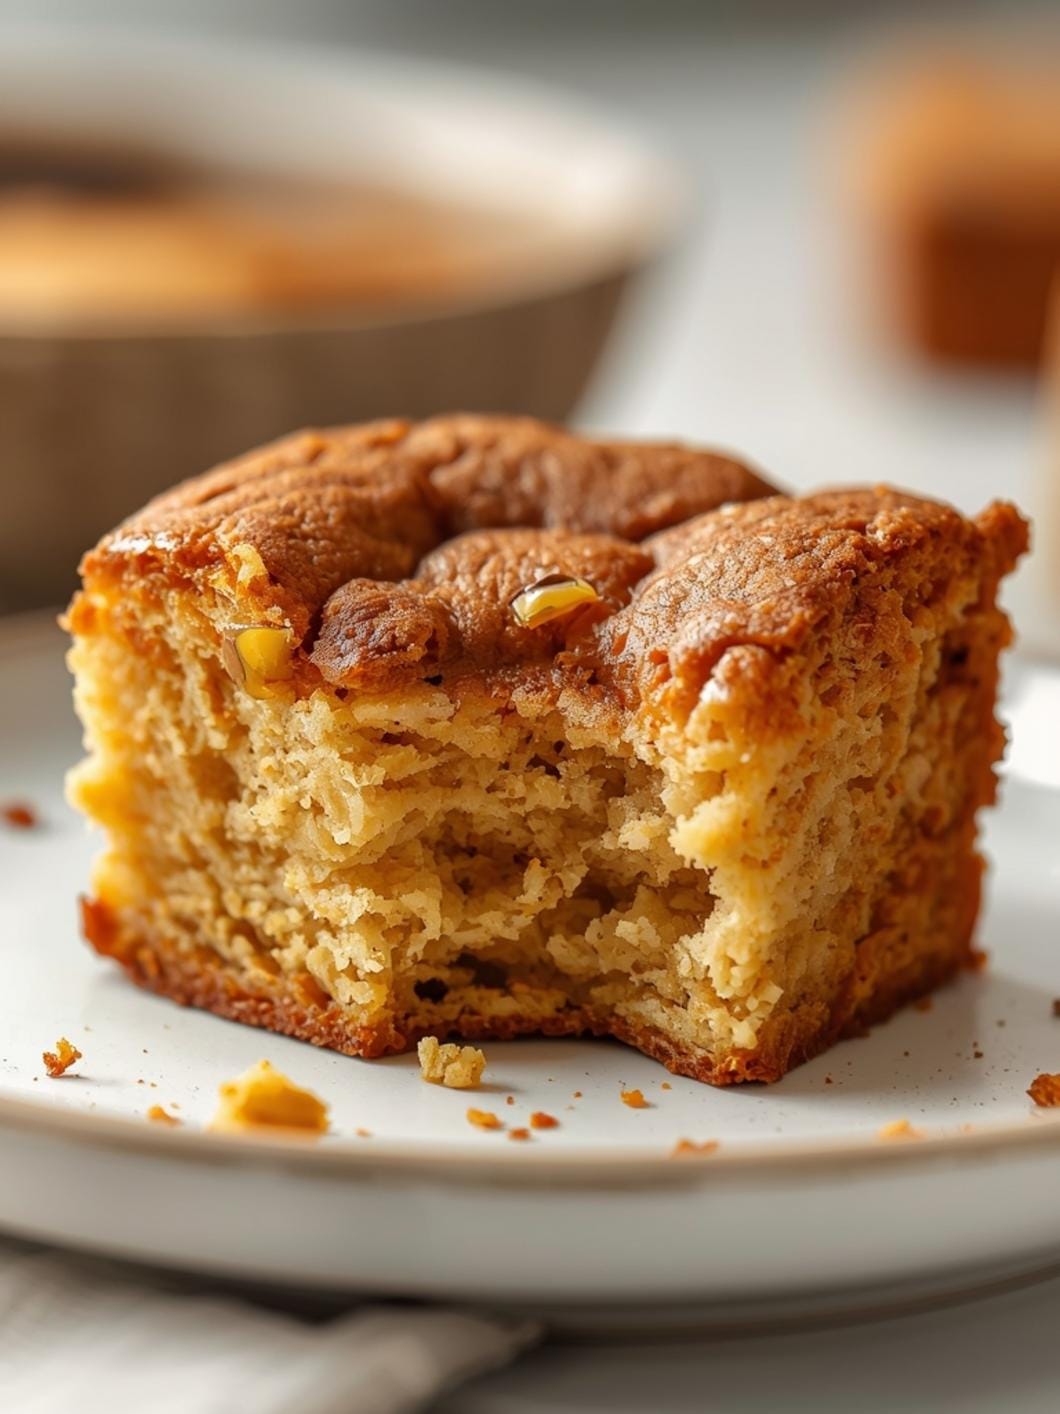
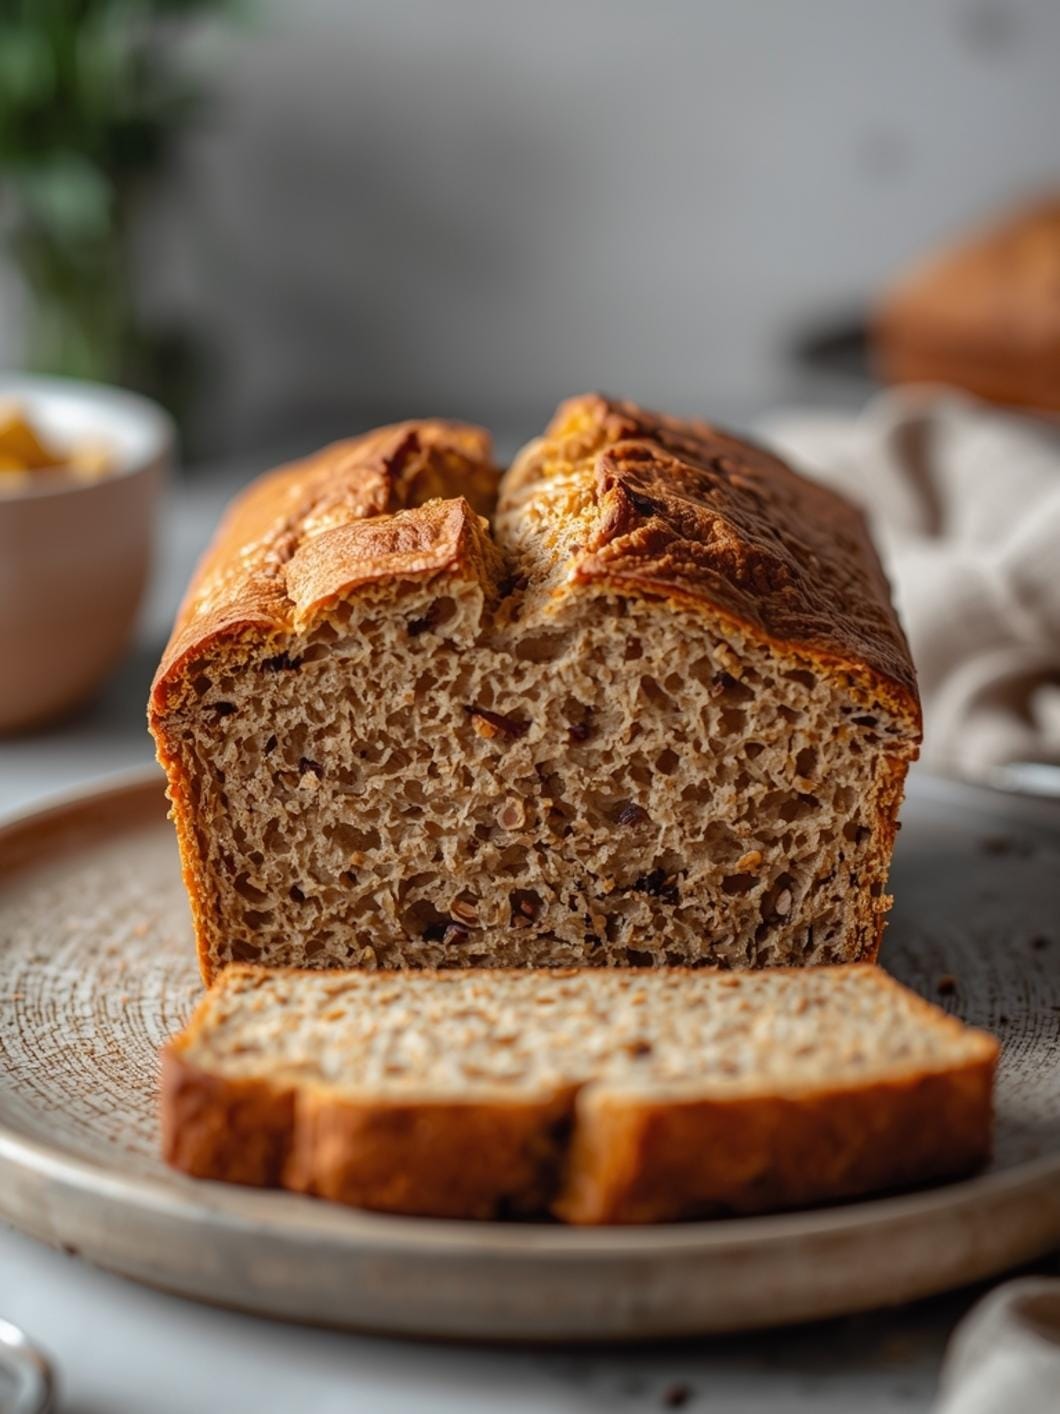
3. 3. Monitoring Dough Development During Bulk Fermentation: Observe your dough closely. It should become smoother, more elastic, and increase significantly in volume, typically by 30-50% for a well-fermented dough. Look for signs of fermentation, such as small bubbles on the surface and a jiggly, airy texture. The “windowpane test” (stretching a small piece of dough until it’s translucent without tearing) can indicate sufficient gluten development.
4. 4. Shaping Your Dough for Cold Proofing: Once bulk fermentation is complete, gently turn your dough out onto a lightly floured surface. Shape it into your desired form (round or oval) with minimal handling to preserve the trapped gases. This shaping creates surface tension, which is crucial for a good oven spring.
5. 5. Preparing for the Cold Proof: Transfer your shaped dough into a floured banneton (proofing basket) or a bowl lined with a floured towel, seam-side up. Cover it with plastic wrap or a damp cloth to prevent it from drying out.
6. 6. The Cold Proofing Stage: Place your covered dough in the refrigerator (usually 38-40 F / 3-4 C) for 12 to 48 hours. This cold environment significantly slows down fermentation, allowing complex flavors to develop and making the dough easier to handle. The dough will continue to slowly rise and firm up.
7. 7. Baking After Cold Proofing: When you’re ready to bake, preheat your oven with a Dutch oven inside. Carefully remove the dough from the refrigerator, invert it into the hot Dutch oven, score it, and bake according to your recipe’s instructions. The cold dough holds its shape better and often results in a better oven spring.
- Prep Time: 30 minutes
- Cook Time: 45-60 minutes
- Category: bread
- Method: baking
- Cuisine: american
Nutrition
- Serving Size: 1 slice
Keywords: sourdough, bread, fermentation, proofing, baking, homemade, artisan, starter, loaves, dough
What You’ll Love About This Quick And Easy Recipe
This guide is perfect for anyone looking to improve their sourdough baking, whether you’re a beginner or have a few loaves under your belt. It demystifies two critical stages of sourdough production: bulk fermentation and cold proofing. You’ll appreciate how it breaks down complex concepts into actionable steps, making it easier to achieve a consistent, high-quality sourdough loaf. This information is especially valuable for home bakers who want to understand the “why” behind the “how” in sourdough, leading to fewer failed attempts and more delicious bread for family meals or sharing with friends. It’s about gaining confidence and control over your dough, ensuring a perfect rise and deep, nuanced flavor every time.
Everything You Need To Make This Recipe Without Stress
To understand bulk fermentation and cold proofing, you don’t need a list of ingredients in the traditional sense, as these are process steps. However, you will need your standard sourdough bread ingredients ready for when you begin your baking process.
INGREDIENTS:

- Active sourdough starter
- Bread flour
- Water
- Salt
For your sourdough starter, ensure it’s active and bubbly, meaning it has been fed and is at its peak activity, usually 4-8 hours after feeding, depending on the ambient temperature. For the flour, a good quality bread flour with a higher protein content will give your dough better structure. Filtered water is often preferred to avoid any chlorine that might inhibit yeast activity. Fine sea salt is generally recommended for its pure flavor.
Time Needed From Start To Finish
Understanding the timing for bulk fermentation and cold proofing is more about observation and environmental factors than fixed clock times.
Bulk Fermentation: 3-12 hours (highly variable based on temperature and starter activity) Cold Proofing: 12-48 hours (or even longer, depending on desired flavor and schedule) Total Process Time: This entire process, from mixing to baking, can span 1-3 days, largely due to the extended fermentation and proofing periods.
How To Make It Step By Step With Visual Cues

Mastering bulk fermentation and cold proofing involves paying close attention to your dough’s behavior. Here’s how to guide your sourdough through these crucial stages.
- Mixing Your Dough and Initial Rest: Combine your active sourdough starter, water, flour, and salt in a large bowl. Mix until just combined and no dry flour remains. Cover the bowl and let it rest for 30 minutes to an hour. This initial rest, called autolyse or rest period, allows the flour to fully hydrate.
- Beginning Bulk Fermentation with Folds: After the rest, begin your bulk fermentation. This stage typically lasts several hours at room temperature. During this time, you’ll perform a series of “stretch and folds” or “coil folds” every 30-60 minutes for the first 2-3 hours. Gently stretch a portion of the dough up and fold it over itself, rotating the bowl as you go. This develops gluten and builds strength.
- Monitoring Dough Development During Bulk Fermentation: Observe your dough closely. It should become smoother, more elastic, and increase significantly in volume, typically by 30-50% for a well-fermented dough. Look for signs of fermentation, such as small bubbles on the surface and a jiggly, airy texture. The “windowpane test” (stretching a small piece of dough until it’s translucent without tearing) can indicate sufficient gluten development.
- Shaping Your Dough for Cold Proofing: Once bulk fermentation is complete, gently turn your dough out onto a lightly floured surface. Shape it into your desired form (round or oval) with minimal handling to preserve the trapped gases. This shaping creates surface tension, which is crucial for a good oven spring.
- Preparing for the Cold Proof: Transfer your shaped dough into a floured banneton (proofing basket) or a bowl lined with a floured towel, seam-side up. Cover it with plastic wrap or a damp cloth to prevent it from drying out.
- The Cold Proofing Stage: Place your covered dough in the refrigerator (usually 38-40°F / 3-4°C) for 12 to 48 hours. This cold environment significantly slows down fermentation, allowing complex flavors to develop and making the dough easier to handle. The dough will continue to slowly rise and firm up.
- Baking After Cold Proofing: When you’re ready to bake, preheat your oven with a Dutch oven inside. Carefully remove the dough from the refrigerator, invert it into the hot Dutch oven, score it, and bake according to your recipe’s instructions. The cold dough holds its shape better and often results in a better oven spring.
Easy Variations And Serving Ideas That Fit Real Life
While bulk fermentation and cold proofing are foundational techniques, the sourdough itself offers endless possibilities for serving. A classic sourdough loaf is fantastic simply sliced with butter, or alongside a hearty soup or stew. For a quick snack, toast slices and top with avocado, a fried egg, or your favorite jam.
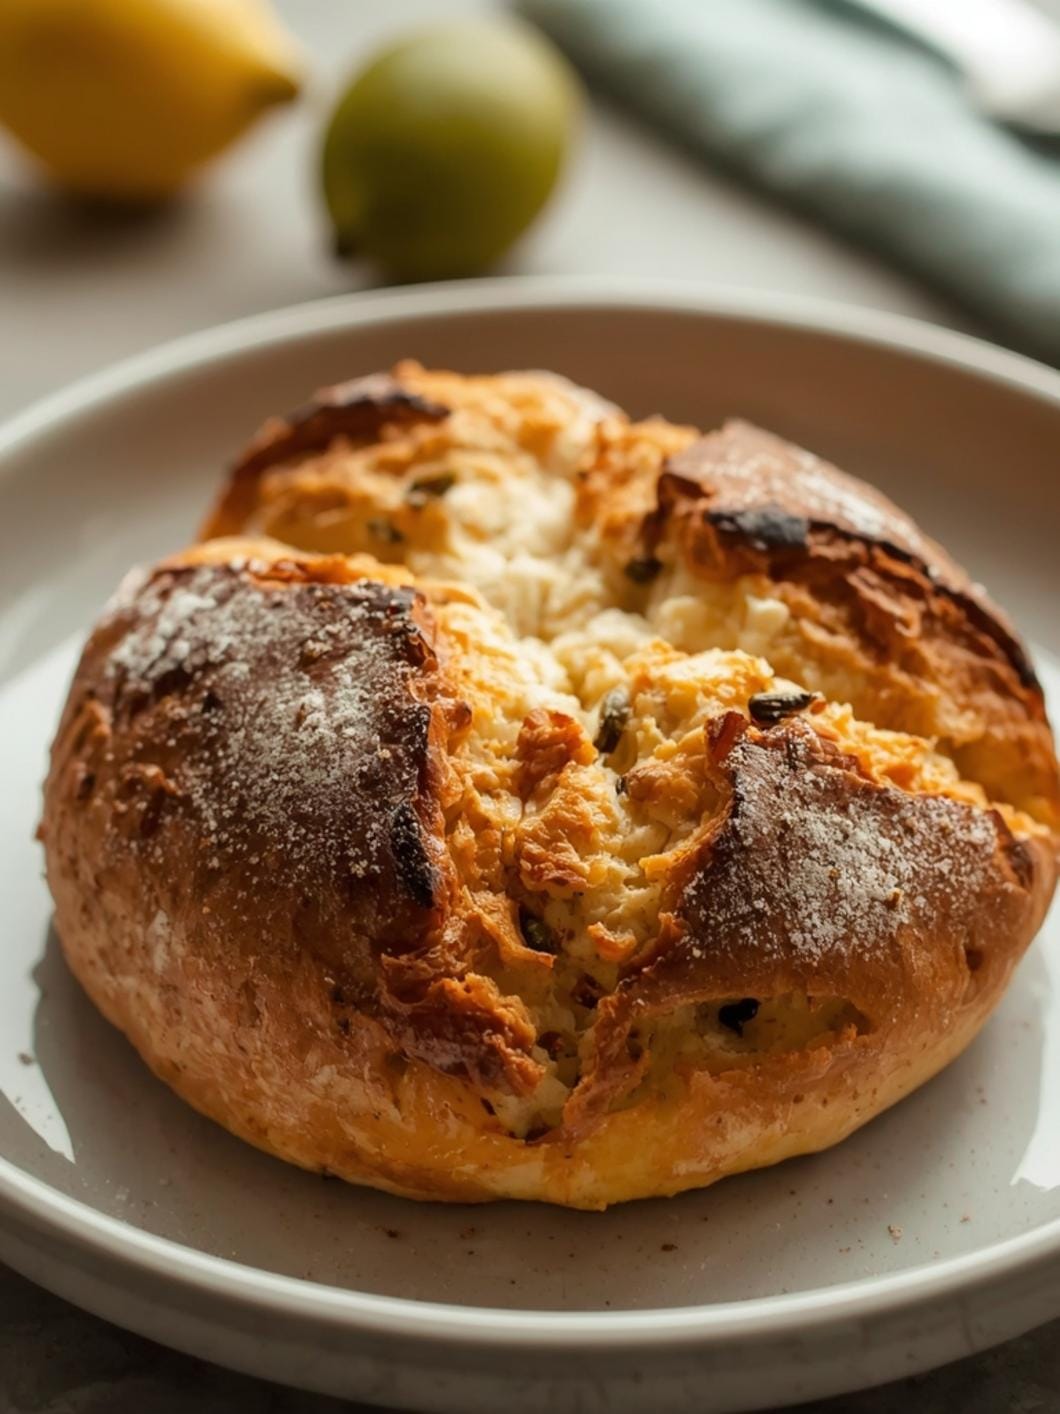
To add variety to your sourdough, consider incorporating mix-ins during the bulk fermentation stage. Think about adding dried fruits like cranberries or raisins, nuts such as walnuts or pecans, or savory elements like roasted garlic, herbs (rosemary, thyme), or cheese (cheddar, Parmesan). These additions should be gently folded in during the last few sets of stretch and folds to ensure even distribution without tearing the delicate gluten structure. For a sweeter loaf, a touch of cinnamon and sugar can be swirled in. These variations make your sourdough adaptable for breakfast, lunch, or dinner, fitting into any meal plan.
Common Slip-Ups And How To Avoid Them
One of the most common mistakes in sourdough baking is misjudging the end of bulk fermentation. If you under-ferment, your bread will be dense with a tight crumb and poor oven spring. If you over-ferment, the dough will be sticky, slack, and hard to shape, leading to a flat loaf. To avoid this, pay attention to visual cues: a 30-50% increase in volume, bubbles on the surface, and a jiggly texture are good indicators. The “float test” (dropping a small piece of dough in water to see if it floats) can also be helpful, though not foolproof.
Another frequent slip-up is not covering the dough properly during cold proofing, leading to a dry, crusty surface. Always ensure your dough is well-covered with plastic wrap or a tight-fitting lid to maintain moisture. Also, don’t rush the cold proof. While 12 hours is a minimum, allowing it to go longer (24-48 hours) often results in a more complex flavor profile and easier handling. Finally, ensure your starter is truly active and strong before you begin. A weak starter will lead to sluggish fermentation and poor results, regardless of how well you manage the bulk and cold proofing stages.
How To Store It And Make It Ahead Without Ruining Texture
Once baked, sourdough bread stores remarkably well. For optimal freshness, store your cooled loaf at room temperature. A bread box is ideal, or you can wrap it in a clean kitchen towel and place it in a paper bag. This allows the crust to remain crisp while keeping the interior soft. Avoid storing sourdough in the refrigerator, as this can accelerate staling. It will typically stay fresh for 2-3 days this way.
For longer storage, sourdough freezes beautifully. Once the loaf has completely cooled, slice it or keep it whole, then wrap it tightly in plastic wrap, followed by a layer of aluminum foil. It can be frozen for up to 3 months. To enjoy, simply thaw at room temperature and refresh in a warm oven for a few minutes to revive the crust. Making sourdough ahead is inherent to the process, given the long fermentation times. The cold proofing stage itself is a fantastic make-ahead strategy, allowing you to bake fresh bread on your schedule, even on busy weekdays.
Questions People Always Ask Before Making This Recipe
How do I know when bulk fermentation is finished? Look for a 30-50% increase in volume, visible bubbles on the surface, and a jiggly, airy texture when you gently shake the bowl. The dough should feel light and alive.
Can I cold proof for less than 12 hours? While you can bake after a shorter cold proof, 12 hours is generally the minimum recommended time to allow for flavor development and easier handling. Shorter times may result in less complex flavor.
What if my dough doesn’t rise much during bulk fermentation? This often indicates a weak starter or a too-cold environment. Ensure your starter is active and bubbly, and try placing your dough in a warmer spot (around 75-80°F / 2

FAQs
- Can I make these ahead? Yes—prep ahead, refrigerate, then serve when ready.
- How long do leftovers last? Store covered in the fridge for 3–4 days for best texture.
- Can I adjust sweetness? Yes—add more or less sweetener to taste.
- Can I change the fruit? Yes—swap strawberries for blueberries, raspberries, or sliced banana.