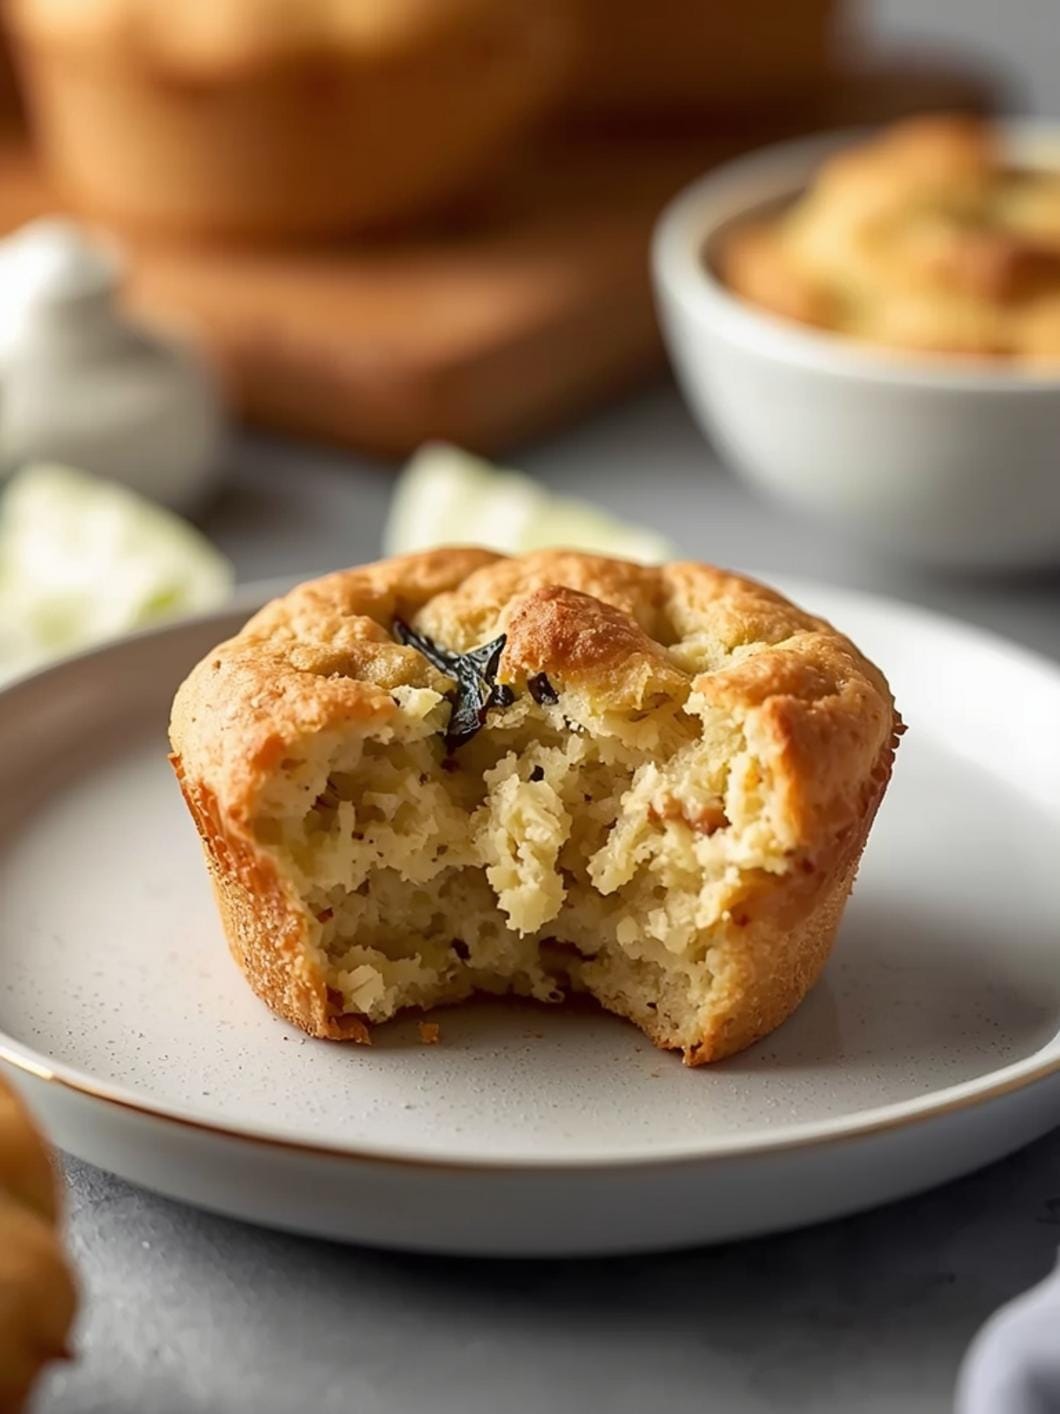
Elevate your baking with this delightful sourdough chocolate raspberry bread, a specialty sourdough bread perfect for using your sourdough starter.

This recipe offers delicious sourdough bread inclusions ideas for a unique treat that’s surprisingly simple to create. Get ready to impress your family and friends with a loaf that’s bursting with flavor and a beautiful texture.
This recipe is designed for home bakers looking to explore the versatility of their sourdough starter beyond traditional loaves. It’s a fantastic way to transform a basic sourdough into something truly special, combining the tangy depth of sourdough with the sweet-tartness of raspberries and the rich indulgence of chocolate.
Table of Contents
- What You’ll Love About This Quick And Easy Recipe
- Everything You Need To Make This Recipe Without Stress
- Time Needed From Start To Finish
- How To Make It Step By Step With Visual Cues
- Easy Variations And Serving Ideas That Fit Real Life
- Common Slip-Ups And How To Avoid Them
- How To Store It And Make It Ahead Without Ruining Texture

Sourdough Chocolate Raspberry Bread
- Total Time: 6-9 hours
- Yield: 1 loaf 1x
Description
Elevate your baking with this delightful sourdough chocolate raspberry bread, a specialty sourdough bread perfect for using your sourdough starter. This recipe offers delicious sourdough bread inclusions ideas for a unique treat that’s surprisingly simple to create. Get ready to impress your family and friends with a loaf that’s bursting with flavor and a beautiful texture.
Ingredients
Instructions
1. Combine Starter and Water: In a large mixing bowl, gently whisk together the active sourdough starter and the warm water until the starter is mostly dissolved and the mixture is cloudy. This ensures even distribution of your starter’s activity throughout the dough.
2. Mix Dry Ingredients: Add the all-purpose flour, salt, and granulated sugar to the bowl with the starter mixture. Use a wooden spoon or your hands to mix until a shaggy dough forms and no dry spots of flour remain. It will be sticky at this stage, which is perfectly normal.
3. First Rise (Bulk Fermentation): Cover the bowl with a damp kitchen towel or plastic wrap and let it rest at room temperature (around 70-75F) for 30 minutes. After 30 minutes, perform a series of “stretch and folds.” Gently stretch a portion of the dough up from the edge of the bowl and fold it over the center. Rotate the bowl and repeat this process 3-4 times. Do this every 30 minutes for the first 2 hours of bulk fermentation. After the first 2 hours, let the dough continue to bulk ferment for another 2-4 hours, or until it has increased in volume by about 50-75% and appears bubbly. Alternatively, you can place it in the refrigerator overnight for a slower, colder fermentation, which often develops more complex flavors.
4. Incorporate Inclusions: Once bulk fermentation is complete, gently turn the dough out onto a lightly floured surface. Flatten it into a rough rectangle. Scatter the chocolate chips and raspberries evenly over the surface of the dough. Gently fold the dough over itself a few times to incorporate the inclusions without crushing the raspberries too much. Shape the dough into a round or oval loaf.
5. Second Rise (Proofing): Place the shaped dough into a floured banneton basket or a bowl lined with a floured kitchen towel, seam-side up. Cover it loosely and let it proof at room temperature for 1-2 hours, or until it looks puffy and springs back slowly when gently poked. If you cold-fermented overnight, you can proof it directly from the fridge for 30-60 minutes while your oven preheats.
6. Preheat Oven and Bake: Preheat your oven to 450F (230C) with a Dutch oven or baking stone inside for at least 30 minutes. Carefully transfer the proofed dough from the banneton to the hot Dutch oven or baking surface. Score the top of the loaf with a sharp knife or bread lame. Bake with the lid on (or with steam if using a baking stone) for 20 minutes.
7. Finish Baking: Remove the lid (or steam source) and reduce the oven temperature to 400F (200C). Continue baking for another 20-30 minutes, or until the crust is deeply golden brown and the internal temperature reaches 200-210F (93-99C).
8. Cooling: Carefully remove the bread from the oven and transfer it to a wire rack to cool completely before slicing. This is crucial for the crumb to set properly and for the flavors to fully develop.
- Prep Time: 20-25 minutes
- Cook Time: 40-50 minutes
- Category: bread
- Method: baking
- Cuisine: american
Nutrition
- Serving Size: 1 slice
Keywords: sourdough, bread, chocolate, raspberry, baking, sweet, fruit, dessert, breakfast, brunch
What You’ll Love About This Quick And Easy Recipe
This sourdough chocolate raspberry bread recipe is a true gem for several reasons. First, it’s an excellent way to use an active sourdough starter, transforming it into a sweet and savory loaf rather than just a plain bread. The tang of the sourdough perfectly complements the sweetness of the chocolate and the brightness of the raspberries, creating a complex flavor profile that’s incredibly satisfying. It’s perfect for anyone who enjoys baking with sourdough but wants to venture into more adventurous flavor combinations. This bread is ideal for a special breakfast, a decadent brunch, or even as a unique dessert. It’s also wonderful for sharing with guests or bringing to a potluck, as it’s sure to be a conversation starter and a crowd-pleaser. The recipe is designed to be approachable, even for those who are still developing their sourdough skills, focusing on clear steps and delicious results.
Everything You Need To Make This Recipe Without Stress
Gathering your ingredients before you begin is always a smart move to ensure a smooth baking process. This recipe uses readily available items, making it easy to whip up this delicious bread without a special trip to the store.
INGREDIENTS:

- 1 cup active sourdough starter
- 1 1/2 cups warm water (around 95-105°F)
- 4 cups all-purpose flour
- 2 teaspoons salt
- 1/4 cup granulated sugar
- 1/2 cup semi-sweet chocolate chips or chunks
- 1 cup fresh or frozen raspberries (do not thaw if frozen)
- 2 tablespoons unsalted butter, melted (for brushing)
For the flour, all-purpose works wonderfully here, providing a good balance of structure and tenderness. If you prefer, you can experiment with a portion of bread flour for a chewier texture, or even a small amount of whole wheat flour for added nuttiness, though this will slightly change the crumb. When it comes to chocolate, semi-sweet chips are a classic choice, but dark chocolate chunks would also be fantastic for a more intense chocolate flavor. Milk chocolate could be used if you prefer a sweeter loaf. Fresh raspberries are ideal for their vibrant flavor and texture, but frozen raspberries work just as well – just be sure not to thaw them beforehand to prevent them from bleeding too much into the dough.
Time Needed From Start To Finish
This recipe, while involving sourdough, is structured to be manageable within a reasonable timeframe, especially when considering the hands-on versus inactive time.
- Prep Time: 20-25 minutes (includes mixing ingredients and initial folding)
- Bulk Fermentation: 4-6 hours (or overnight in the fridge)
- Proofing: 1-2 hours
- Bake Time: 40-50 minutes
- Total Time (Active): Approximately 1 hour
- Total Time (Including Fermentation/Proofing): 6-9 hours (or longer if cold fermenting)
While the total time might seem long due to the fermentation, much of it is inactive, allowing you to go about your day while your dough develops flavor and structure.
How To Make It Step By Step With Visual Cues

Creating this sourdough chocolate raspberry bread is a rewarding process. Follow these steps carefully for a beautiful and delicious loaf.
- Combine Starter and Water: In a large mixing bowl, gently whisk together the active sourdough starter and the warm water until the starter is mostly dissolved and the mixture is cloudy. This ensures even distribution of your starter’s activity throughout the dough.
- Mix Dry Ingredients: Add the all-purpose flour, salt, and granulated sugar to the bowl with the starter mixture. Use a wooden spoon or your hands to mix until a shaggy dough forms and no dry spots of flour remain. It will be sticky at this stage, which is perfectly normal.
- First Rise (Bulk Fermentation): Cover the bowl with a damp kitchen towel or plastic wrap and let it rest at room temperature (around 70-75°F) for 30 minutes. After 30 minutes, perform a series of “stretch and folds.” Gently stretch a portion of the dough up from the edge of the bowl and fold it over the center. Rotate the bowl and repeat this process 3-4 times. Do this every 30 minutes for the first 2 hours of bulk fermentation. After the first 2 hours, let the dough continue to bulk ferment for another 2-4 hours, or until it has increased in volume by about 50-75% and appears bubbly. Alternatively, you can place it in the refrigerator overnight for a slower, colder fermentation, which often develops more complex flavors.
- Incorporate Inclusions: Once bulk fermentation is complete, gently turn the dough out onto a lightly floured surface. Flatten it into a rough rectangle. Scatter the chocolate chips and raspberries evenly over the surface of the dough. Gently fold the dough over itself a few times to incorporate the inclusions without crushing the raspberries too much. Shape the dough into a round or oval loaf.
- Second Rise (Proofing): Place the shaped dough into a floured banneton basket or a bowl lined with a floured kitchen towel, seam-side up. Cover it loosely and let it proof at room temperature for 1-2 hours, or until it looks puffy and springs back slowly when gently poked. If you cold-fermented overnight, you can proof it directly from the fridge for 30-60 minutes while your oven preheats.
- Preheat Oven and Bake: Preheat your oven to 450°F (230°C) with a Dutch oven or baking stone inside for at least 30 minutes. Carefully transfer the proofed dough from the banneton to the hot Dutch oven or baking surface. Score the top of the loaf with a sharp knife or bread lame. Bake with the lid on (or with steam if using a baking stone) for 20 minutes.
- Finish Baking: Remove the lid (or steam source) and reduce the oven temperature to 400°F (200°C). Continue baking for another 20-30 minutes, or until the crust is deeply golden brown and the internal temperature reaches 200-210°F (93-99°C).
- Cooling: Carefully remove the bread from the oven and transfer it to a wire rack to cool completely before slicing. This is crucial for the crumb to set properly and for the flavors to fully develop.
Easy Variations And Serving Ideas That Fit Real Life
This sourdough chocolate raspberry bread is incredibly versatile and can be enjoyed in many ways. For a simple and delicious breakfast, serve slices lightly toasted with a smear of butter or cream cheese. It also makes a fantastic base for a special French toast, adding an extra layer of flavor to a classic dish. For a more decadent treat, drizzle warm chocolate sauce over a slice.
To make it even more kid-friendly, you could use mini chocolate chips, which distribute more evenly and provide a smaller burst of chocolate in each bite. You could also swap out the raspberries for other berries like blueberries or chopped strawberries, or even a mix of berries. For a nutty twist, add a handful of chopped pecans or walnuts along with the chocolate and raspberries. This bread is also wonderful as part of a brunch spread, alongside fresh fruit, yogurt, and coffee.
Common Slip-Ups And How To Avoid Them
Even experienced bakers can encounter minor hiccups, but knowing what to look out for can save your loaf. One common mistake is not allowing enough time for bulk fermentation. If your dough doesn’t rise sufficiently during this stage, your final bread will be dense and lack the characteristic open crumb of sourdough. Ensure your starter is active and lively, and give the dough ample time to develop, watching for visual cues like increased volume and bubbles.
Another frequent issue is overworking the dough when incorporating the inclusions. Too much handling can crush the delicate raspberries, causing them to bleed excessively and potentially make the dough wet and sticky. Gently fold them in just enough to distribute them. Similarly, not cooling the bread completely before slicing can lead to a gummy texture. Resist the urge to cut into it right out of the oven; patience will be rewarded with a much better crumb and flavor. Finally, ensure your oven is fully preheated, especially if using a Dutch oven, as a hot environment is crucial for a good oven spring and crust development.
How To Store It And Make It Ahead Without Ruining Texture
Proper storage is key to keeping your sourdough chocolate raspberry bread fresh and delicious. Once completely cooled, store the loaf at room temperature in an airtight container or a bread bag. It will stay fresh for 2-3 days. For longer storage, you can slice the bread and

FAQs
- Can I make these ahead? Yes—prep ahead, refrigerate, then serve when ready.
- How long do leftovers last? Store covered in the fridge for 3–4 days for best texture.
- Can I adjust sweetness? Yes—add more or less sweetener to taste.
- Can I change the fruit? Yes—swap strawberries for blueberries, raspberries, or sliced banana.