Unlocking the secrets to perfect homemade sourdough bread can feel like a quest, but understanding crumb texture is a huge step in the right direction.
 11")
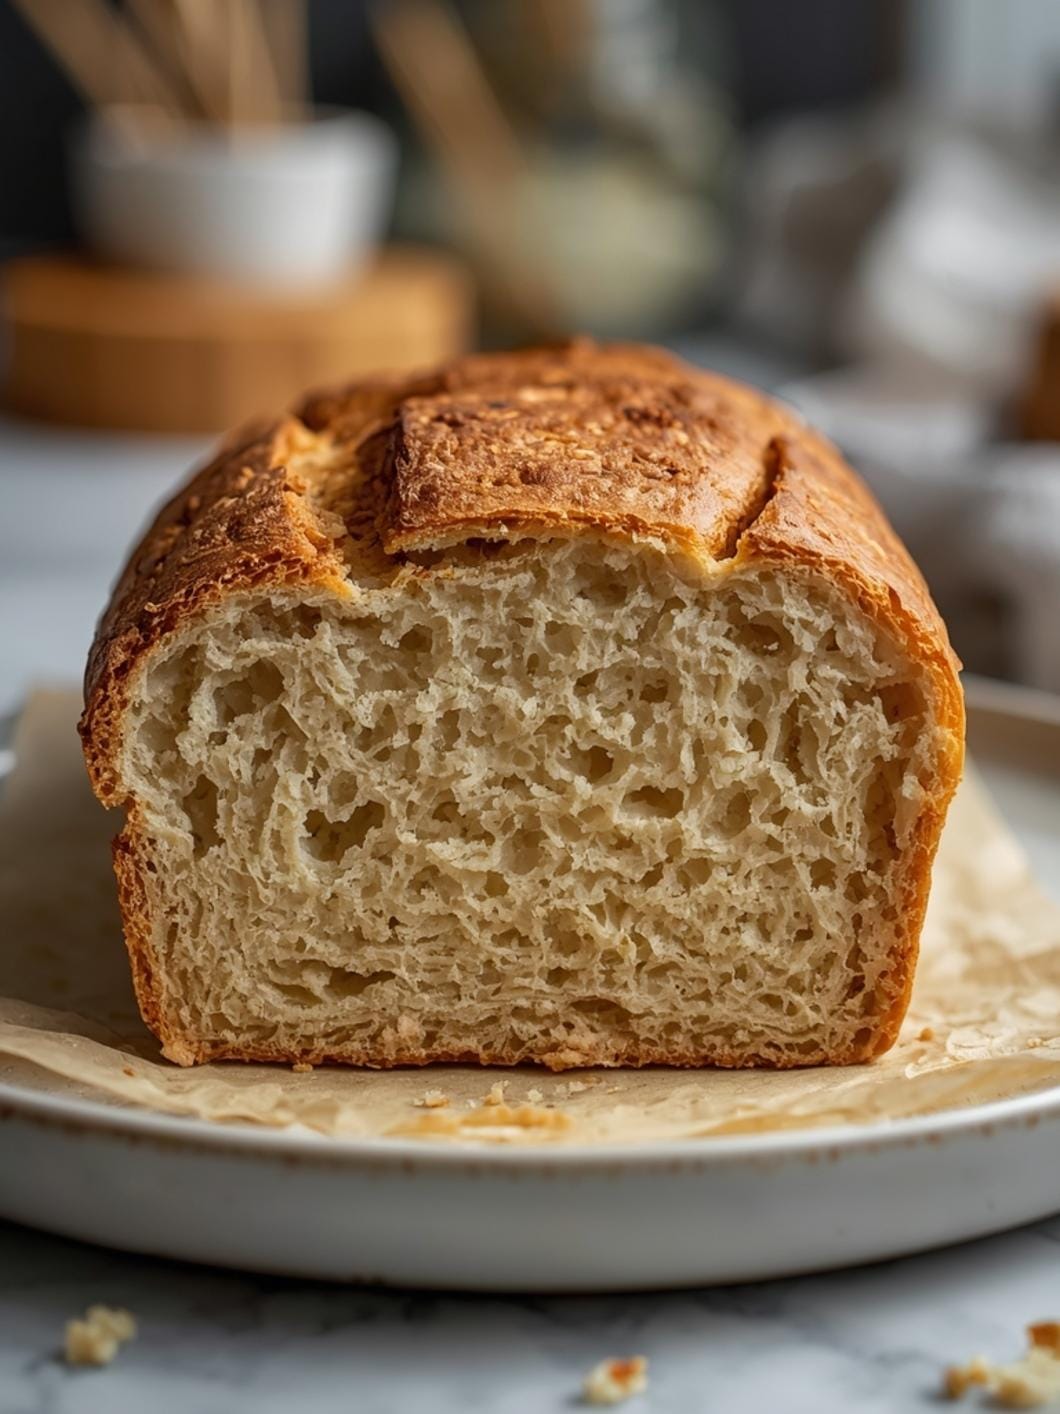
This visual guide is designed to demystify the various crumb structures you might encounter in your sourdough journey, helping you interpret what they mean for your baking.
Whether you’re aiming for an open, airy crumb or a more uniform, dense texture, this comparison will equip you with the knowledge to troubleshoot common issues and consistently achieve your ideal sourdough crumb. Let’s dive into the details and make every loaf a success!
Table of Contents
- What You’ll Love About This Quick And Easy Recipe
- Everything You Need To Make This Recipe Without Stress
- Time Needed From Start To Finish
- How To Make It Step By Step With Visual Cues
- Easy Variations And Serving Ideas That Fit Real Life
- Common Slip-Ups And How To Avoid Them
- How To Store It And Make It Ahead Without Ruining Texture
- Questions People Always Ask Before Making This Recipe
 12")
Sourdough Crumb Analysis Guide
- Total Time: 6-12 minutes
- Yield: 1 loaf
Description
This guide helps you understand and interpret the crumb texture of your homemade sourdough bread, offering insights to troubleshoot common issues and improve your baking results. It’s a diagnostic tool for bakers to achieve their ideal sourdough crumb.
Ingredients
Instructions
1. Allow Your Loaf to Cool Completely: This is crucial. Slicing warm sourdough can compress the crumb, making it difficult to accurately assess its true texture. Wait at least 2-4 hours, or even overnight, for the bread to fully cool.
2. Make a Clean Slice: Using a sharp bread knife, cut a slice from the center of your loaf. A clean cut prevents tearing or squishing the crumb, allowing for a clear view of its internal structure.
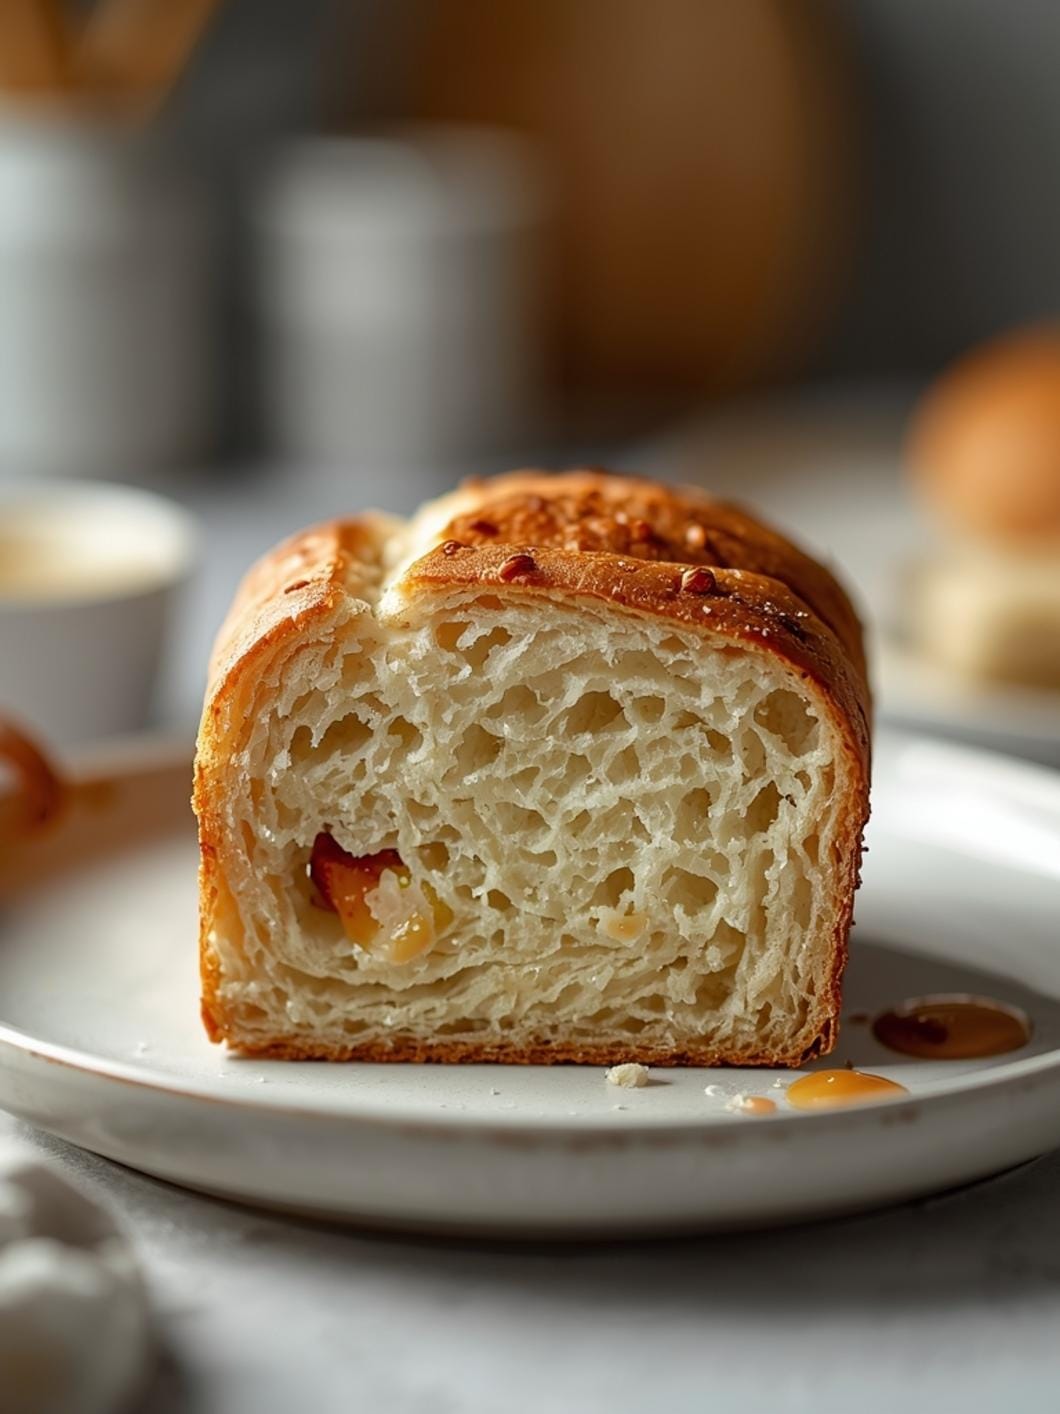
3. Examine the Overall Structure: Hold the slice up to good light. Look at the distribution of holes (alveoli). Are they evenly spread, or are there large, irregular tunnels? Is the crumb dense and uniform, or open and airy?
4. Assess Hole Size and Shape: Note the size and shape of the holes. Small, tight holes often indicate under-proofing or insufficient gluten development. Large, irregular holes can point to over-proofing or issues with shaping.
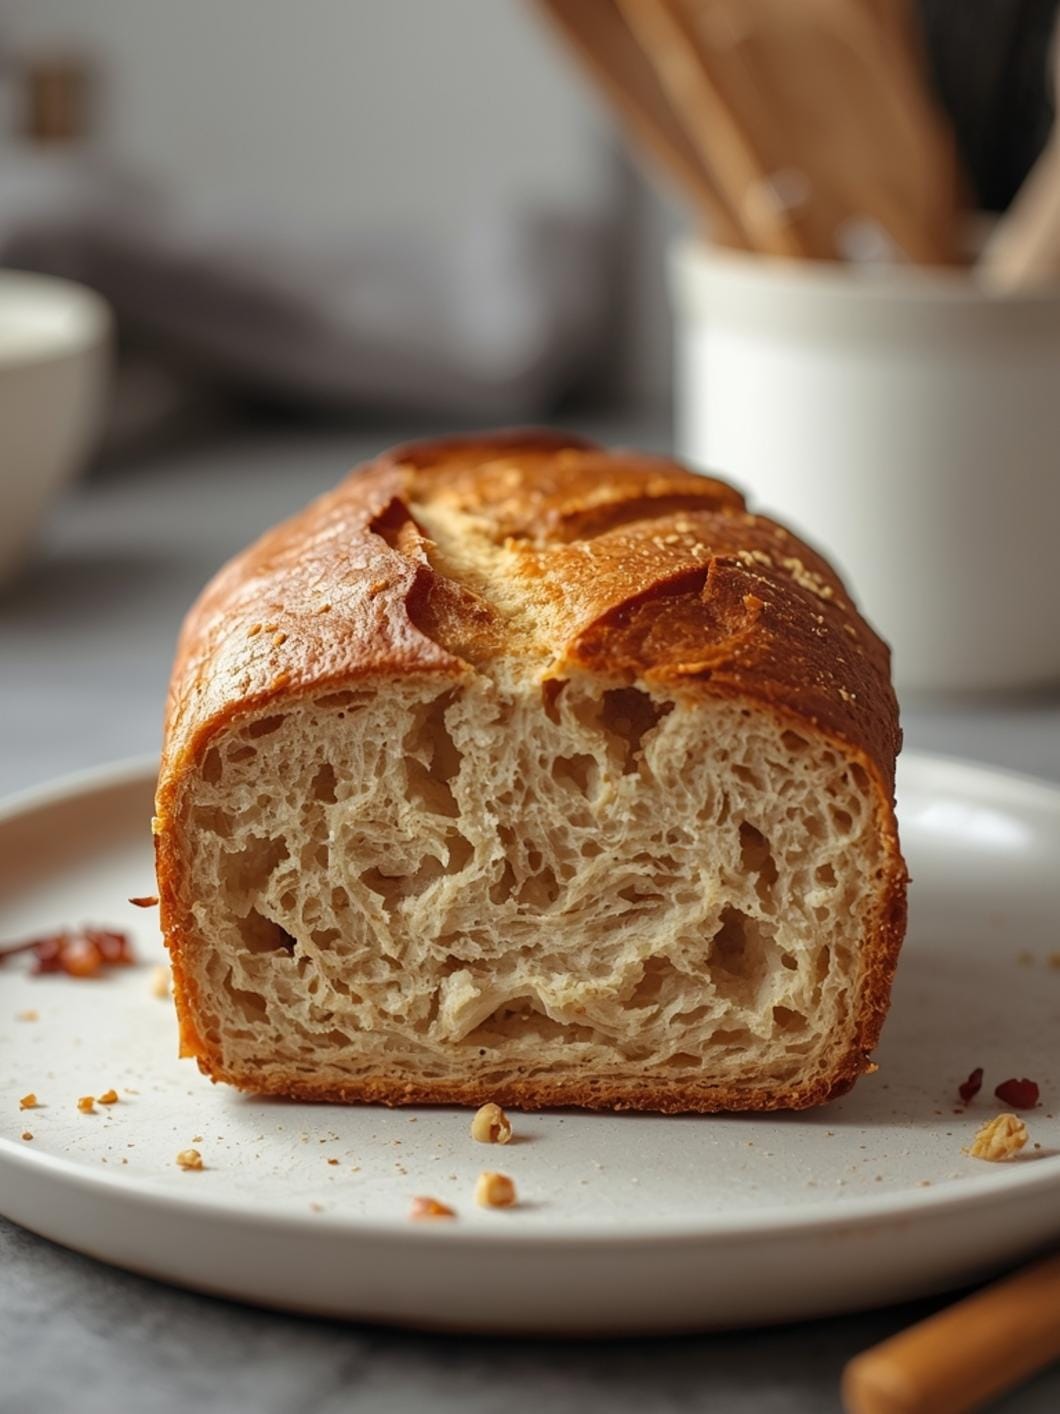
5. Look for Consistency: Is the crumb consistent throughout the slice, or does it vary significantly from the center to the edges? Inconsistent crumb can suggest uneven fermentation or shaping problems.
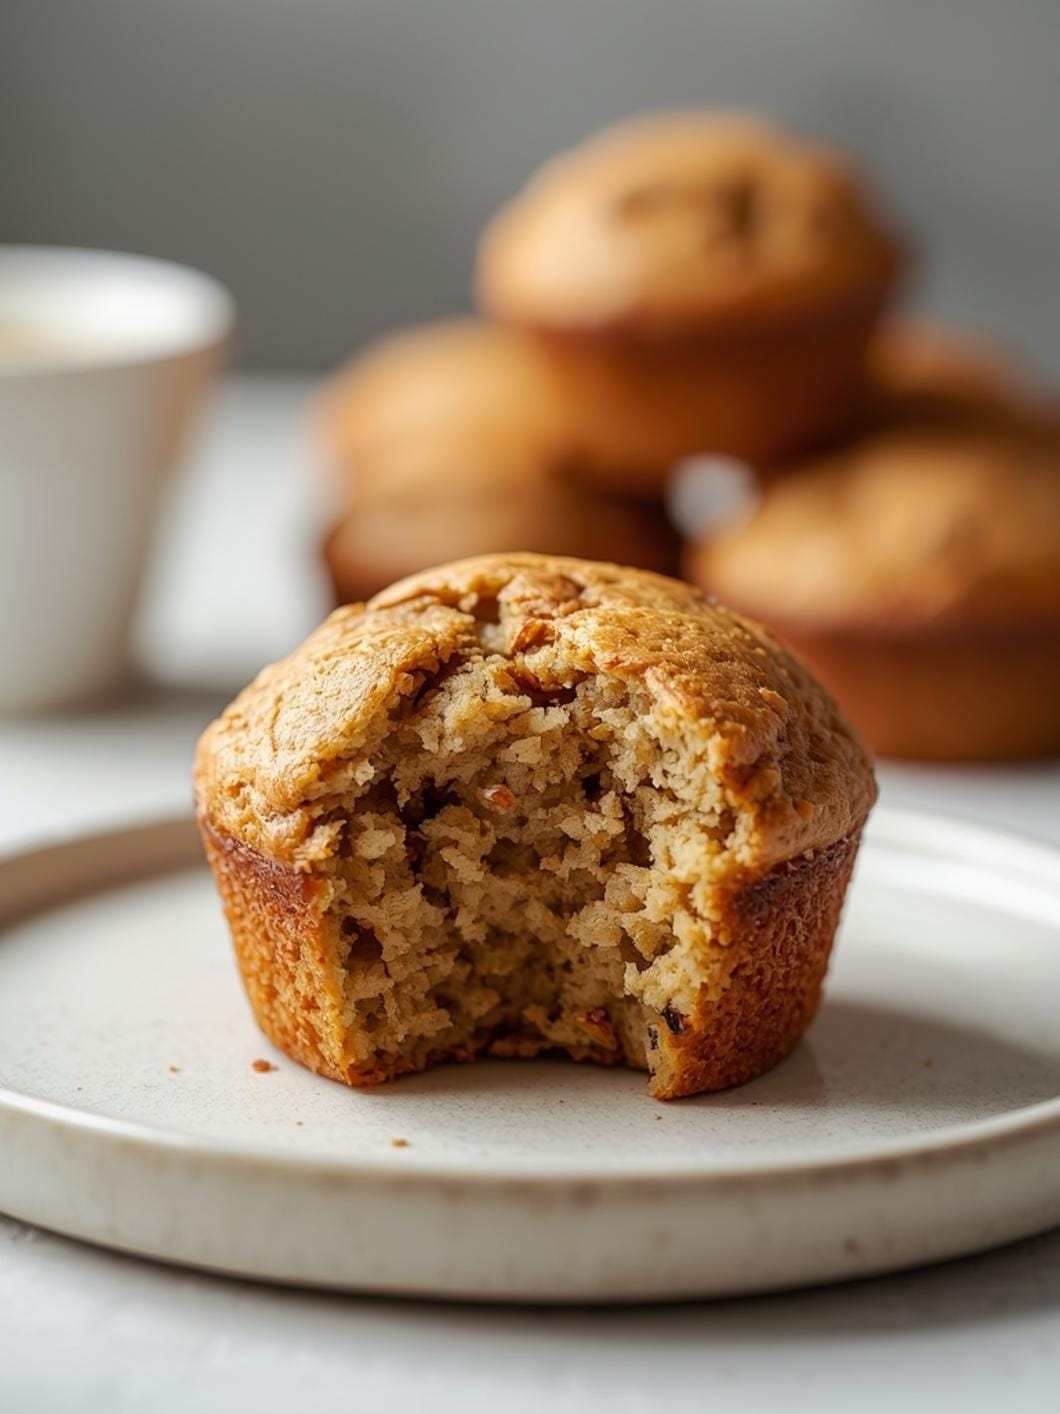
6. Feel the Texture: Gently press and feel the crumb. Does it spring back? Is it gummy, dry, or perfectly moist and tender? A gummy texture often indicates under-baking or too much moisture.
7. Compare to Reference Images: Use visual references (like those found in comprehensive sourdough guides) to compare your crumb to examples of ideal, under-proofed, over-proofed, or under-kneaded crumbs. This helps you identify specific issues.
8. Document Your Findings: Take a photo of your crumb and make notes about what you observe. This creates a valuable record for tracking your progress and understanding the impact of changes in your baking process.
- Prep Time: 1-2 minutes
- Cook Time: 0 minutes
- Category: baking guide
- Method: observation
- Cuisine: sourdough
Nutrition
- Serving Size: 1 loaf
Keywords: sourdough, crumb, baking, guide, bread, texture, analysis, homemade, troubleshooting, fermentation
What You’ll Love About This Quick And Easy Recipe
This guide isn’t a traditional recipe in the sense of ingredients and steps, but rather a diagnostic tool for your sourdough baking. What you’ll love about it is its practicality and immediate applicability. It’s for any home baker, from beginner to experienced, who wants to understand and improve their sourdough bread. You’ll gain confidence in interpreting your results, making adjustments, and ultimately baking better bread. This knowledge is invaluable for every bake, transforming potential frustrations into learning opportunities.
Everything You Need To Make This Recipe Without Stress
Since this is a guide for understanding sourdough crumb textures rather than a recipe with specific ingredients, there isn’t a traditional ingredient list. Instead, what you “need” are your senses and a keen eye for detail. You’ll be working with the sourdough bread you’ve already baked.
INGREDIENTS:
 13")
- Your freshly baked sourdough loaf
- A sharp bread knife
- A clean cutting board
- Good lighting for observation
After you’ve baked your sourdough, the “ingredients” for this guide are simply your loaf and the tools to examine it. There are no substitutions here, as the focus is on analyzing the bread you’ve produced. The goal is to observe, learn, and then apply that knowledge to your next baking session.
Time Needed From Start To Finish
- Prep Time: 1-2 minutes (for slicing your bread)
- Observation Time: 5-10 minutes (for careful examination and comparison)
- Total Time: 6-12 minutes
This isn’t about active cooking time, but rather dedicated time for learning and analysis after your bread has cooled. Taking these few minutes to truly understand your crumb can save you hours of frustration in future bakes.
How To Make It Step By Step With Visual Cues
 14")
Understanding your sourdough crumb is a process of careful observation and comparison. Here’s how to approach it:
- Allow Your Loaf to Cool Completely: This is crucial. Slicing warm sourdough can compress the crumb, making it difficult to accurately assess its true texture. Wait at least 2-4 hours, or even overnight, for the bread to fully cool.
- Make a Clean Slice: Using a sharp bread knife, cut a slice from the center of your loaf. A clean cut prevents tearing or squishing the crumb, allowing for a clear view of its internal structure.
- Examine the Overall Structure: Hold the slice up to good light. Look at the distribution of holes (alveoli). Are they evenly spread, or are there large, irregular tunnels? Is the crumb dense and uniform, or open and airy?
- Assess Hole Size and Shape: Note the size and shape of the holes. Small, tight holes often indicate under-proofing or insufficient gluten development. Large, irregular holes can point to over-proofing or issues with shaping.
- Look for Consistency: Is the crumb consistent throughout the slice, or does it vary significantly from the center to the edges? Inconsistent crumb can suggest uneven fermentation or shaping problems.
- Feel the Texture: Gently press and feel the crumb. Does it spring back? Is it gummy, dry, or perfectly moist and tender? A gummy texture often indicates under-baking or too much moisture.
- Compare to Reference Images: Use visual references (like those found in comprehensive sourdough guides) to compare your crumb to examples of ideal, under-proofed, over-proofed, or under-kneaded crumbs. This helps you identify specific issues.
- Document Your Findings: Take a photo of your crumb and make notes about what you observe. This creates a valuable record for tracking your progress and understanding the impact of changes in your baking process.
Easy Variations And Serving Ideas That Fit Real Life
While this guide focuses on analysis rather than a recipe, the insights you gain directly influence how you enjoy your sourdough. A well-understood crumb means you can bake bread that’s perfect for various serving ideas.
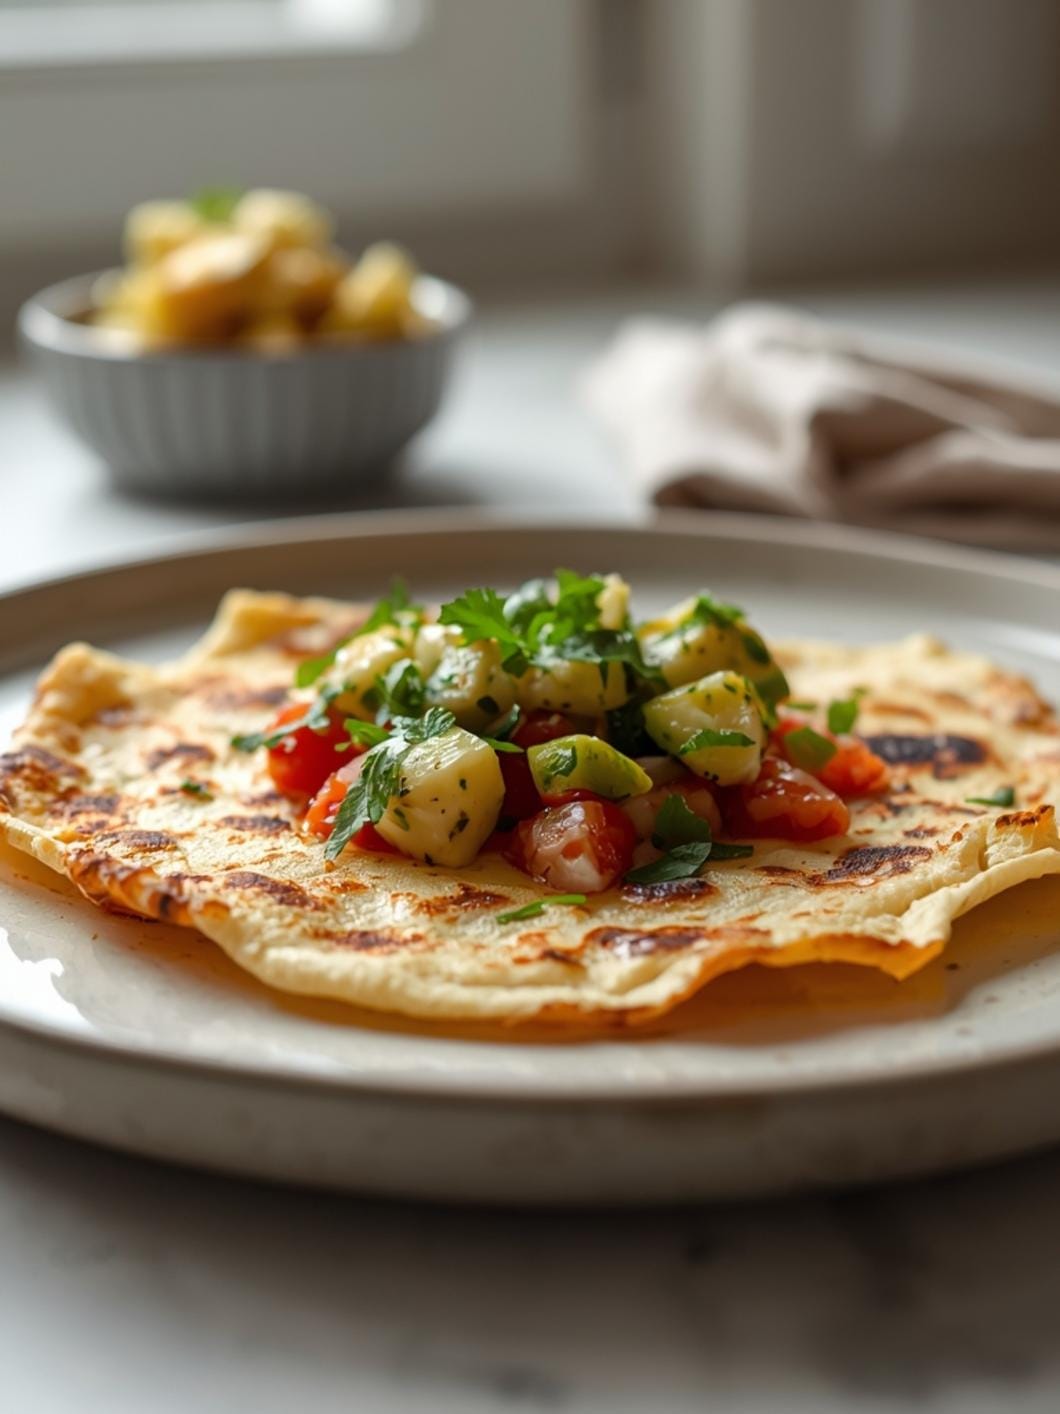
If your crumb is open and airy, it’s fantastic for soaking up olive oil, creating gourmet sandwiches, or serving alongside a hearty soup. A slightly denser, more uniform crumb might be ideal for toasting, making bruschetta, or as a base for avocado toast. For kid-friendly options, a well-baked sourdough with a tender crumb can be used for grilled cheese sandwiches or simply slathered with butter and jam. Understanding your crumb means you can tailor your baking to suit your family’s preferences, making every loaf a versatile staple in your kitchen.
Common Slip-Ups And How To Avoid Them
When analyzing sourdough crumb, several common issues can mislead your interpretation or point to specific baking errors.
- Slicing Too Soon: The biggest mistake is cutting into your loaf before it has fully cooled. This compresses the crumb, making it appear denser and gummier than it actually is, leading to misdiagnosis. Always wait several hours, or even overnight, for the bread to set.
- Ignoring the Crust: While focusing on the crumb, don’t forget to consider the crust. A thick, tough crust with a dense crumb can indicate under-proofing, while a very thin, delicate crust might suggest over-proofing.
- Misinterpreting Large Holes: Not all large holes are good. If you have a few very large, irregular tunnels surrounded by a dense, tight crumb, this is often a sign of under-proofing or insufficient shaping, where gas pockets formed but weren’t evenly distributed. An ideal open crumb has well-distributed, varied-sized holes throughout.
- Blaming the Starter First: While starter activity is crucial, many crumb issues stem from proofing times, shaping techniques, or baking temperature, not just the starter’s strength. Consider the entire process before concluding your starter is the sole culprit.
- Lack of Consistent Observation: If you don’t consistently observe and document your crumb after each bake, it’s harder to identify patterns and understand the impact of changes you make. Keep a baking journal!
How To Store It And Make It Ahead Without Ruining Texture
Since this guide is about analyzing your baked sourdough, the storage advice applies to the bread itself. Proper storage is key to maintaining the crumb texture you worked so hard to achieve.
For optimal freshness and crumb integrity, store your sourdough loaf at room temperature. A cut loaf is best stored cut-side down on a clean cutting board, or in a bread box. You can also wrap it in a clean kitchen towel or a reusable bread bag. Avoid refrigerating sourdough, as this can accelerate staling and dry out the crumb. For longer storage, you can freeze whole or sliced sourdough. Wrap it tightly in plastic wrap, then in foil, and place it in a freezer-safe bag. Thaw at room temperature, and for best results, refresh slices in a toaster or the oven to revive the crust and crumb. Make-ahead refers to the baking process itself; once baked, the goal is to preserve the crumb you’ve created.
Questions People Always Ask Before Making This Recipe
Here are some common questions bakers have about understanding sourdough crumb texture:
Q: What does an “ideal” sourdough crumb look like? A: An ideal crumb is subjective, but generally, it’s well-aerated with an open, irregular structure of varying hole sizes, tender and moist, and springs back when gently pressed.
Q: My crumb is very dense and tight. What does that mean? A: A dense crumb often indicates under-proofing (not enough fermentation time), insufficient gluten development (not enough kneading/stretching and folding), or an inactive starter.
Q: I have huge tunnels in my bread, but the rest is dense. Is that good? A: Not usually. Large, isolated tunnels surrounded by dense areas often point to under-proofing or improper shaping where gas was trapped unevenly. An ideal open crumb has well-distributed holes.
Q: Why is my sourdough crumb gummy? A: A gummy crumb typically means the bread is under-baked, or it had too much moisture. Ensure you’re baking to an internal temperature of 200-210°F (93-99°C) and letting it cool completely before slicing.
Q: Can I fix a bad crumb after baking? A: Unfortunately, you can’t change the crumb structure after the bread is baked. The learning comes from analyzing the current crumb to inform and improve your next bake.
Q: How does hydration affect crumb texture? A: Higher hydration doughs generally lead to a more open, airy crumb because there’s more water to create steam and expand the gluten structure. Lower hydration results in a denser, more uniform crumb.
**Q: Should I always aim for the
 15")
FAQs
- Can I make these ahead? Yes—prep ahead, refrigerate, then serve when ready.
- How long do leftovers last? Store covered in the fridge for 3–4 days for best texture.
- Can I adjust sweetness? Yes—add more or less sweetener to taste.
- Can I change the fruit? Yes—swap strawberries for blueberries, raspberries, or sliced banana.