There’s nothing quite like the satisfaction of baking your own sourdough bread. The aroma filling your kitchen, the anticipation as it bakes, and that first slice with a perfectly crisp crust and airy interior.

However, if you’ve been consistently ending up with a sourdough crust that’s just too thick, dense, or chewy, you’re not alone. This is a common hurdle for many home bakers, and it can be incredibly frustrating after all the effort you put into your starter and dough.
This guide is designed to help you pinpoint exactly what might be going wrong and provide practical, easy-to-implement solutions. We’ll explore the various factors that contribute to a thick crust, from hydration levels and shaping techniques to baking temperatures and steam. By understanding these elements, you can adjust your process and consistently achieve that ideal, thin, and wonderfully crackly sourdough crust you’ve been dreaming of.

Sourdough Crust Troubleshooting Guide
- Total Time: Ongoing
- Yield: 1 loaf
Description
This guide helps troubleshoot common issues leading to a thick, dense, or chewy sourdough crust, providing practical solutions for home bakers to achieve a thin, crisp, and crackly crust.
Ingredients
Instructions
1. Assess Your Dough Hydration: A very stiff, low-hydration dough often results in a thicker crust. Review your recipe’s hydration percentage. If it’s on the lower side (below 70%), consider increasing the water by 1-2% in your next batch. The dough should feel tacky but manageable, not overly dry or dense.
2. Ensure Proper Fermentation and Proofing: Under-proofed dough tends to have a dense crumb and a thicker crust because it hasn’t developed enough gas to create an open structure. Over-proofed dough can also lead to issues, as its structure might collapse, resulting in a less airy crumb. Pay close attention to your dough’s “jiggle” and feel. It should be light and airy, showing signs of gas production. A poke test (where the dough slowly springs back) is a good indicator of readiness.
3. Master Your Shaping Technique: A tight, well-shaped loaf creates good surface tension, which helps the crust expand evenly and thinly. If your shaping is too loose, the dough can spread, leading to a flatter loaf with a thicker, tougher crust. Focus on creating a taut skin on the outside of your dough ball or batard during the final shaping.
4. Optimize Your Baking Temperature and Steam: High initial oven temperatures (450-500 F / 232-260 C) are crucial for “oven spring” and crust development. Baking in a preheated Dutch oven traps steam, which keeps the crust pliable longer, allowing the loaf to expand fully before the crust sets. This leads to a thinner, crispier crust. If you don’t use a Dutch oven, create steam by placing a tray of hot water or ice cubes at the bottom of your oven during the first 15-20 minutes of baking.
5. Adjust Baking Time and Lid Removal: Bake with the lid on your Dutch oven for the first 20-25 minutes to trap steam. Then, remove the lid and continue baking for another 20-30 minutes, or until the crust is a deep golden brown and sounds hollow when tapped. Removing the lid allows the crust to dry out and crisp up. If your crust is still too thick, you might be baking it too long with the lid on, or not long enough with the lid off.
6. Cool Your Bread Completely: This is often overlooked but critical! Cutting into a warm loaf traps moisture, making the crust soft and gummy. Allow your bread to cool completely on a wire rack for at least 1-2 hours (or longer for larger loaves). This allows the internal moisture to redistribute, resulting in a crispier crust and better crumb texture.
- Prep Time: 15-20 minutes (reading and learning)
- Cook Time: 40-55 minutes (during next bake)
- Category: baking
- Method: baking
- Cuisine: european
Nutrition
- Serving Size: 1 slice
Keywords: sourdough, crust, baking, troubleshooting, bread, homemade, technique, fermentation, oven spring, steam
What You’ll Love About This Quick And Easy Recipe
This guide isn’t a recipe for a new loaf, but rather a troubleshooting manual to perfect the sourdough bread you’re already making. You’ll love it because it offers clear, actionable advice to transform your baking results without needing to buy special equipment or overhaul your entire process. It’s perfect for anyone who has a sourdough starter and is looking to elevate their homemade bread from good to truly exceptional. This advice is especially helpful for beginner and intermediate sourdough bakers who are still learning the nuances of dough handling and oven dynamics. You can apply these tips to your next bake, whether you’re making a classic boule for a family dinner, a rustic batard for sandwiches, or a smaller loaf to share with friends. The goal is to make every loaf a success, ensuring a delightful texture in every bite.
Everything You Need To Make This Recipe Without Stress
Since this guide focuses on troubleshooting your existing sourdough baking process rather than introducing a new recipe, the “ingredients” are more about the tools and elements you already use, along with a few potential additions that can help. You won’t need to go out and buy anything exotic; most of these are standard for sourdough baking.
INGREDIENTS:

- Your active sourdough starter
- Flour (bread flour, all-purpose, or whole wheat, depending on your recipe)
- Water
- Salt
- Your chosen sourdough recipe
- A Dutch oven or baking stone
- A spray bottle (optional, for steam)
- Ice cubes (optional, for steam)
- A sharp lame or razor blade for scoring
- A kitchen scale for precise measurements
- A bowl scraper or bench knife
- Proofing basket (banneton) or a bowl with a floured towel
For simple substitutions, if you don’t have a Dutch oven, a heavy-bottomed pot with a lid that can withstand high oven temperatures will work. If you lack a banneton, a colander lined with a well-floured tea towel makes an excellent substitute. The key is to use reliable tools that allow for consistent results.
Time Needed From Start To Finish
This guide isn’t about the time it takes to bake a new loaf, but rather the time it takes to *understand and implement* improvements to your existing baking process.
- Learning and Reading Time: 15-20 minutes
- Implementation Time (during your next bake): Varies depending on which tips you apply, but generally adds 5-10 minutes to your prep or baking steps.
- Total Time to Improve Your Technique: Ongoing, as you practice and refine your skills, but you can start seeing results from your very next loaf.
How To Make It Step By Step With Visual Cues

Improving your sourdough crust involves understanding and adjusting several key stages of your baking process. Follow these steps to troubleshoot and refine your technique for a thinner, crispier crust.
- Assess Your Dough Hydration: A very stiff, low-hydration dough often results in a thicker crust. Review your recipe’s hydration percentage. If it’s on the lower side (below 70%), consider increasing the water by 1-2% in your next batch. The dough should feel tacky but manageable, not overly dry or dense.
- Ensure Proper Fermentation and Proofing: Under-proofed dough tends to have a dense crumb and a thicker crust because it hasn’t developed enough gas to create an open structure. Over-proofed dough can also lead to issues, as its structure might collapse, resulting in a less airy crumb. Pay close attention to your dough’s “jiggle” and feel. It should be light and airy, showing signs of gas production. A poke test (where the dough slowly springs back) is a good indicator of readiness.
- Master Your Shaping Technique: A tight, well-shaped loaf creates good surface tension, which helps the crust expand evenly and thinly. If your shaping is too loose, the dough can spread, leading to a flatter loaf with a thicker, tougher crust. Focus on creating a taut skin on the outside of your dough ball or batard during the final shaping.
- Optimize Your Baking Temperature and Steam: High initial oven temperatures (450-500°F / 232-260°C) are crucial for “oven spring” and crust development. Baking in a preheated Dutch oven traps steam, which keeps the crust pliable longer, allowing the loaf to expand fully before the crust sets. This leads to a thinner, crispier crust. If you don’t use a Dutch oven, create steam by placing a tray of hot water or ice cubes at the bottom of your oven during the first 15-20 minutes of baking.
- Adjust Baking Time and Lid Removal: Bake with the lid on your Dutch oven for the first 20-25 minutes to trap steam. Then, remove the lid and continue baking for another 20-30 minutes, or until the crust is a deep golden brown and sounds hollow when tapped. Removing the lid allows the crust to dry out and crisp up. If your crust is still too thick, you might be baking it too long with the lid on, or not long enough with the lid off.
- Cool Your Bread Completely: This is often overlooked but critical! Cutting into a warm loaf traps moisture, making the crust soft and gummy. Allow your bread to cool completely on a wire rack for at least 1-2 hours (or longer for larger loaves). This allows the internal moisture to redistribute, resulting in a crispier crust and better crumb texture.
Easy Variations And Serving Ideas That Fit Real Life
While this guide focuses on technique rather than a specific recipe, perfecting your sourdough crust opens up a world of serving possibilities. A beautifully thin and crisp crust elevates any meal.
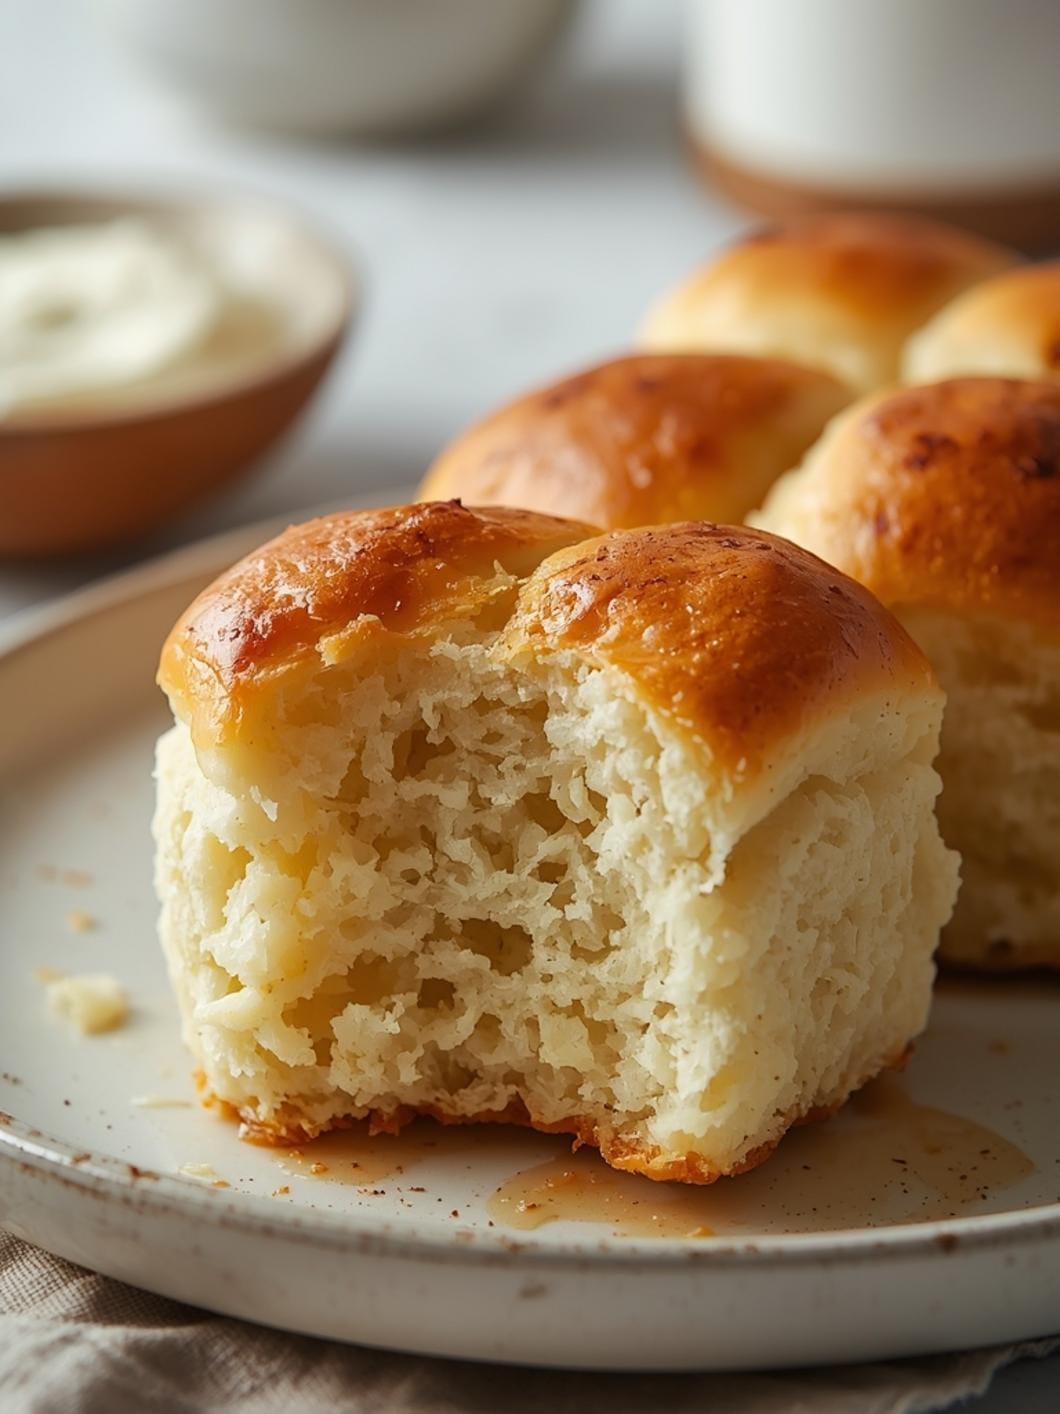
- Classic Toast: Enjoy thick slices with butter, jam, or avocado for a simple, satisfying breakfast. The crisp crust provides a wonderful contrast to the soft interior.
- Sandwich Perfection: A sturdy yet thin crust holds up well to hearty sandwich fillings without being overly chewy. Think gourmet grilled cheese or a robust deli sandwich.
- Soup Dippers: Tear off chunks of your perfectly crusted sourdough to scoop up hearty stews, chili, or creamy tomato soup. The crust adds a delightful texture.
- Bruschetta or Crostini: Slice thinly, toast lightly, and top with fresh tomatoes and basil, tapenade, or a creamy cheese spread. The crisp crust is ideal for these appetizers.
- Garlic Bread: Brush with garlic butter and herbs, then bake until golden. The thinner crust will become even more irresistible.
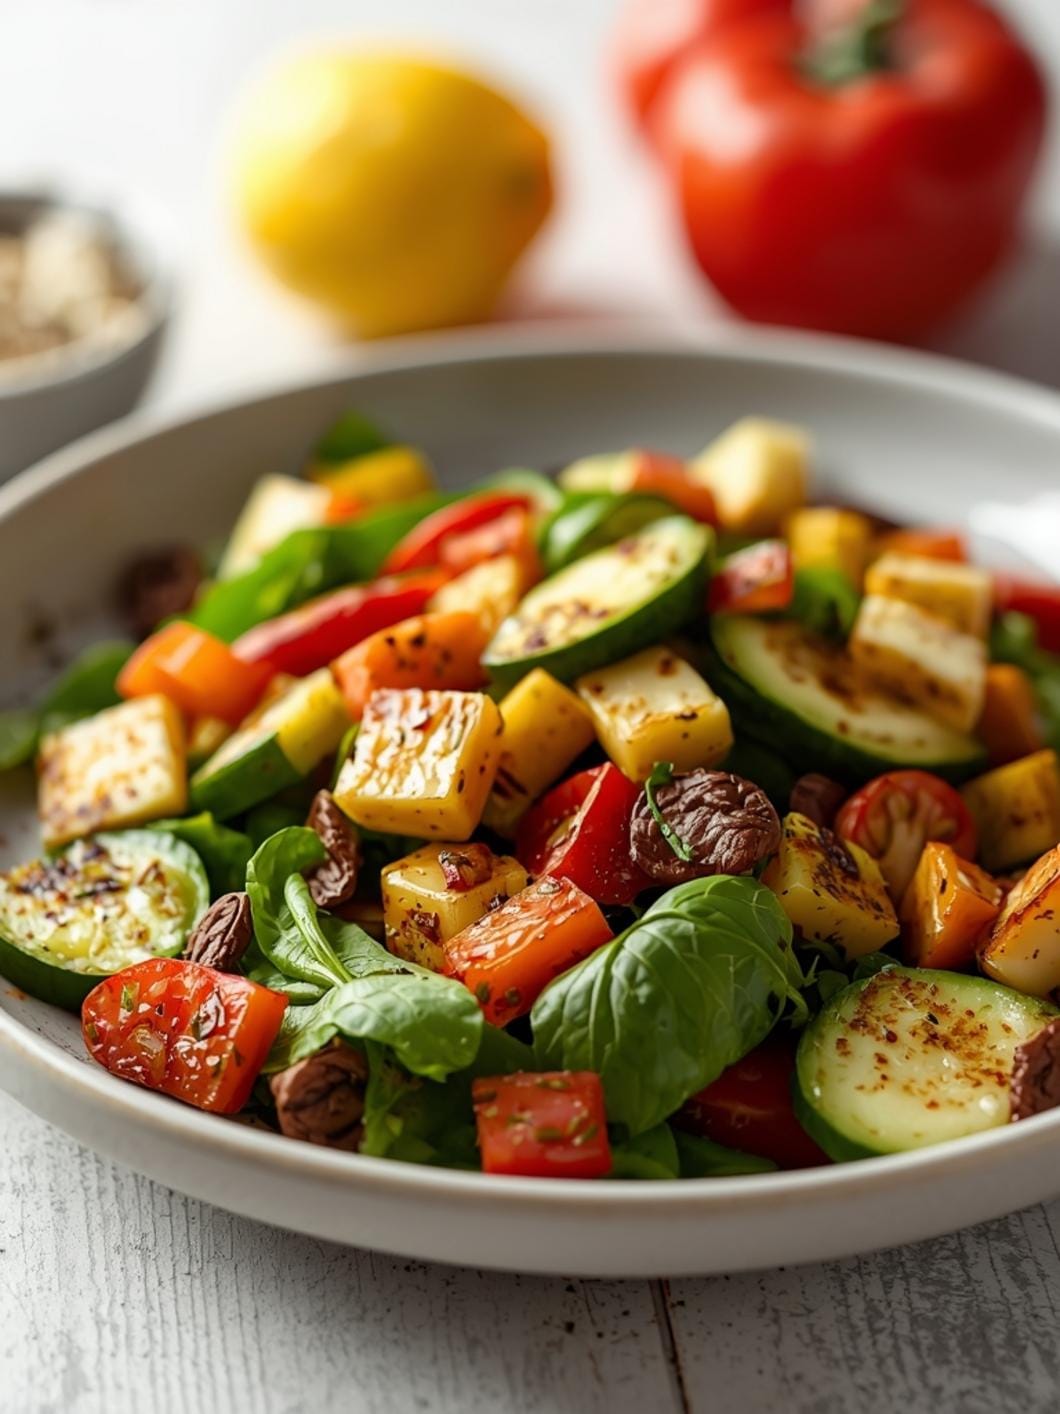
- Serving with Dips: Offer slices alongside olive oil and balsamic vinegar, hummus, or a flavorful spinach dip for an easy appetizer at gatherings.
- Kid-Friendly Approach: For kids who might find a very crusty bread challenging, you can always slice off the crusts (and save them for croutons!). However, often a well-baked, thinner crust is more approachable than a thick, tough one. Encourage them to try it with their favorite spread.
Common Slip-Ups And How To Avoid Them
Even experienced bakers can encounter issues with sourdough crusts. Here are some common mistakes and how to sidestep them:
- Under-Proofing the Dough: This is a major culprit for thick, dense crusts. The dough hasn’t had enough time to develop sufficient gas, leading to a tight crumb and a tough crust. Solution: Learn to read your dough. Use the “poke test” – gently poke the dough with a floured finger. If it springs back immediately, it needs more time. If it leaves a slight indentation that slowly fills, it’s ready. If it collapses, it’s over-proofed.
- Insufficient Steam During Baking: Steam is crucial in the initial phase of baking. It keeps the crust soft and pliable, allowing the loaf to expand fully before the crust sets. Without enough steam, the crust forms too quickly and becomes thick and hard. Solution: Always preheat your Dutch oven or baking vessel thoroughly. If not using a Dutch oven, add a pan of boiling water or a handful of ice cubes to the bottom of your oven when you load the bread.
- Not Enough Oven Spring: This often ties back to under-proofing or insufficient steam. If the loaf doesn’t expand well in the oven, the crust will be compressed and thicker. Solution: Ensure your starter is active and

FAQs
- Can I make these ahead? Yes—prep ahead, refrigerate, then serve when ready.
- How long do leftovers last? Store covered in the fridge for 3–4 days for best texture.
- Can I adjust sweetness? Yes—add more or less sweetener to taste.
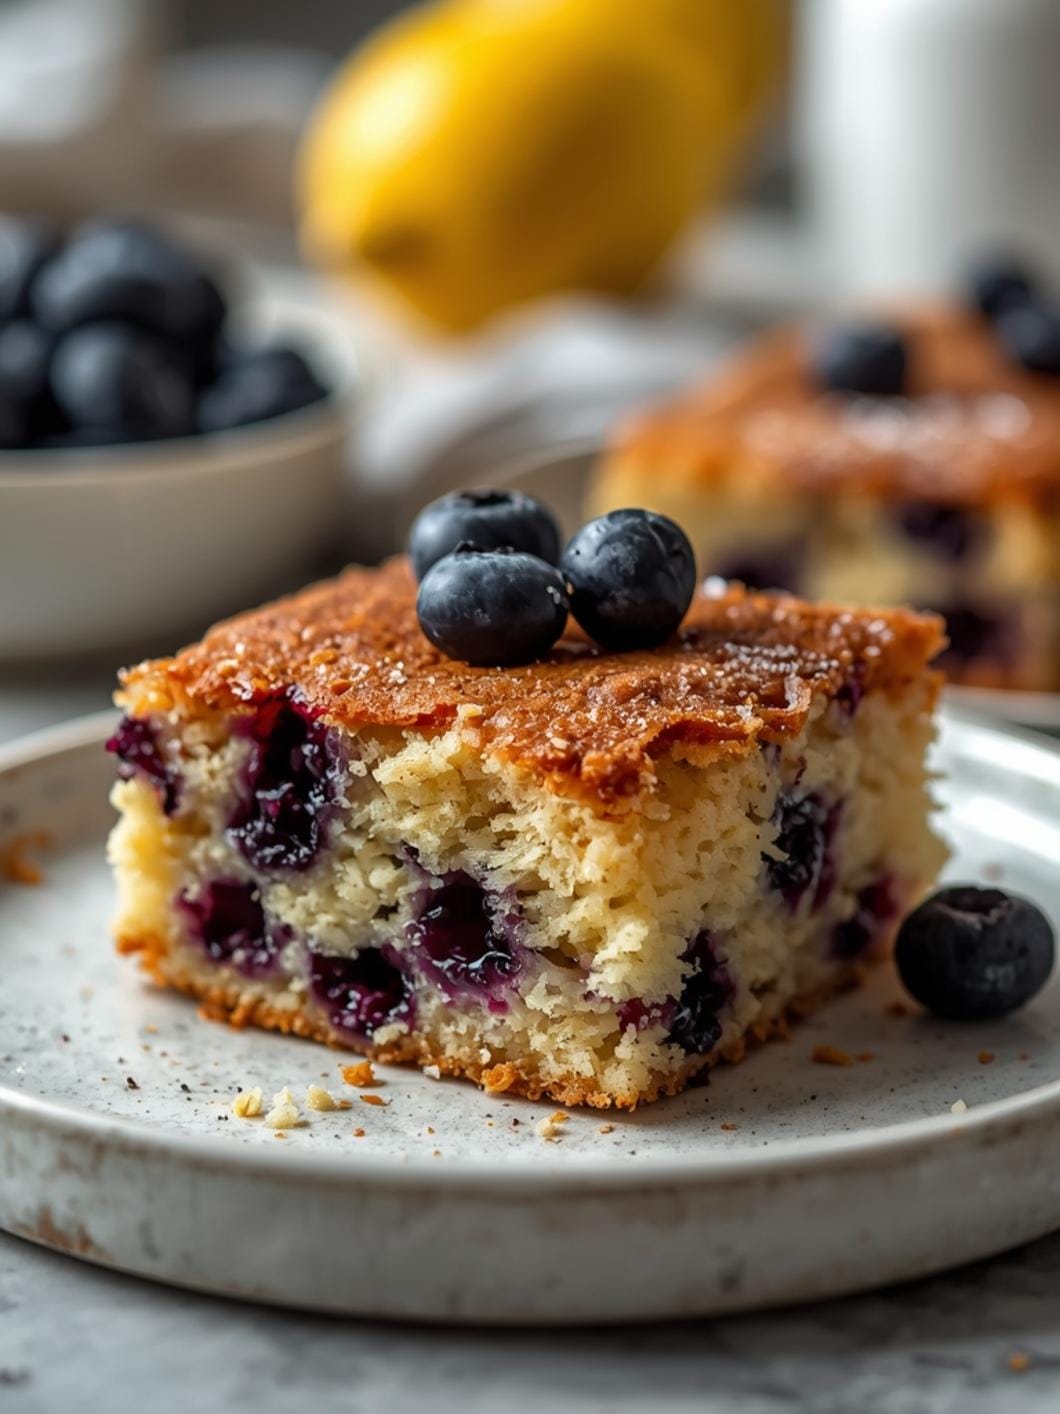
- Can I change the fruit? Yes—swap strawberries for blueberries, raspberries, or sliced banana.