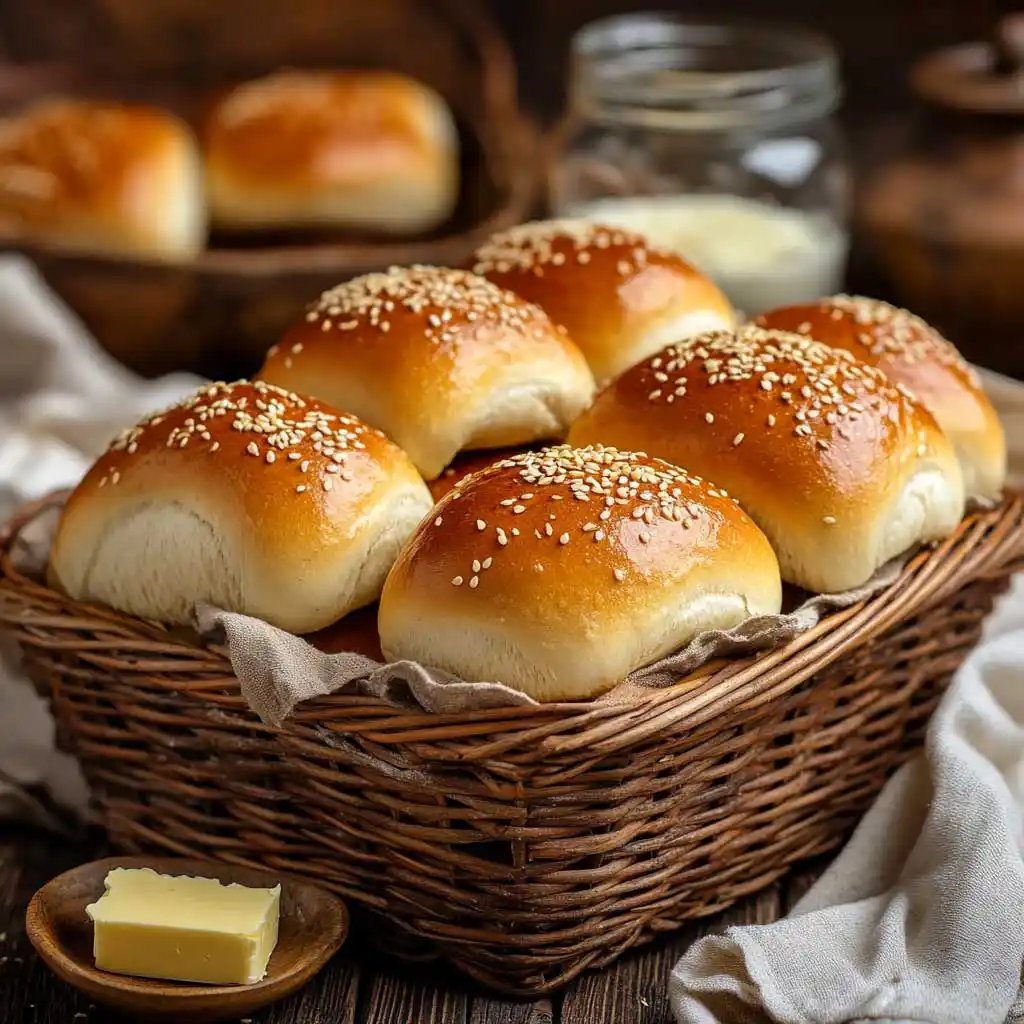
Ah, sourdough bread. Is there anything as satisfying as pulling a homemade loaf out of the oven, basking in that earthy, tangy aroma wafting through your kitchen? While the idea of sourdough baking feels magical, it often comes with a not-so-small dilemma: What on earth do I do with all that discard from my starter feedings? Tossing it feels… wrong (and wasteful). Enter: sourdough discard bread without yeast.
By ditching commercial yeast, you end up with a naturally leavened bread that’s packed with flavor, texture, and an oh-so-tender crumb. Plus, it’s a fantastic way to reuse your sourdough starter leftovers instead of letting them go, well, straight into the trash (or compost heap, if you’re at least trying to be eco-conscious).
This is the ultimate no-waste bread recipe that’s straightforward, forgiving, and ideal for anyone craving a homemade loaf with minimal ingredients. Roll up your sleeves, because we’re about to transform that humble sourdough discard into a star-worthy loaf—completely yeast-free!
Why No Yeast? Why Sourdough Discard?
Before diving into the recipe, let me guess—you’re probably wondering, why go yeast-free when bread recipes almost always include it? Here’s the deal:
- Yeast-Free = Naturally Leavened: With sourdough discard bread no yeast, you rely on the natural yeast and bacteria in your starter to do all the heavy lifting. The result? That signature tangy flavor, a chewy-but-soft crumb, and a rustic vibe that commercial yeast just can’t replicate.
- No Waste = Big Wins: Sourdough baking often involves tossing out starter during feeding. Repurposing discard into bread lets you eliminate waste completely. Plus, it feels intensely satisfying to turn “scraps” into something so delicious.
- Versatility: Discard-based bread recipes are beginner-friendly and perfect for experimenting. Add herbs, dried fruit, seeds, or even cheese to make it your own.
Sourdough Discard Bread Without Yeast Recipe (Low-Waste!)
Ingredients
Here’s what you’ll need to make one medium-sized loaf:
- 2 cups (480g) sourdough discard (unfed is fine; just make sure it’s bubbly and smells tangy but fresh)
- 2 ½ cups (320g) all-purpose flour (can sub part or all with whole wheat flour for an earthier loaf)
- 1 teaspoon salt (balances the tang and enhances flavor)
- 1 tablespoon olive oil (optional but adds moisture and richness)
- 3/4 cup (180ml) water (adjust depending on your flour and starter hydration)
Optional Add-ins: Rosemary, garlic powder, sunflower seeds, flaxseeds, or dried cranberries.
Tools

Simple kitchen tools are all you need:
- Large mixing bowl
- Wooden spoon or dough whisk
- Bench scraper (helpful but not necessary)
- Parchment paper
- Dutch oven or baking sheet for baking
The Process
Who needs steps when you can have a process, right? 😉 Follow this no-frills, yeast-free sourdough discard bread recipe:
- Mix the Dough
Combine your sourdough discard, flour, and salt in a mixing bowl. Stir until it resembles a shaggy mass—a little messy is fine! Add in the olive oil and water gradually, mixing until you form a cohesive dough. If it feels too dry, add a tablespoon of water at a time; if too sticky, sprinkle in a little extra flour.
- Rest & Hydrate (Autolyse)
Cover the bowl with a damp towel and let the dough rest for 30-45 minutes. This step allows the flour to fully hydrate, making the dough easier to work with later.
- Knead or Stretch & Fold
On a lightly floured surface, knead the dough for about 8-10 minutes until it becomes smooth and elastic (or save your arms and do stretch-and-folds every 30 minutes). The natural yeast in your discard is already at work here!
- Bulk Fermentation
Place your dough back in the bowl, cover, and let it rise at room temperature for 8-12 hours. Overnight works great—longer = tangier flavor! The dough should double in size and look bubbly when ready.
- Shape Your Loaf
Turn the dough out onto a lightly floured surface. Gently shape it into a round boule or sandwich loaf—whatever suits your mood. Place it into a lightly greased loaf pan or proofing basket.
- Second Rise (Proofing)
Let your shaped dough rest for 2-4 hours, depending on your kitchen temperature. This helps develop structure and ensure an airy crumb.
- Bake to Perfection
Preheat your oven to 425°F (220°C). If you’re using a Dutch oven, heat it as well—this creates steam for a crisp crust. Transfer your dough into the preheated Dutch oven (or on a baking sheet) and bake covered for 20 minutes. Remove the lid and bake another 15-20 minutes until golden brown.
- Cool (Patience Pays Off!)
Allow your loaf to cool completely on a wire rack. Cutting into warm bread is tempting but can make it gummy (seriously, resist the urge).
Nutrition Info (Per Slice, Approx. 12 Slices)
- Calories: 140
- Carbs: 28g
- Protein: 3g
- Fat: 2g
- Fiber: 1g
FAQ Corner
Can I add yeast to speed up the process?
Sure, but that changes the recipe entirely! This is all about sourdough discard bread no yeast. If you’re adding yeast, keep fermentation shorter, but you’ll lose some of that distinct tangy character.
How long does this bread stay fresh?
Stored in an airtight container at room temperature, it’s best within 3-4 days. Freeze slices if you want to extend its life—just thaw and toast as needed.
Can I use gluten-free flour?
Gluten-free baking is a bit of an art form—while this recipe hasn’t been tested with alternative flours, you may have luck with a 1-to-1 gluten-free baking blend.
Why This Recipe Should Be Your Go-To

This sourdough discard bread without yeast is your ticket to guilt-free, no-waste baking. It’s a reminder that even kitchen “leftovers” can hold untapped potential. Whether you’re new to sourdough or a seasoned baker, this recipe brings all the joy of slow fermenting with none of the waste.
For more ideas on utilizing sourdough discard, check out BBC Good Food’s 10 Sourdough Discard Recipes.
So go ahead—save that starter discard, roll up your sleeves, and treat yourself to a slice (or five) of tangy sourdough heaven. Trust me, your taste buds will thank you—and so will the planet! No scraps left behind.
Ready to dive into more sourdough discard adventures? Check out our Sourdough Discard Pancakes Recipe to keep those leftovers working overtime!
Print
Sourdough Discard Bread Without Yeast
- Total Time: Prep Time: 15 minutes (active) + 6-8 hours (rising) |Cook Time: 35-40 minutes
- Yield: 1 loaf (10-12 slices) 1x
Ingredients
- 2 cups (480g) sourdough discard (unfed is fine; just make sure it’s bubbly and smells tangy but fresh)
- 2 ½ cups (320g) all-purpose flour (can sub part or all with whole wheat flour for an earthier loaf)
- 1 teaspoon salt (balances the tang and enhances flavor)
- 1 tablespoon olive oil (optional but adds moisture and richness)
- 3/4 cup (180ml) water (adjust depending on your flour and starter hydration)
- Optional Add-ins: Rosemary, garlic powder, sunflower seeds, flaxseeds, or dried cranberries.
Instructions
- Mix the Dough: Combine your sourdough discard, flour, and salt in a mixing bowl. Stir until it resembles a shaggy mass—a little messy is fine! Add in the olive oil and water gradually, mixing until you form a cohesive dough. If it feels too dry, add a tablespoon of water at a time; if too sticky, sprinkle in a little extra flour.
- Rest & Hydrate (Autolyse): Cover the bowl with a damp towel and let the dough rest for 30-45 minutes. This step allows the flour to fully hydrate, making the dough easier to work with later.
- Knead or Stretch & Fold: On a lightly floured surface, knead the dough for about 8-10 minutes until it becomes smooth and elastic (or save your arms and do stretch-and-folds every 30 minutes). The natural yeast in your discard is already at work here!
- Bulk Fermentation: Place your dough back in the bowl, cover, and let it rise at room temperature for 8-12 hours. Overnight works great—longer = tangier flavor! The dough should double in size and look bubbly when ready.
- Shape Your Loaf: Turn the dough out onto a lightly floured surface. Gently shape it into a round boule or sandwich loaf—whatever suits your mood. Place it into a lightly greased loaf pan or proofing basket.
- Second Rise (Proofing): Let your shaped dough rest for 2-4 hours, depending on your kitchen temperature. This helps develop structure and ensure an airy crumb.
- Bake to Perfection: Preheat your oven to 425°F (220°C). If you’re using a Dutch oven, heat it as well—this creates steam for a crisp crust. Transfer your dough into the preheated Dutch oven (or on a baking sheet) and bake covered for 20 minutes. Remove the lid and bake another 15-20 minutes until golden brown.
- Cool (Patience Pays Off!): Allow your loaf to cool completely on a wire rack. Cutting into warm bread is tempting but can make it gummy (seriously, resist the urge).
Nutrition
- Serving Size: 1 slice (based on 12 slices)
- Calories: 120-150
- Fat: 2-3g
- Saturated Fat: 0.5g
- Carbohydrates: 20-25g
- Fiber: 1-2g
- Protein: 4-5g
- Cholesterol: 0mg