Transforming your sourdough discard into something truly delicious and satisfying is easier than you might think.

These homemade cheese crackers are a fantastic way to use up that extra starter, turning what might otherwise be tossed into a crispy, savory snack that everyone will love. Forget store-bought crackers; these have a depth of flavor and a satisfying crunch that makes them utterly irresistible.
This recipe is designed for simplicity, making it perfect for busy weeknights, impromptu gatherings, or simply when you’re craving a wholesome, cheesy bite. With minimal effort and common pantry staples, you’ll have a batch of these golden-brown crackers ready to enjoy in no time.

Sourdough Discard Cheese Crackers
- Total Time: 30-35 minutes
- Yield: Approximately 4 dozen crackers 1x
Description
Transform your sourdough discard into crispy, savory cheese crackers. This easy recipe uses common pantry staples to create an irresistible snack with a satisfying crunch, perfect for any occasion.
Ingredients
Instructions
1. 1. Prepare Your Dough Mixture: In a medium-sized mixing bowl, combine the unfed sourdough discard, all-purpose flour, shredded cheddar cheese, melted butter, salt, and any optional seasonings like garlic powder or cayenne pepper. Use a sturdy spoon or your hands to mix everything together until a cohesive, shaggy dough forms. It might seem a bit sticky at first, but keep mixing until all the ingredients are well incorporated.
2. 2. Form and Chill the Dough: Once combined, gather the dough into a ball. If it’s too sticky to handle, add a tiny bit more flour, a teaspoon at a time. Flatten the dough slightly into a disk, wrap it tightly in plastic wrap, and refrigerate for at least 30 minutes. This chilling step is essential as it firms up the butter and makes the dough much easier to roll out thinly.
3. 3. Preheat Oven and Prepare Baking Sheets: While the dough chills, preheat your oven to 350 F (175 C). Line two large baking sheets with parchment paper. Parchment paper prevents sticking and ensures even baking, making cleanup a breeze.
4. 4. Roll Out the Dough Thinly: On a lightly floured surface or between two sheets of parchment paper, roll out the chilled dough as thinly as possible, aiming for about 1/16 to 1/8 inch thickness. The thinner you roll the dough, the crispier your crackers will be. Use a rolling pin and work quickly to prevent the dough from getting too warm.
5. 5. Cut the Crackers: Use a pizza cutter, a sharp knife, or even a small cookie cutter (like a square or round shape) to cut the dough into your desired cracker shapes. For traditional crackers, cut them into small squares or rectangles. You can also use a fork to prick holes in the center of each cracker, which helps prevent them from puffing up too much during baking and ensures an even crisp.
6. 6. Arrange and Bake: Carefully transfer the cut crackers to the prepared baking sheets, leaving a small space between each one to allow for air circulation. Bake for 15-20 minutes, or until the crackers are golden brown and crisp. Keep a close eye on them, as baking times can vary, and they can go from perfectly golden to burnt quickly. The edges tend to brown first, so look for an even color across the entire cracker.
7. 7. Cool Completely: Once baked, remove the crackers from the oven and transfer them to a wire rack to cool completely. They will crisp up further as they cool. Resist the urge to snack on them immediately; allowing them to cool ensures the best texture.
- Prep Time: 15 minutes
- Cook Time: 15-20 minutes
- Category: snack
- Method: baking
- Cuisine: american
Nutrition
- Serving Size: 4 crackers
Keywords: sourdough, discard, crackers, cheese, snack, savory, easy, homemade, cheddar, appetizer
What You’ll Love About This Quick And Easy Recipe
This recipe for sourdough discard cheese crackers is a true winner for so many reasons, making it an ideal choice for home cooks of all skill levels. First and foremost, it’s an incredibly practical way to utilize sourdough discard, preventing waste and giving new life to a byproduct of your sourdough baking. For anyone maintaining a sourdough starter, finding creative uses for the discard is a constant quest, and this recipe delivers a delicious solution. It’s perfect for families looking for healthier snack alternatives to processed store-bought options, as you know exactly what goes into each cracker. Kids especially adore the cheesy flavor and satisfying crunch, making them a fantastic addition to lunchboxes or after-school snacks. These crackers are also wonderful for entertaining; they make an impressive and unique appetizer when served with dips, cheeses, or charcuterie. They’re quick enough to whip up for an unexpected guest, yet special enough to feel gourmet. The simplicity of the ingredients and the straightforward process mean less stress in the kitchen and more time enjoying your delicious creations.
Everything You Need To Make This Recipe Without Stress
Gathering your ingredients before you begin is the first step to a smooth and enjoyable cooking experience. This recipe calls for a few basic items that you likely already have on hand, making it incredibly convenient.
INGREDIENTS:

- 1 cup unfed sourdough discard (100% hydration)
- 1/2 cup all-purpose flour
- 1 cup shredded sharp cheddar cheese
- 1/4 cup unsalted butter, melted
- 1/2 teaspoon salt
- 1/4 teaspoon garlic powder (optional, for extra flavor)
- Pinch of cayenne pepper (optional, for a subtle kick)
For the sourdough discard, ensure it’s unfed, meaning it hasn’t been fed recently and is past its peak activity. This is the perfect stage for discard recipes, as it contributes flavor without the leavening power. While sharp cheddar cheese offers the best flavor, you can certainly experiment with other hard cheeses like Gruyère, Parmesan, or even a blend of cheeses for a different profile. If you only have salted butter, simply reduce the added salt in the recipe by half. All-purpose flour works beautifully here, but if you prefer, you can substitute a small portion with whole wheat flour for a nuttier flavor, though this might slightly alter the texture. The garlic powder and cayenne pepper are optional additions, but they really elevate the flavor, adding a savory depth and a hint of warmth that makes these crackers even more addictive. Feel free to adjust these seasonings to your personal preference.
Time Needed From Start To Finish
One of the best features of this recipe is how quickly it comes together, making it an ideal choice for when you need a delicious snack without a long wait.
- Preparation Time: 15 minutes
- Baking Time: 15-20 minutes
- Total Time: 30-35 minutes
This timeline includes the brief chilling period for the dough, which is crucial for easier handling and crispier crackers. The active hands-on time is minimal, allowing you to multitask or simply relax while your crackers bake to golden perfection.
How To Make It Step By Step With Visual Cues

Making these sourdough discard cheese crackers is a straightforward process that yields incredibly satisfying results. Follow these steps for perfect, crispy crackers every time.
- Prepare Your Dough Mixture: In a medium-sized mixing bowl, combine the unfed sourdough discard, all-purpose flour, shredded cheddar cheese, melted butter, salt, and any optional seasonings like garlic powder or cayenne pepper. Use a sturdy spoon or your hands to mix everything together until a cohesive, shaggy dough forms. It might seem a bit sticky at first, but keep mixing until all the ingredients are well incorporated.
- Form and Chill the Dough: Once combined, gather the dough into a ball. If it’s too sticky to handle, add a tiny bit more flour, a teaspoon at a time. Flatten the dough slightly into a disk, wrap it tightly in plastic wrap, and refrigerate for at least 30 minutes. This chilling step is essential as it firms up the butter and makes the dough much easier to roll out thinly.
- Preheat Oven and Prepare Baking Sheets: While the dough chills, preheat your oven to 350°F (175°C). Line two large baking sheets with parchment paper. Parchment paper prevents sticking and ensures even baking, making cleanup a breeze.
- Roll Out the Dough Thinly: On a lightly floured surface or between two sheets of parchment paper, roll out the chilled dough as thinly as possible, aiming for about 1/16 to 1/8 inch thickness. The thinner you roll the dough, the crispier your crackers will be. Use a rolling pin and work quickly to prevent the dough from getting too warm.
- Cut the Crackers: Use a pizza cutter, a sharp knife, or even a small cookie cutter (like a square or round shape) to cut the dough into your desired cracker shapes. For traditional crackers, cut them into small squares or rectangles. You can also use a fork to prick holes in the center of each cracker, which helps prevent them from puffing up too much during baking and ensures an even crisp.
- Arrange and Bake: Carefully transfer the cut crackers to the prepared baking sheets, leaving a small space between each one to allow for air circulation. Bake for 15-20 minutes, or until the crackers are golden brown and crisp. Keep a close eye on them, as baking times can vary, and they can go from perfectly golden to burnt quickly. The edges tend to brown first, so look for an even color across the entire cracker.
- Cool Completely: Once baked, remove the crackers from the oven and transfer them to a wire rack to cool completely. They will crisp up further as they cool. Resist the urge to snack on them immediately; allowing them to cool ensures the best texture.
Easy Variations And Serving Ideas That Fit Real Life
These sourdough discard cheese crackers are incredibly versatile, making them perfect for a variety of occasions and dietary preferences. For a subtle heat, try adding a pinch of smoked paprika or a dash of your favorite hot sauce to the dough mixture. If you want to boost the cheesy flavor, sprinkle a little extra grated Parmesan or Pecorino Romano on top of the crackers before baking. For a herbaceous twist, incorporate finely chopped fresh rosemary or dried Italian herbs into the dough. Kids often love these crackers plain, but you can make them even more fun by using small animal-shaped cookie cutters.
When it comes to serving, the possibilities are endless. These crackers are fantastic on their own as a simple, satisfying snack. They pair wonderfully with a cheese board, complementing a variety of soft and hard cheeses. Serve them alongside a bowl of homemade soup or chili for a delightful crunch. They’re also excellent with dips like hummus, spinach and artichoke dip, or a creamy onion dip. For a light lunch, crumble them over a fresh salad instead of croutons. They can even be packed in lunchboxes for a wholesome school or work snack. Don’t forget to offer them at your next casual get-together; they’re always a crowd-pleaser and a great conversation starter.
Common Slip-Ups And How To Avoid Them
Even with a simple recipe, a few common mistakes can impact the final outcome. Knowing what to watch out for can help you achieve perfect sourdough discard cheese crackers every time.
- Not Chilling the Dough Enough: This is a frequent issue. If the dough isn’t sufficiently chilled, it will be very sticky and difficult to roll out thinly. It also makes the butter melt too quickly in the oven, leading to less crispy crackers. Always chill the dough for at least 30 minutes, or even longer if your kitchen is warm.
- Rolling the Dough Too Thick: Thicker dough results in softer, chewier crackers rather than the desired crisp texture. Aim to roll the dough as thin as possible, ideally 1/16 to 1/8 inch. Don’t be afraid to use a little muscle and flour on your rolling surface.
- Overcrowding the Baking Sheet: Placing too many crackers on one baking sheet can lead to uneven baking. The crackers will steam instead of crisp, resulting in a softer texture. Give them enough space to allow air to circulate freely around each cracker.
- Not Watching the Oven Closely: Crackers can go from perfectly golden to burnt in a matter of moments, especially towards the end of the baking time. Ovens vary, so start checking them at the 12-minute mark and rotate the baking sheets if necessary to ensure even browning. Look for a uniform golden color.
- **Using Too Much Flour

FAQs
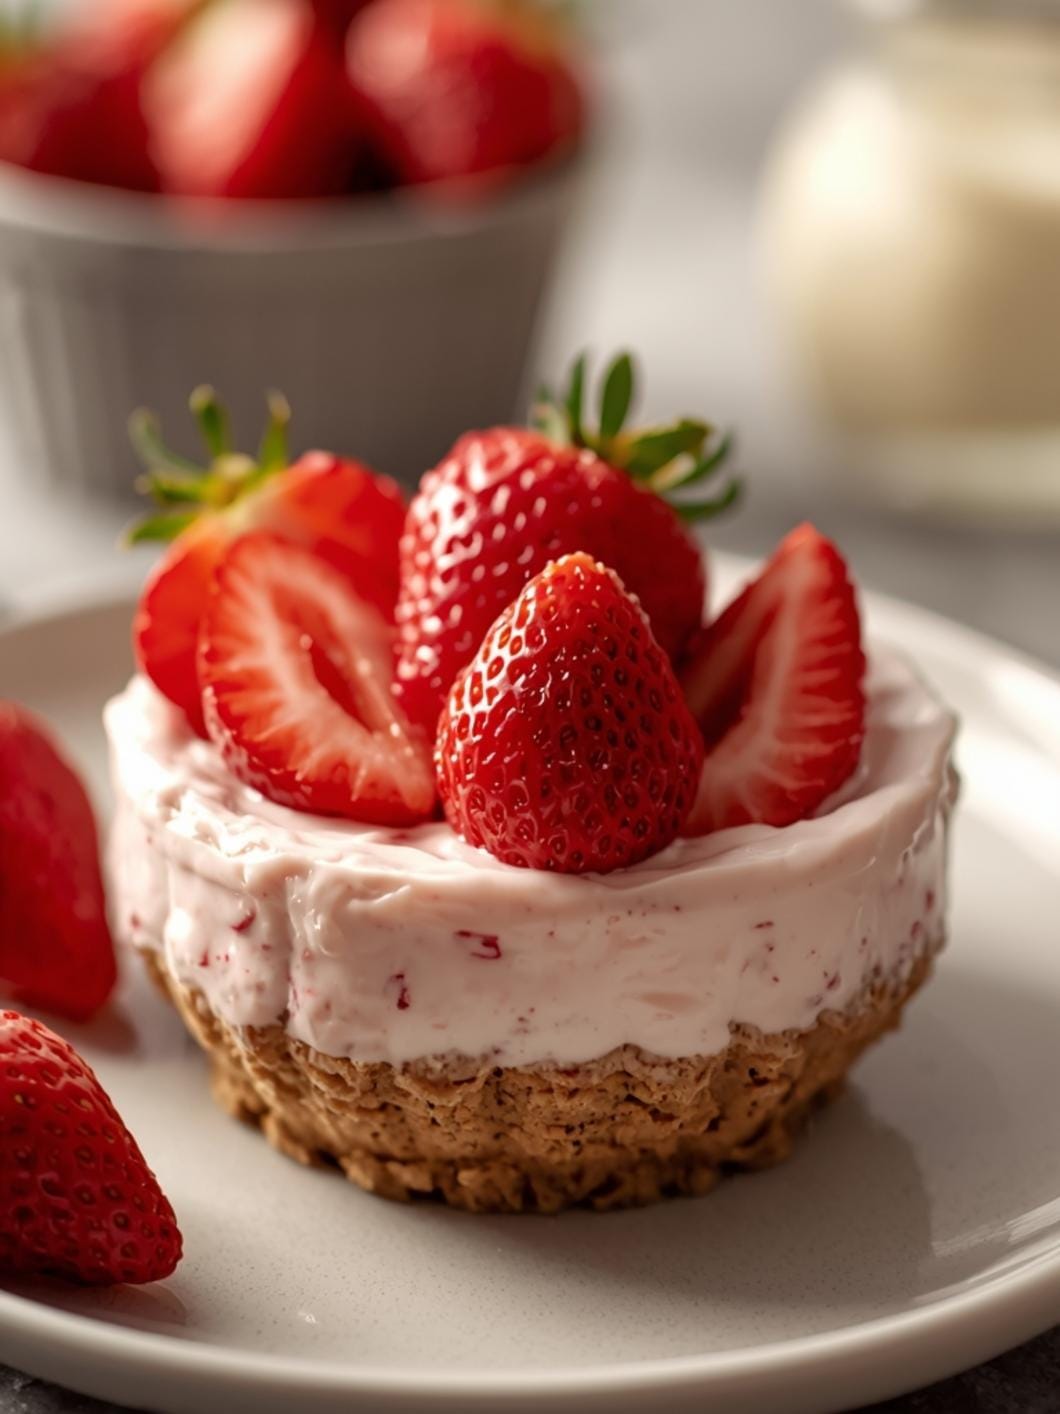
- Can I make these ahead? Yes—prep ahead, refrigerate, then serve when ready.
- How long do leftovers last? Store covered in the fridge for 3–4 days for best texture.
- Can I adjust sweetness? Yes—add more or less sweetener to taste.
- Can I change the fruit? Yes—swap strawberries for blueberries, raspberries, or sliced banana.