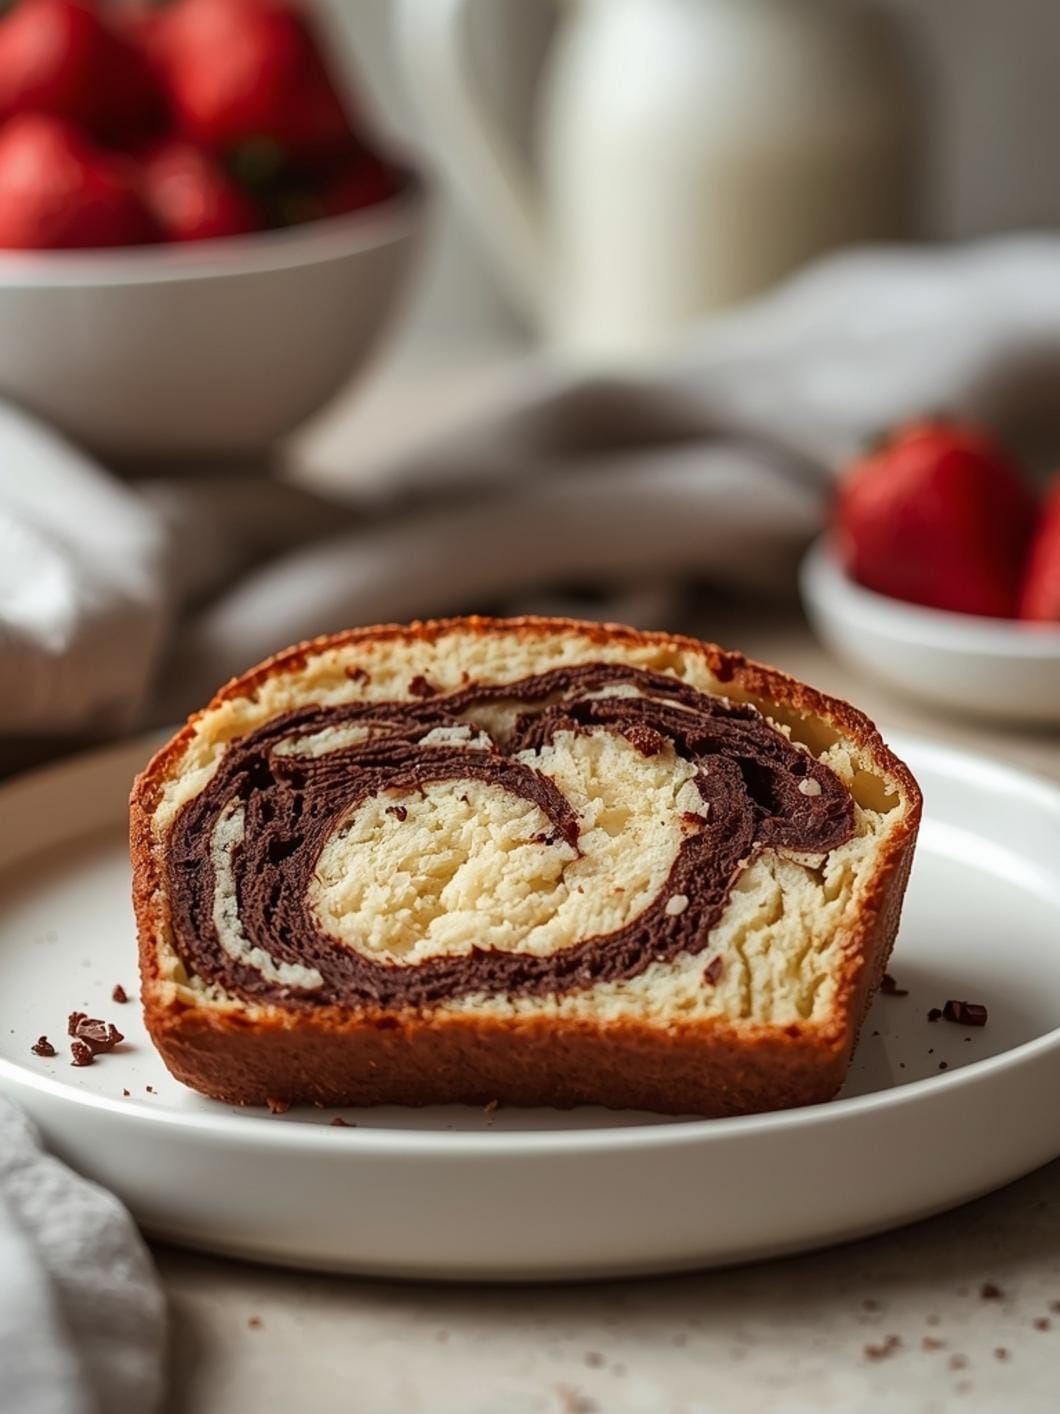
Transforming your sourdough discard into something delicious and practical is easier than you think, and these thin and soft crepes are the perfect solution.
 11")
This recipe offers a wonderful way to utilize that bubbly byproduct, turning it into a delightful breakfast, a light dessert, or a versatile base for sweet or savory fillings.
Forget complicated techniques or long proofing times; this recipe focuses on simplicity and speed, ensuring you can enjoy freshly made crepes without any fuss. It’s a fantastic option for busy mornings or when you’re craving something special but don’t have a lot of time.
Table of Contents
- What You’ll Love About This Quick And Easy Recipe
- Everything You Need To Make This Recipe Without Stress
- Time Needed From Start To Finish
- How To Make It Step By Step With Visual Cues
- Easy Variations And Serving Ideas That Fit Real Life
- Common Slip-Ups And How To Avoid Them
- How To Store It And Make Ahead Without Ruining Texture
- Questions People Always Ask Before Making This Recipe
 12")
Quick and Easy Sourdough Discard Crepes
- Total Time: 25-30 minutes
- Yield: 12-15 crepes 1x
Description
Transform your sourdough discard into delicious, thin, and soft crepes with this simple and quick recipe. Perfect for breakfast, dessert, or a versatile base for sweet or savory fillings, these crepes are a fantastic way to minimize food waste and enjoy a delightful treat without fuss.
Ingredients
Instructions
1. Whisk the Wet Ingredients: In a large mixing bowl, combine the sourdough discard, milk, eggs, melted butter, optional sugar, optional vanilla extract, and salt. Whisk vigorously until all the ingredients are well combined and smooth. The mixture should be fairly liquid.
2. Incorporate the Flour: Gradually add the all-purpose flour to the wet ingredients, whisking continuously to prevent lumps. Continue whisking until the batter is smooth and resembles a thin pancake batter. Don’t overmix; a few small lumps are okay and will often disappear during the resting period.
3. Allow the Batter to Rest: Cover the bowl with plastic wrap or a clean kitchen towel and let the batter rest at room temperature for at least 15-20 minutes. This resting period allows the flour to fully hydrate, resulting in a smoother batter and more tender crepes. If you have more time, you can even rest it in the refrigerator for up to an hour.
4. Heat the Crepe Pan: Place a non-stick crepe pan or a shallow frying pan over medium heat. Lightly brush the pan with a small amount of melted butter or oil. The pan is ready when a drop of water sizzles and evaporates quickly.
5. Pour and Swirl the Batter: Pour about 1/4 cup of batter into the center of the hot pan. Immediately lift the pan and gently tilt and swirl it in a circular motion to evenly spread the batter into a thin circle across the bottom of the pan. Work quickly to ensure an even, thin crepe.
6. Cook Until Golden: Cook the crepe for about 1-2 minutes on the first side, or until the edges start to look dry and slightly crispy, and the bottom is lightly golden brown. You can gently lift an edge with a spatula to check for color.
7. Flip and Finish Cooking: Carefully slide a thin spatula under the crepe and flip it over. Cook for another 30 seconds to 1 minute on the second side, or until lightly browned.
8. Repeat and Stack: Transfer the cooked crepe to a plate. Continue with the remaining batter, lightly greasing the pan between each crepe if needed. Stack the cooked crepes on top of each other; the residual heat will keep them warm and pliable.
- Prep Time: 10 minutes
- Cook Time: 15-20 minutes
- Category: breakfast
- Method: pan frying
- Cuisine: french
Nutrition
- Serving Size: 1 crepe
Keywords: sourdough, crepes, discard, easy, breakfast, dessert, versatile, quick, homemade, pancakes
What You’ll Love About This Quick And Easy Recipe
This recipe is a true gem for anyone looking to minimize food waste while maximizing flavor. It’s particularly fantastic for home bakers who regularly maintain a sourdough starter and often find themselves with a surplus of discard. You’ll love how quickly these crepes come together, making them an ideal choice for a weekend breakfast treat or even a surprisingly fast weeknight dessert. The crepes themselves are incredibly versatile, acting as a blank canvas for a myriad of fillings, from fresh fruit and whipped cream to savory ham and cheese. It’s a family-friendly recipe that even picky eaters can customize to their liking, ensuring everyone at the table finds something to enjoy.
Everything You Need To Make This Recipe Without Stress
Gathering your ingredients before you start will make the entire process smooth and enjoyable. Most of these items are likely already staples in your pantry and refrigerator, making this a convenient recipe to whip up on a whim.
INGREDIENTS:
 13")
- 1 cup sourdough discard (unfed, at room temperature)
- 1 cup milk (any kind, dairy or non-dairy)
- 2 large eggs
- 2 tablespoons melted butter, plus more for cooking
- 1 tablespoon granulated sugar (optional, for sweeter crepes)
- 1/2 teaspoon vanilla extract (optional)
- 1/4 teaspoon salt
- 1 cup all-purpose flour
For the milk, whole milk tends to give the crepes a slightly richer flavor, but 2% or even a non-dairy alternative like almond or oat milk works perfectly fine. If you prefer a less sweet crepe for savory fillings, you can omit the granulated sugar entirely. The vanilla extract is also optional but adds a lovely aroma and subtle sweetness that complements most sweet fillings.
Time Needed From Start To Finish
- Prep time: 10 minutes
- Cook time: 15-20 minutes
- Total time: 25-30 minutes
The batter benefits from a short rest, but if you’re truly pressed for time, you can cook them immediately after mixing. The cooking time will vary slightly depending on your pan and how quickly you work through the batter.
How To Make It Step By Step With Visual Cues
 14")
Making these sourdough discard crepes is a straightforward process. Follow these steps for perfectly thin and soft results every time.
- Whisk the Wet Ingredients: In a large mixing bowl, combine the sourdough discard, milk, eggs, melted butter, optional sugar, optional vanilla extract, and salt. Whisk vigorously until all the ingredients are well combined and smooth. The mixture should be fairly liquid.
- Incorporate the Flour: Gradually add the all-purpose flour to the wet ingredients, whisking continuously to prevent lumps. Continue whisking until the batter is smooth and resembles a thin pancake batter. Don’t overmix; a few small lumps are okay and will often disappear during the resting period.
- Allow the Batter to Rest: Cover the bowl with plastic wrap or a clean kitchen towel and let the batter rest at room temperature for at least 15-20 minutes. This resting period allows the flour to fully hydrate, resulting in a smoother batter and more tender crepes. If you have more time, you can even rest it in the refrigerator for up to an hour.
- Heat the Crepe Pan: Place a non-stick crepe pan or a shallow frying pan over medium heat. Lightly brush the pan with a small amount of melted butter or oil. The pan is ready when a drop of water sizzles and evaporates quickly.
- Pour and Swirl the Batter: Pour about 1/4 cup of batter into the center of the hot pan. Immediately lift the pan and gently tilt and swirl it in a circular motion to evenly spread the batter into a thin circle across the bottom of the pan. Work quickly to ensure an even, thin crepe.
- Cook Until Golden: Cook the crepe for about 1-2 minutes on the first side, or until the edges start to look dry and slightly crispy, and the bottom is lightly golden brown. You can gently lift an edge with a spatula to check for color.
- Flip and Finish Cooking: Carefully slide a thin spatula under the crepe and flip it over. Cook for another 30 seconds to 1 minute on the second side, or until lightly browned.
- Repeat and Stack: Transfer the cooked crepe to a plate. Continue with the remaining batter, lightly greasing the pan between each crepe if needed. Stack the cooked crepes on top of each other; the residual heat will keep them warm and pliable.
Easy Variations And Serving Ideas That Fit Real Life
These sourdough discard crepes are incredibly versatile, making them perfect for a variety of meals and occasions.
For a classic sweet treat, fill them with fresh berries and a dollop of whipped cream, or spread them with Nutella and sliced bananas. A simple dusting of powdered sugar or a drizzle of maple syrup is also always a crowd-pleaser. For a more decadent dessert, consider a lemon curd filling or a rich chocolate sauce.
If you’re leaning towards savory, these crepes are fantastic with scrambled eggs, cheese, and a sprinkle of fresh herbs for a breakfast burrito-style meal. You could also fill them with sautéed mushrooms and spinach, or even leftover shredded chicken with a creamy sauce. For a quick lunch, try spreading them with cream cheese and topping with smoked salmon and dill.
Kids often love these crepes simply rolled up with jam or honey. You can also turn it into a fun activity by setting up a “crepe bar” with various fillings and toppings, allowing everyone to customize their own. Think mini chocolate chips, sprinkles, different fruit preserves, and various fresh fruits.
Common Slip-Ups And How To Avoid Them
Even simple recipes can have common pitfalls. Knowing what to watch out for will help you achieve perfect crepes every time.
One frequent mistake is not heating the pan properly. If the pan isn’t hot enough, the crepes will stick and be difficult to flip. If it’s too hot, they’ll burn quickly before cooking through. Aim for medium heat and give your pan a few minutes to preheat thoroughly. A good test is to flick a few drops of water onto the pan; they should sizzle and evaporate immediately.
Pouring too much batter is another common issue. This results in thick, heavy crepes more akin to pancakes. Remember, crepes are meant to be thin. Start with a small amount (around 1/4 cup for an 8-inch pan) and quickly swirl to cover the bottom. You can always add a tiny bit more if you miss a spot, but it’s harder to remove excess.
Not resting the batter can lead to tougher, less pliable crepes. The resting period allows the flour to fully absorb the liquid, resulting in a smoother batter and a more tender final product. While you can cook them immediately if needed, a 15-20 minute rest makes a noticeable difference.
Finally, over-mixing the batter can develop the gluten too much, leading to chewy crepes. Whisk until just combined and smooth, but stop as soon as the flour is incorporated. A few small lumps are perfectly fine and will often dissolve during the resting period.
How To Store It And Make Ahead Without Ruining Texture
These sourdough discard crepes are excellent for making ahead, which makes them perfect for busy mornings or meal prep.
To store cooked crepes: Allow them to cool completely. Stack them with a piece of parchment paper or wax paper between each crepe to prevent sticking. Place the stack in an airtight container or a resealable plastic bag. They will keep in the refrigerator for up to 3-4 days.
For longer storage: Crepes freeze beautifully. Stack cooled crepes with parchment paper between each, then wrap the entire stack tightly in plastic wrap, followed by aluminum foil, or place them in a freezer-safe bag. They can be frozen for up to 1-2 months.
To reheat: From the refrigerator, you can gently warm crepes in a microwave for 10-15 seconds per crepe, or in a lightly greased pan over low heat until warmed through and pliable. From the freezer, you can thaw them in the refrigerator overnight or reheat them gently from frozen in a pan on low heat, separating them as they warm. Avoid high heat, as it can make them tough.
Questions People Always Ask Before Making This Recipe
Can I use fed sourdough starter instead of discard?
While you can, the texture might be slightly different. Discard, which is unfed, has less leavening power and a milder flavor, which is ideal for 15")
FAQs
- Can I make these ahead? Yes—prep ahead, refrigerate, then serve when ready.
- How long do leftovers last? Store covered in the fridge for 3–4 days for best texture.
- Can I adjust sweetness? Yes—add more or less sweetener to taste.
- Can I change the fruit? Yes—swap strawberries for blueberries, raspberries, or sliced banana.