Keeping your sourdough starter happy and active is key to successful baking.

A well-fed starter provides the lift and flavor that makes homemade sourdough bread so rewarding. Understanding the right feeding ratios is fundamental to maintaining its vitality, whether you’re a seasoned baker or just starting your sourdough journey.
This guide will walk you through the essential feeding ratios, helping you demystify the process and ensure your starter is always ready for action. We’ll cover the basics to help you cultivate a robust and reliable sourdough starter, making your baking endeavors a joy.
Table of Contents
- What You’ll Love About This Quick And Easy Recipe
- Everything You Need To Make This Recipe Without Stress
- Time Needed From Start To Finish
- How To Make It Step By Step With Visual Cues
- Easy Variations And Serving Ideas That Fit Real Life
- Common Slip-Ups And How To Avoid Them
- How To Store It And Make It Ahead Without Ruining Texture

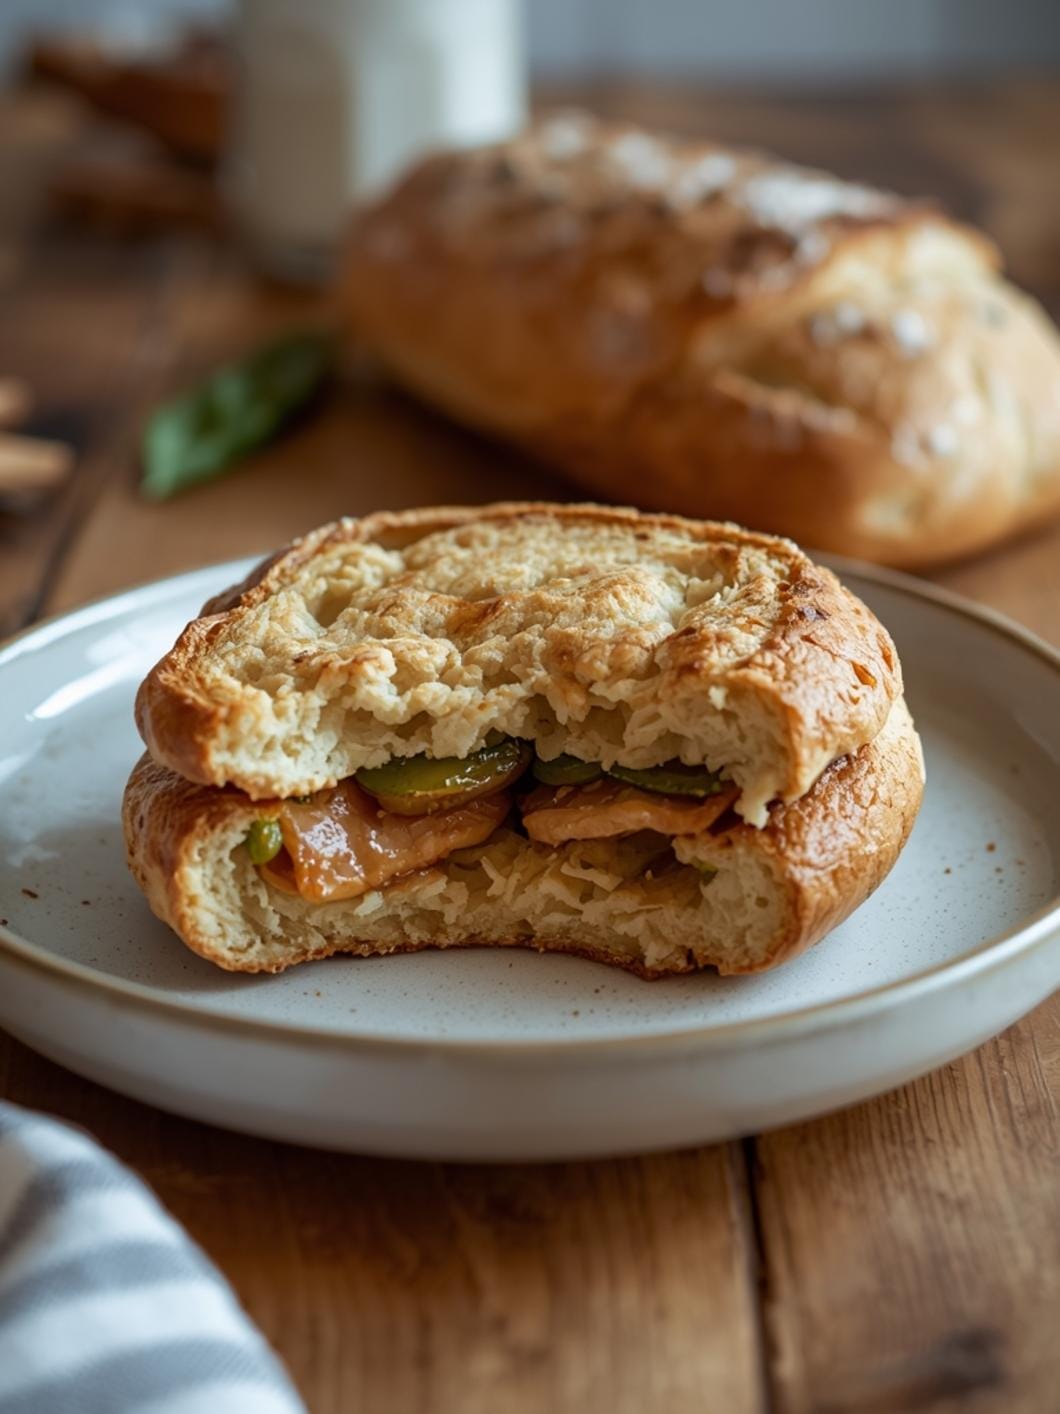
Sourdough Starter Feeding Ratios Guide
- Total Time: 5 minutes (active); 4-12 hours (fermentation)
- Yield: 1 active sourdough starter
Description
This guide explains the essential feeding ratios for maintaining a healthy and active sourdough starter, covering different ratios like 1:1:1, 1:2:2, and 1:3:3, and providing tips for storage and troubleshooting common issues. It’s designed for both beginners and experienced bakers to ensure a robust and reliable starter for successful baking.
Ingredients
Instructions
1. Prepare Your Jar: Start with a clean glass jar or container. It’s helpful to have a jar that’s large enough to accommodate your starter as it grows after feeding, typically at least double its initial volume.
2. Measure Your Starter: Remove your desired amount of active sourdough starter from its current container. This is the “mother” starter you’ll be feeding. For example, if you’re aiming for a 1:1:1 ratio, you might take 50 grams of starter. Discard any excess starter, or use it for baking.
3. Add Flour: To your measured starter, add the appropriate amount of flour according to your chosen ratio. If you’re using a 1:1:1 ratio with 50 grams of starter, you would add 50 grams of flour.
4. Add Water: Next, add the corresponding amount of water. Following the 1:1:1 ratio example, you would add 50 grams of water. Always add water gradually if you’re unsure, as different flours absorb water differently.
5. Mix Thoroughly: Using a spoon or spatula, mix the starter, flour, and water until no dry pockets of flour remain. The mixture should be smooth and consistent, resembling a thick batter. Scrape down the sides of the jar to keep it tidy.
6. Mark the Level: Place a rubber band or use a marker on the outside of the jar to indicate the initial level of your freshly fed starter. This will help you visually track its rise and fall, indicating its activity.
7. Cover Loosely: Cover the jar loosely with a lid or plastic wrap. This allows air circulation while preventing the starter from drying out. Do not seal it tightly.
8. Allow to Ferment: Leave your fed starter at room temperature to ferment until it doubles or triples in size and shows plenty of bubbles, indicating it’s active and ready to use. This typically happens within 4-12 hours, depending on the ratio and temperature.
- Prep Time: 5 minutes
- Cook Time: 0 minutes
- Category: baking
- Method: feeding
- Cuisine: american
Nutrition
- Serving Size: 1 starter
Keywords: sourdough, starter, feeding, ratios, baking, fermentation, bread, guide, maintenance, active
What You’ll Love About This Quick And Easy Recipe
This guide is perfect for anyone who wants to understand the science behind maintaining a healthy sourdough starter without getting bogged down in overly complex details. It’s designed for both beginners who are just learning the ropes of sourdough and experienced bakers looking for a clear reference on feeding ratios. You’ll appreciate how straightforward the explanations are, making it easy to implement the right feeding schedule and ratios into your routine. This information is crucial for ensuring your starter is consistently active, leading to better rises and more delicious bread. It’s about building confidence in your sourdough skills, one successful feeding at a time.
Everything You Need To Make This Recipe Without Stress
Maintaining a sourdough starter primarily involves two ingredients: flour and water, in addition to your existing starter. The “recipe” here is more about understanding the proportions to keep your starter thriving. You don’t need any fancy equipment, just basic kitchen tools.
INGREDIENTS:

- Active sourdough starter
- All-purpose flour or bread flour
- Filtered water
For the flour, while all-purpose flour works, many bakers prefer bread flour for its higher protein content, which can contribute to a stronger starter. Whole wheat flour can also be used, especially to give a sluggish starter a boost, but it will change the flavor profile and require slightly different hydration. Filtered water is recommended over tap water if your tap water contains chlorine, as chlorine can inhibit the beneficial microbes in your starter. If you don’t have filtered water, you can let tap water sit out uncovered for a few hours to allow the chlorine to dissipate.
Time Needed From Start To Finish
Understanding sourdough feeding ratios isn’t about active “cooking” time, but rather about the time it takes for your starter to become active after feeding. The actual hands-on time for feeding your starter is very minimal, usually just 2-5 minutes. The “waiting” time for your starter to reach its peak activity can vary significantly based on the feeding ratio, ambient temperature, and the vigor of your starter. It can range from 4 to 12 hours. This guide focuses on the quick act of feeding and the principles behind it, not the waiting period itself.
How To Make It Step By Step With Visual Cues

Feeding your sourdough starter involves a simple process of combining your existing starter with fresh flour and water. The key is understanding the ratios to achieve the desired activity level.
- Prepare Your Jar: Start with a clean glass jar or container. It’s helpful to have a jar that’s large enough to accommodate your starter as it grows after feeding, typically at least double its initial volume.
- Measure Your Starter: Remove your desired amount of active sourdough starter from its current container. This is the “mother” starter you’ll be feeding. For example, if you’re aiming for a 1:1:1 ratio, you might take 50 grams of starter. Discard any excess starter, or use it for baking.
- Add Flour: To your measured starter, add the appropriate amount of flour according to your chosen ratio. If you’re using a 1:1:1 ratio with 50 grams of starter, you would add 50 grams of flour.
- Add Water: Next, add the corresponding amount of water. Following the 1:1:1 ratio example, you would add 50 grams of water. Always add water gradually if you’re unsure, as different flours absorb water differently.
- Mix Thoroughly: Using a spoon or spatula, mix the starter, flour, and water until no dry pockets of flour remain. The mixture should be smooth and consistent, resembling a thick batter. Scrape down the sides of the jar to keep it tidy.
- Mark the Level: Place a rubber band or use a marker on the outside of the jar to indicate the initial level of your freshly fed starter. This will help you visually track its rise and fall, indicating its activity.
- Cover Loosely: Cover the jar loosely with a lid or plastic wrap. This allows air circulation while preventing the starter from drying out. Do not seal it tightly.
- Allow to Ferment: Leave your fed starter at room temperature to ferment until it doubles or triples in size and shows plenty of bubbles, indicating it’s active and ready to use. This typically happens within 4-12 hours, depending on the ratio and temperature.
Easy Variations And Serving Ideas That Fit Real Life
While feeding ratios aren’t about “serving,” understanding how different ratios impact your starter’s activity can help you tailor it to your baking schedule and preferences.
- 1:1:1 Ratio (Starter:Flour:Water): This is a very common and straightforward ratio. It results in a relatively fast-acting starter, often peaking in 4-6 hours at room temperature (around 70-75°F or 21-24°C). This is ideal when you need an active starter for baking relatively soon.
- 1:2:2 Ratio: This ratio uses less starter relative to the fresh flour and water. It’s a “slower” feed, meaning your starter will take longer to peak (6-10 hours or more). This can be useful if you’re feeding your starter before bed and want it to be ready in the morning, or if you want to extend the time between feedings slightly.
- 1:3:3 Ratio (or higher): For even longer fermentation times, or if you’re trying to rehabilitate a sluggish starter, a 1:3:3 or even 1:4:4 ratio can be used. This significantly dilutes the existing starter with fresh food, giving the microbes a longer feast and a slower, more sustained rise. This is also a good ratio if you plan to store your starter in the fridge for a longer period before its next feed, as it provides more “food” for the journey.
- Adjusting Hydration: While 100% hydration (equal parts flour and water by weight) is standard, you can slightly adjust the water content. A slightly stiffer starter (less water) might ferment slower, while a wetter starter might ferment faster. Experiment to see what works best for your flour and environment.
Common Slip-Ups And How To Avoid Them
Even with simple feeding, a few common mistakes can impact your sourdough starter’s health.
- Using Too Much Starter: A common beginner mistake is to feed a large amount of starter with an equal amount of flour and water, leading to an overwhelming quantity of starter quickly. Remember, you only need a small amount of active starter to propagate. Discarding most of your starter before feeding is normal and necessary to maintain a manageable amount and provide enough fresh food for the microbes.
- Inconsistent Feeding Schedule: Sourdough starters thrive on consistency. Irregular feeding can lead to a sluggish or overly acidic starter. Try to feed it around the same time each day if it’s kept at room temperature.
- Incorrect Water Temperature: Using very hot or very cold water can shock your starter. Aim for lukewarm water (around 75-85°F or 24-29°C) to encourage microbial activity.
- Sealing the Jar Too Tightly: Your starter needs to breathe. Sealing the jar completely can create an anaerobic environment that isn’t ideal for the beneficial yeasts and bacteria. Always use a loose lid or plastic wrap.
- Not Mixing Thoroughly: Dry pockets of flour can harbor dormant microbes and prevent proper fermentation. Ensure all the flour is fully incorporated into the mixture for an even feed.
- Ignoring Your Starter’s Cues: Don’t just follow a schedule blindly. Observe your starter. Is it bubbly? Does it smell yeasty and slightly sour? Is it rising and falling predictably? These visual and olfactory cues are your best indicators of its health and readiness.
How To Store It And Make It Ahead Without Ruining Texture
While you can’t “make ahead” a fed starter in the traditional sense, you can manage its activity and storage to fit your baking schedule.
- Room Temperature Storage: If you bake frequently (daily or every other day), keeping your starter at room temperature with regular feedings (e.g., a 1:1:1 ratio every 12-24 hours) is ideal. It will be consistently active and ready to use.
- Refrigerated Storage (for less frequent baking): For baking once a week or less, storing your starter in the refrigerator is the best option. Feed your starter using a higher ratio (e.g., 1:2:2 or 1:3:3) to provide more food for its dormant period, then let it sit at room temperature for 1-2 hours after feeding before placing

FAQs
- Can I make these ahead? Yes—prep ahead, refrigerate, then serve when ready.
- How long do leftovers last? Store covered in the fridge for 3–4 days for best texture.
- Can I adjust sweetness? Yes—add more or less sweetener to taste.
- Can I change the fruit? Yes—swap strawberries for blueberries, raspberries, or sliced banana.