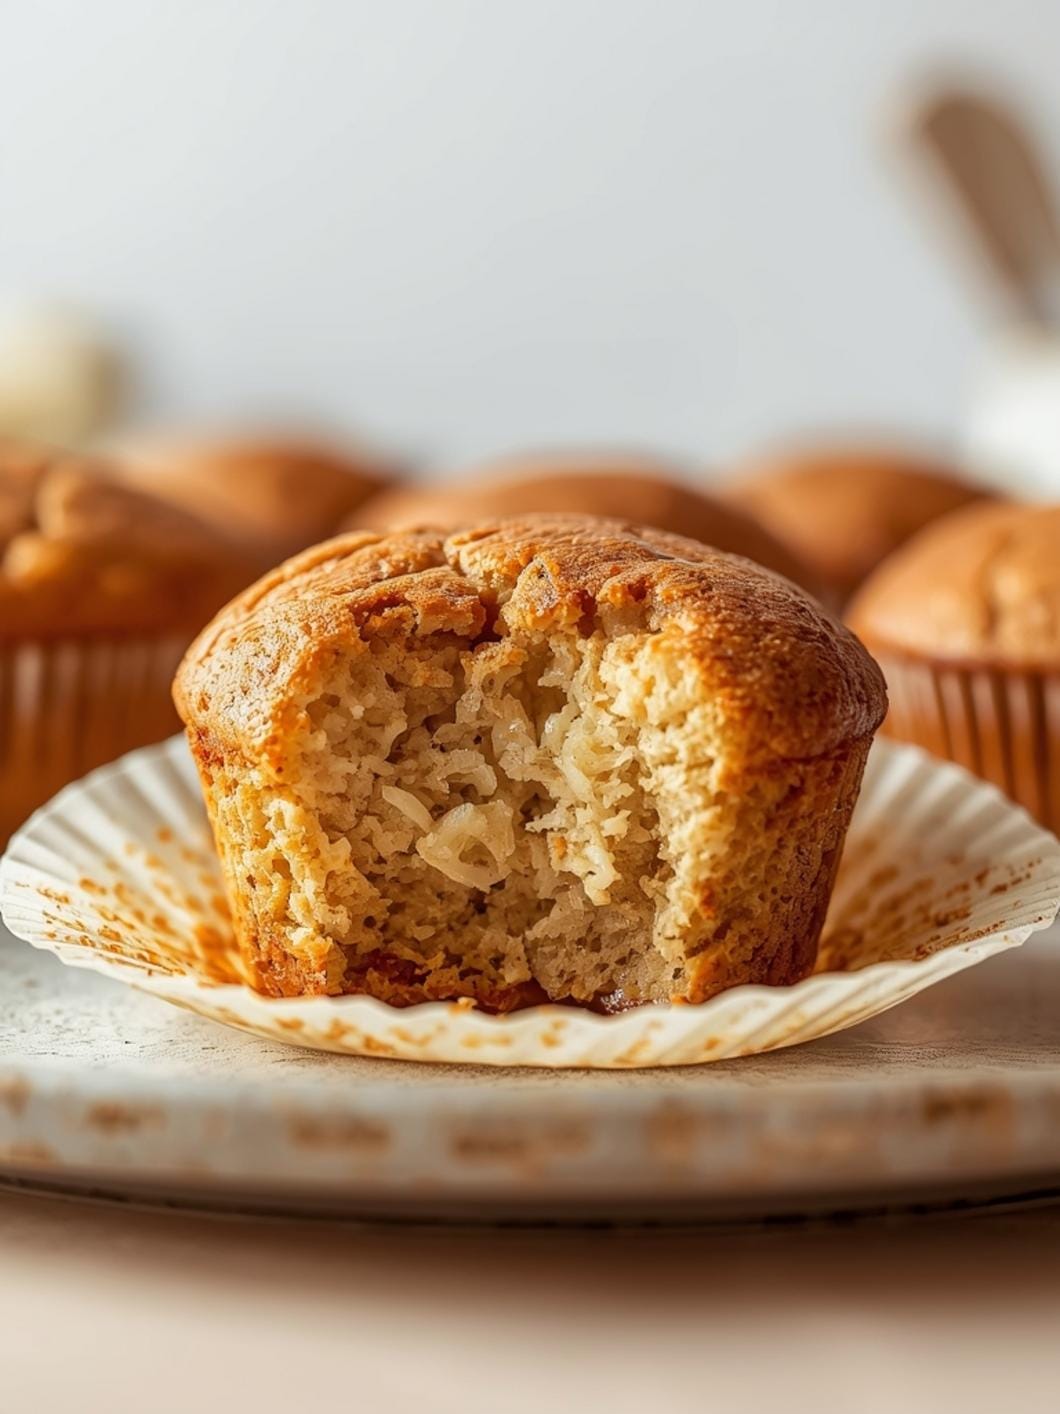
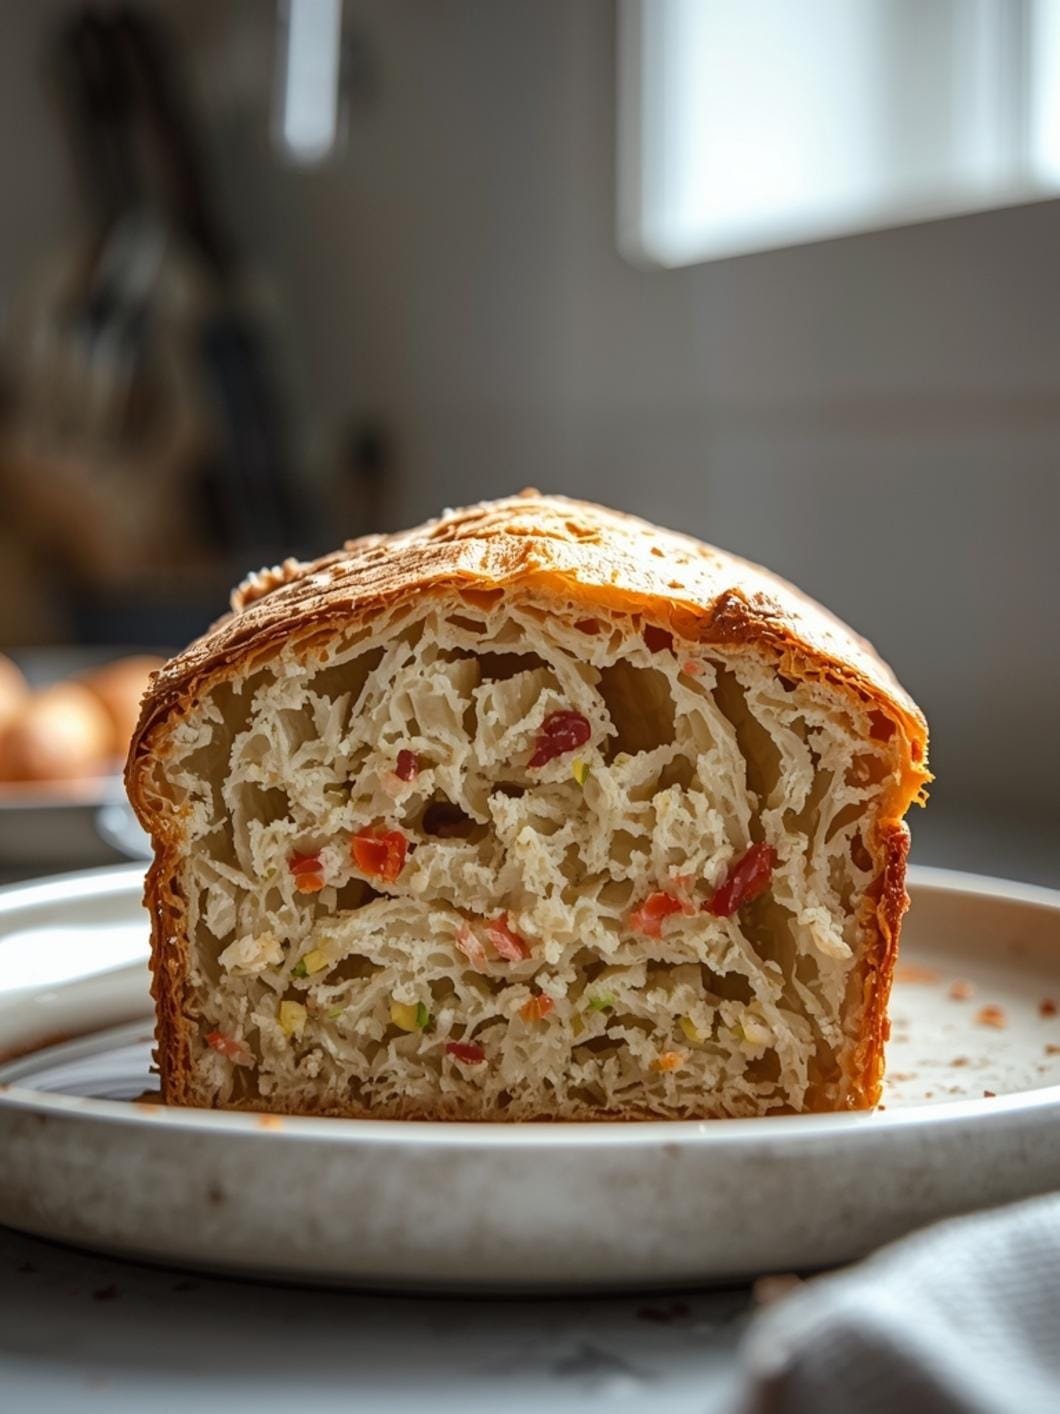
There’s nothing quite as disheartening for a home baker as pulling a beautiful-looking sourdough loaf out of the oven, only to see it deflate and collapse as it cools.

You put in all that effort with the starter, the mixing, the folds, and the proofing, and then… poof. It’s a pancake. But don’t despair! This common issue is usually solvable with a few simple adjustments to your process.
Understanding why your artisan sourdough might be collapsing is the first step to achieving that perfectly airy, open crumb and sturdy crust you’re dreaming of. We’ll walk through the most frequent culprits and give you practical, actionable tips to ensure your next loaf stands tall and proud.

Troubleshooting Collapsed Sourdough Loaf
- Total Time: Varies with recipe
- Yield: 1 loaf
Description
This guide helps home bakers diagnose and fix common issues that lead to sourdough loaves collapsing, focusing on adjustments to technique and timing rather than changing core ingredients. It provides practical tips to achieve a stable, airy crumb and sturdy crust.
Ingredients
Instructions
1. Assess Your Sourdough Starter’s Vigor: Ensure your starter is truly active and strong, bubbly, with a pleasant sour aroma, and reliably doubles or triples in size within 4-8 hours after feeding. If sluggish, feed it more frequently or with a higher ratio of flour to water for a few days.
2. Evaluate Your Dough’s Hydration Levels: If your dough feels overly sticky and slack, consider reducing the water by 5-10% in your next batch. The dough should feel extensible but still have some body.
3. Refine Your Gluten Development Techniques: Ensure you are performing enough stretches and folds or kneading to build a strong gluten network. The dough should pass the “windowpane test” without tearing.
4. Master the Art of Proofing (Fermentation): Avoid both under-proofing and over-proofing. For under-proofed dough, it will feel dense and heavy. For over-proofed dough, it will feel very airy and deflate easily. Use the “poke test”: if it springs back immediately, it’s under-proofed; if it leaves a slight indentation that slowly springs back, it’s ready; if the indentation remains, it’s likely over-proofed.
5. Perfect Your Shaping Technique: Create a tight, well-shaped loaf with tension on the surface to help it hold its form during baking. Practice creating a taut surface by pulling the dough towards you on an un-floured surface.
6. Optimize Your Baking Environment: Ensure your oven is preheated thoroughly, especially if using a Dutch oven or baking stone. A strong burst of initial heat helps set the crust quickly. Consider adding steam to your oven if not using a Dutch oven.
- Prep Time: 15-30 minutes (analysis)
- Cook Time: Varies with recipe
- Category: bread
- Method: baking
- Cuisine: european
Nutrition
- Serving Size: 1 slice
Keywords: sourdough, bread, baking, troubleshooting, collapsed, artisan, gluten, proofing, starter, technique
What You’ll Love About This Quick And Easy Recipe
This guide isn’t a recipe in the traditional sense, but rather a troubleshooting manual for your existing sourdough bread-making process. What you’ll love is the ability to diagnose and fix frustrating issues without having to completely overhaul your favorite sourdough recipe. It’s perfect for home bakers who are already comfortable with the basics of sourdough but are encountering consistent problems with their loaves collapsing. This advice is designed to save you time and ingredients by pinpointing exactly where things might be going wrong, helping you achieve that desirable chewy sourdough bread with a gorgeous, stable structure. It’s all about making your current efforts more successful, leading to less waste and more delicious, artisan-quality bread for your family and friends.
Everything You Need To Make This Recipe Without Stress
Since this is a troubleshooting guide rather than a new recipe, the “ingredients” are more about the tools and conditions you’re already using for your sourdough. You won’t need to buy anything new, but rather focus on how you’re utilizing what you have.
INGREDIENTS:

- Your active sourdough starter
- Your preferred bread flour (all-purpose, bread flour, whole wheat, etc.)
- Water
- Salt
- Any additional ingredients from your specific sourdough recipe (e.g., seeds, olives)
You don’t need any special substitutions here, as we’re working with the foundational elements of sourdough. The key is ensuring the quality and consistency of these basic components. For instance, using a good quality bread flour with a higher protein content can sometimes help with structure, but it’s not a mandatory change if your current flour usually works well. The focus is on technique and timing, not on changing your core ingredients.
Time Needed From Start To Finish
This section is a bit different for troubleshooting. There isn’t a “prep time” or “cook time” in the traditional sense, as we’re analyzing and adjusting an ongoing process. However, dedicating time to understanding and implementing these tips will significantly reduce future wasted baking efforts.
- Observation & Analysis Time: 15-30 minutes (to review your process and notes)
- Adjustment & Implementation Time: This will be integrated into your next sourdough bake cycle, adding minimal extra time to each step as you focus on new techniques.
- Total Time Savings: Potentially hours of wasted effort and ingredients on collapsed loaves!
How To Make It Step By Step With Visual Cues

Troubleshooting a collapsed sourdough loaf involves reviewing your existing steps and making precise adjustments. Here’s how to approach it, focusing on common culprits.
- Assess Your Sourdough Starter’s Vigor: Before you even mix your dough, ensure your starter is truly active and strong. It should be bubbly, have a pleasant sour aroma, and reliably double or triple in size within 4-8 hours after feeding. A weak starter is a primary cause of collapse because it can’t produce enough gas to support the dough’s structure. If it’s sluggish, feed it more frequently or with a higher ratio of flour to water for a few days to strengthen it.
- Evaluate Your Dough’s Hydration Levels: High hydration doughs (those with a higher water-to-flour ratio) are notoriously difficult to handle and can collapse more easily if not developed properly. While they can produce an open crumb, too much water can weaken the gluten structure. If your dough feels overly sticky and slack, consider reducing the water by 5-10% in your next batch. The dough should feel extensible but still have some body.
- Refine Your Gluten Development Techniques: A strong gluten network is essential for trapping gases and creating structure. Ensure you are performing enough stretches and folds or kneading to build this network. The dough should pass the “windowpane test” – you should be able to stretch a small piece of dough thin enough to see light through it without tearing. If it tears easily, it needs more development.
- Master the Art of Proofing (Fermentation): This is perhaps the most common reason for collapse. Both under-proofing and over-proofing can lead to a flat loaf. * Under-proofed dough: Won’t have enough gas to hold its shape and will collapse in the oven or during scoring. It will feel dense and heavy. * Over-proofed dough: The gluten structure breaks down from too much fermentation, and it can’t hold the gas it has produced. It will feel very airy, almost like a cloud, and will often deflate when handled or scored. A good indicator is the “poke test”: gently poke the dough with a floured finger. If it springs back immediately, it’s under-proofed. If it leaves a slight indentation that slowly springs back, it’s ready. If the indentation remains, it’s likely over-proofed.
- Perfect Your Shaping Technique: A tight, well-shaped loaf creates tension on the surface, which helps the bread hold its form during baking. If your shaping is too loose, the dough will spread rather than rise. Practice creating a taut surface by pulling the dough towards you on an un-floured surface, building tension. This is crucial for sourdough scoring simple techniques to work effectively.
- Optimize Your Baking Environment: Ensure your oven is preheated thoroughly, especially if you’re using a Dutch oven or baking stone. A strong burst of initial heat helps set the crust quickly, providing crucial support for the rising dough. If your oven temperature is too low, the dough might spread before the crust can firm up. Also, consider adding steam to your oven if not using a Dutch oven, as steam keeps the crust pliable longer, allowing for maximum oven spring before it sets.
Easy Variations And Serving Ideas That Fit Real Life
While we’re fixing the structure of your basic sourdough, the serving possibilities are endless once you achieve that perfect loaf! A well-made artisan sourdough bread is a versatile foundation for countless meals and snacks.
For a simple and satisfying treat, slice your perfectly baked sourdough and serve it with a good quality olive oil for dipping, perhaps with a sprinkle of flaky sea salt and fresh cracked black pepper. It’s also fantastic alongside a hearty soup or stew, soaking up all the delicious broth. For breakfast or brunch, toast thick slices and top with avocado, a fried egg, or your favorite jam.
Kids often love sourdough, especially if it has a mild tang. Try making grilled cheese sandwiches with it – the sturdy crust holds up beautifully. You can also make mini pizzas on slices of sourdough for a quick weeknight meal. For a party or buffet, a platter of toasted sourdough crostini topped with bruschetta, tapenade, or a creamy cheese spread is always a hit. Don’t forget open-faced sandwiches with deli meats, cheeses, and fresh veggies. The beauty of a well-baked loaf is its ability to elevate even the simplest ingredients.
Common Slip-Ups And How To Avoid Them
Many common mistakes in sourdough baking can lead to a collapsed loaf, and most are easily corrected with a bit of attention.
One frequent slip-up is not understanding your starter’s readiness. Many beginners assume their starter is ready just because it has bubbles. However, a truly active starter will have peaked and begun to fall slightly, indicating it has consumed most of its food and is at its most potent. Using it too early (before its peak) or too late (when it’s completely deflated) can lead to a weak rise and subsequent collapse. Always aim to use your starter when it’s at its peak activity, usually 4-8 hours after feeding.
Another mistake is inconsistent bulk fermentation temperatures. Sourdough is highly sensitive to temperature. If your kitchen is too cold, the dough will ferment too slowly, leading to under-proofing. If it’s too warm, it can over-proof quickly, causing the gluten to degrade. Try to maintain a consistent temperature for your bulk fermentation, ideally between 70-78°F (21-25°C). Using a proofing box or placing the dough in a slightly warm (but off) oven can help.
Over-handling the dough during shaping is also a common pitfall. While you need to build tension, excessive handling can degas the dough too much, leaving it with insufficient gas to rise in the oven. Be firm but gentle and efficient with your shaping. The goal is to create a taut skin without squishing out all the precious air bubbles.
Finally, not preheating your oven and baking vessel sufficiently can cause issues. If your Dutch oven or baking stone isn’t screaming hot, the dough won’t get that initial burst of heat needed for oven spring. This can lead

FAQs
- Can I make these ahead? Yes—prep ahead, refrigerate, then serve when ready.
- How long do leftovers last? Store covered in the fridge for 3–4 days for best texture.
- Can I adjust sweetness? Yes—add more or less sweetener to taste.
- Can I change the fruit? Yes—swap strawberries for blueberries, raspberries, or sliced banana.