Elevate your next dinner party with a show-stopping dish that’s both impressive and surprisingly simple to prepare.

This sourdough pan pizza dough recipe is your secret weapon for crafting a delicious Detroit-style pizza, complete with that coveted crispy crust that everyone raves about. It’s a fantastic way to bring a gourmet touch to your table without spending hours in the kitchen.
This recipe focuses on creating a robust, flavorful base that’s perfect for holding up to all your favorite toppings. Whether you’re a seasoned sourdough baker or just starting out, you’ll find this method straightforward and incredibly rewarding, leading to a pizza that’s sure to be the star of any gathering.

Sourdough Pan Pizza Dough (Detroit-Style)
- Total Time: 9-14 hours
- Yield: 1 pizza 1x
Description
This sourdough pan pizza dough recipe is your secret weapon for crafting a delicious Detroit-style pizza, complete with that coveted crispy crust that everyone raves about. It’s a fantastic way to bring a gourmet touch to your table without spending hours in the kitchen.
Ingredients
Instructions
1. Combine the Starter and Water: In a large mixing bowl, gently whisk together your active sourdough starter and the warm water until the starter is mostly dissolved. The mixture should look milky and slightly frothy.
2. Add Flour and Salt: Add the bread flour and fine sea salt to the bowl. Mix with a wooden spoon or your hands until a shaggy dough forms and no dry spots of flour remain. It will be sticky.
3. First Knead and Rest: Turn the dough out onto a lightly floured surface. Knead for about 5 minutes until it starts to come together, then drizzle the 10 grams of olive oil over the dough and knead it in until fully incorporated. The dough will become smoother and more elastic. Place the dough back in the bowl, cover it with a damp cloth or plastic wrap, and let it rest at room temperature for 30 minutes.
4. Perform Stretch and Folds: Over the next 2-3 hours, perform a series of “stretch and folds” every 30 minutes. To do this, lightly wet your hands, grab a portion of the dough from the edge, stretch it upwards, and fold it over the center. Rotate the bowl a quarter turn and repeat this process 3-4 times until you’ve worked your way around the dough. This builds strength without heavy kneading. After the last stretch and fold, cover the bowl and let the dough bulk ferment at room temperature for 4-6 more hours, or until it has noticeably increased in size and looks bubbly. Alternatively, you can place it in the refrigerator overnight (8-12 hours) for a slower, more flavorful fermentation.
5. Prepare the Pan and Shape the Dough: Generously coat a 9×13-inch Detroit-style pizza pan (or a similar rectangular metal baking pan) with olive oil, ensuring the sides are well-oiled. Gently transfer the fermented dough into the oiled pan. Using your fingertips, gently press the dough out towards the edges of the pan. It might resist at first; if so, let it rest for 10-15 minutes, then continue pressing until it fills the pan. Avoid tearing the dough.
6. Final Proofing: Once the dough fills the pan, cover it loosely with plastic wrap or a clean kitchen towel and let it proof at room temperature for 2-4 hours. The dough should look visibly puffy and airy, almost doubled in size, and feel soft to the touch. This is your final rise before baking.
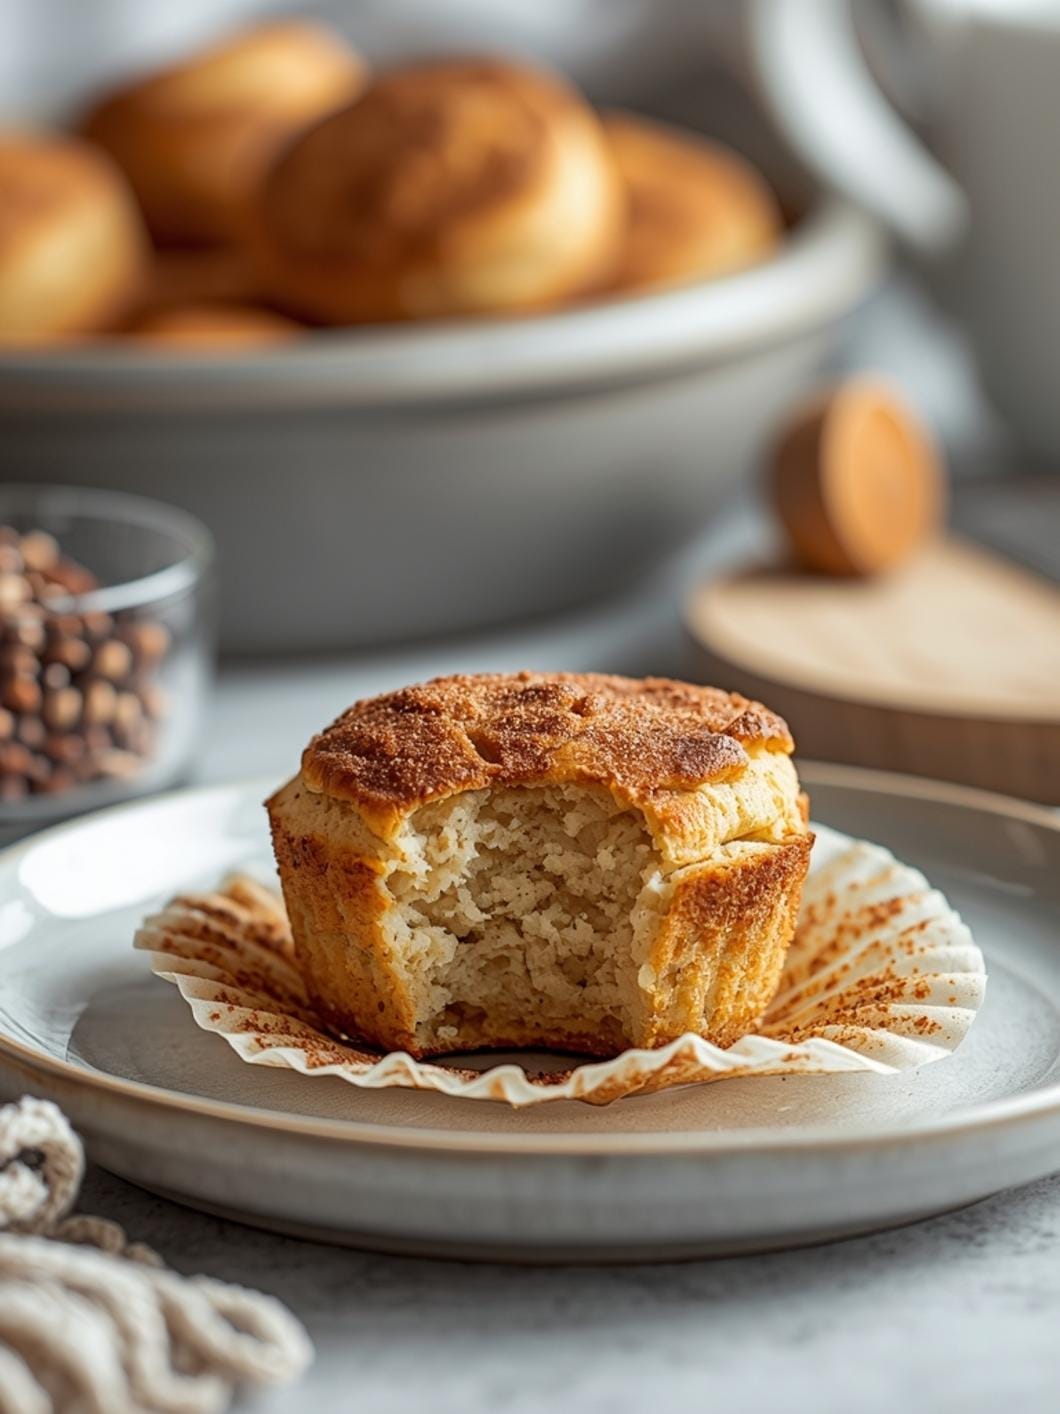
7. Bake the Pizza: Preheat your oven to 475 F (245 C) with a pizza stone or steel if you have one, placed on the lowest rack. Once the dough is proofed, add your desired toppings (cheese first for Detroit-style!). Carefully transfer the pizza pan to the preheated oven. Bake for 20-25 minutes, or until the crust is deeply golden brown on the bottom and edges, and the cheese is bubbly and slightly caramelized.
8. Cool and Serve: Remove the pizza from the oven and carefully slide it out of the pan onto a wire rack. This helps keep the bottom crust crispy. Let it cool for 5-10 minutes before slicing and serving.
- Prep Time: 15 minutes
- Cook Time: 20-25 minutes
- Category: main dish
- Method: baking
- Cuisine: american
Nutrition
- Serving Size: 8 servings
Keywords: sourdough, pizza, detroit-style, pan pizza, homemade, baking, dinner, comfort food, crispy crust, easy
What You’ll Love About This Quick And Easy Recipe
This sourdough pan pizza dough recipe is a game-changer for anyone looking to impress without the stress. It’s perfect for home cooks who appreciate the depth of flavor sourdough brings but need a practical approach for a dinner party setting. The beauty of this recipe lies in its ability to deliver a restaurant-quality Detroit-style pizza with a thick, airy, and incredibly crispy crust that’s hard to achieve with conventional doughs. It works because sourdough adds a complex tang and a beautiful texture that ferments slowly, developing rich flavors. This makes it an ideal choice for a weekend dinner party, a casual family pizza night, or even a special occasion where you want to serve something truly memorable. It’s designed for those who enjoy hands-on cooking but also value efficiency and delicious results.
Everything You Need To Make This Recipe Without Stress
Gathering your ingredients before you start is key to a smooth and enjoyable cooking experience. This recipe uses common pantry staples, with the star being your active sourdough starter. Don’t worry if you’re new to sourdough; the steps are clear and forgiving.
INGREDIENTS:

- 150 grams active sourdough starter (fed and bubbly)
- 300 grams warm water (around 90-100°F or 32-38°C)
- 400 grams bread flour
- 10 grams fine sea salt
- 10 grams olive oil, plus more for the pan
For the bread flour, you can use any good quality unbleached bread flour. All-purpose flour can work in a pinch, but bread flour’s higher protein content will give you a chewier crust. When it comes to olive oil, a standard extra virgin olive oil is perfect for both the dough and greasing your pan. If you don’t have fine sea salt, regular table salt can be used, but you might want to reduce the amount slightly as it can be saltier by volume. The most important ingredient is your active sourdough starter; ensure it’s been fed and is bubbly and active before you begin, as this is what will give your dough its lift and signature flavor.
Time Needed From Start To Finish
This recipe requires a bit of patience for the fermentation process, but the hands-on time is minimal.
- Active Prep Time: 15 minutes
- Bulk Fermentation Time: 6-8 hours (or overnight in the fridge)
- Proofing Time in Pan: 2-4 hours
- Bake Time: 20-25 minutes
- Total Time (excluding fermentation): Approximately 3-5 hours
- Total Time (including fermentation): Approximately 9-14 hours (or longer if refrigerating)
How To Make It Step By Step With Visual Cues

Creating this sourdough pan pizza dough is a straightforward process, even with the sourdough element. Follow these steps to achieve a perfectly crispy and flavorful crust.
- Combine the Starter and Water: In a large mixing bowl, gently whisk together your active sourdough starter and the warm water until the starter is mostly dissolved. The mixture should look milky and slightly frothy.
- Add Flour and Salt: Add the bread flour and fine sea salt to the bowl. Mix with a wooden spoon or your hands until a shaggy dough forms and no dry spots of flour remain. It will be sticky.
- First Knead and Rest: Turn the dough out onto a lightly floured surface. Knead for about 5 minutes until it starts to come together, then drizzle the 10 grams of olive oil over the dough and knead it in until fully incorporated. The dough will become smoother and more elastic. Place the dough back in the bowl, cover it with a damp cloth or plastic wrap, and let it rest at room temperature for 30 minutes.
- Perform Stretch and Folds: Over the next 2-3 hours, perform a series of “stretch and folds” every 30 minutes. To do this, lightly wet your hands, grab a portion of the dough from the edge, stretch it upwards, and fold it over the center. Rotate the bowl a quarter turn and repeat this process 3-4 times until you’ve worked your way around the dough. This builds strength without heavy kneading. After the last stretch and fold, cover the bowl and let the dough bulk ferment at room temperature for 4-6 more hours, or until it has noticeably increased in size and looks bubbly. Alternatively, you can place it in the refrigerator overnight (8-12 hours) for a slower, more flavorful fermentation.
- Prepare the Pan and Shape the Dough: Generously coat a 9×13-inch Detroit-style pizza pan (or a similar rectangular metal baking pan) with olive oil, ensuring the sides are well-oiled. Gently transfer the fermented dough into the oiled pan. Using your fingertips, gently press the dough out towards the edges of the pan. It might resist at first; if so, let it rest for 10-15 minutes, then continue pressing until it fills the pan. Avoid tearing the dough.
- Final Proofing: Once the dough fills the pan, cover it loosely with plastic wrap or a clean kitchen towel and let it proof at room temperature for 2-4 hours. The dough should look visibly puffy and airy, almost doubled in size, and feel soft to the touch. This is your final rise before baking.
- Bake the Pizza: Preheat your oven to 475°F (245°C) with a pizza stone or steel if you have one, placed on the lowest rack. Once the dough is proofed, add your desired toppings (cheese first for Detroit-style!). Carefully transfer the pizza pan to the preheated oven. Bake for 20-25 minutes, or until the crust is deeply golden brown on the bottom and edges, and the cheese is bubbly and slightly caramelized.
- Cool and Serve: Remove the pizza from the oven and carefully slide it out of the pan onto a wire rack. This helps keep the bottom crust crispy. Let it cool for 5-10 minutes before slicing and serving.
Easy Variations And Serving Ideas That Fit Real Life
This sourdough pan pizza dough is incredibly versatile, making it perfect for customizing. For a classic Detroit-style experience, layer shredded brick cheese (or a blend of mozzarella and white cheddar) all the way to the edges of the pan, allowing it to caramelize into a crispy “frico” crust. Then, add your sauce in stripes over the cheese, and finish with your favorite toppings like pepperoni, mushrooms, or bell peppers.
For kid-friendly options, keep toppings simple: classic cheese and pepperoni are always a hit. You can also offer a “build-your-own” pizza bar, letting everyone choose their toppings. This dough also works wonderfully as a base for a white pizza with ricotta, garlic, and spinach, or even a breakfast pizza with eggs, bacon, and cheddar. Serve slices with a fresh green salad with a light vinaigrette to balance the richness of the pizza. A side of marinara for dipping the crust is also a popular choice.
Common Slip-Ups And How To Avoid Them
Even experienced bakers can encounter small challenges, but with a few tips, you can avoid common pitfalls.
- Inactive Sourdough Starter: If your starter isn’t bubbly and active, your dough won’t rise properly. Ensure it’s been fed 4-12 hours before you plan to mix your dough and is at its peak activity. A float test (a small piece floating in water) can confirm its readiness.
- Under-Proofed Dough: Rushing the fermentation and proofing stages will result in a dense, chewy crust. Give the dough ample time to rise in both the bulk fermentation and final proofing stages. Look for visual cues like increased volume and airiness.
- Over-Proofed Dough: While less common, dough that proofs for too long can become slack and difficult to handle, and may collapse in the oven. Pay attention to the recommended times and visual cues, especially in warmer environments.
- Not Enough Oil in the Pan: The generous amount of olive oil in the pan is crucial for achieving that signature crispy, golden Detroit-style crust. Don’t skimp on it! Make sure the sides are well-coated too.
- Tearing the Dough: When pressing the dough into the pan, be gentle. If it resists, let it rest for 10-15 minutes to allow the gluten to relax, then continue pressing. Forcing it can tear the dough, which can lead to a

FAQs
- Can I make these ahead? Yes—prep ahead, refrigerate, then serve when ready.
- How long do leftovers last? Store covered in the fridge for 3–4 days for best texture.
- Can I adjust sweetness? Yes—add more or less sweetener to taste.
- Can I change the fruit? Yes—swap strawberries for blueberries, raspberries, or sliced banana.