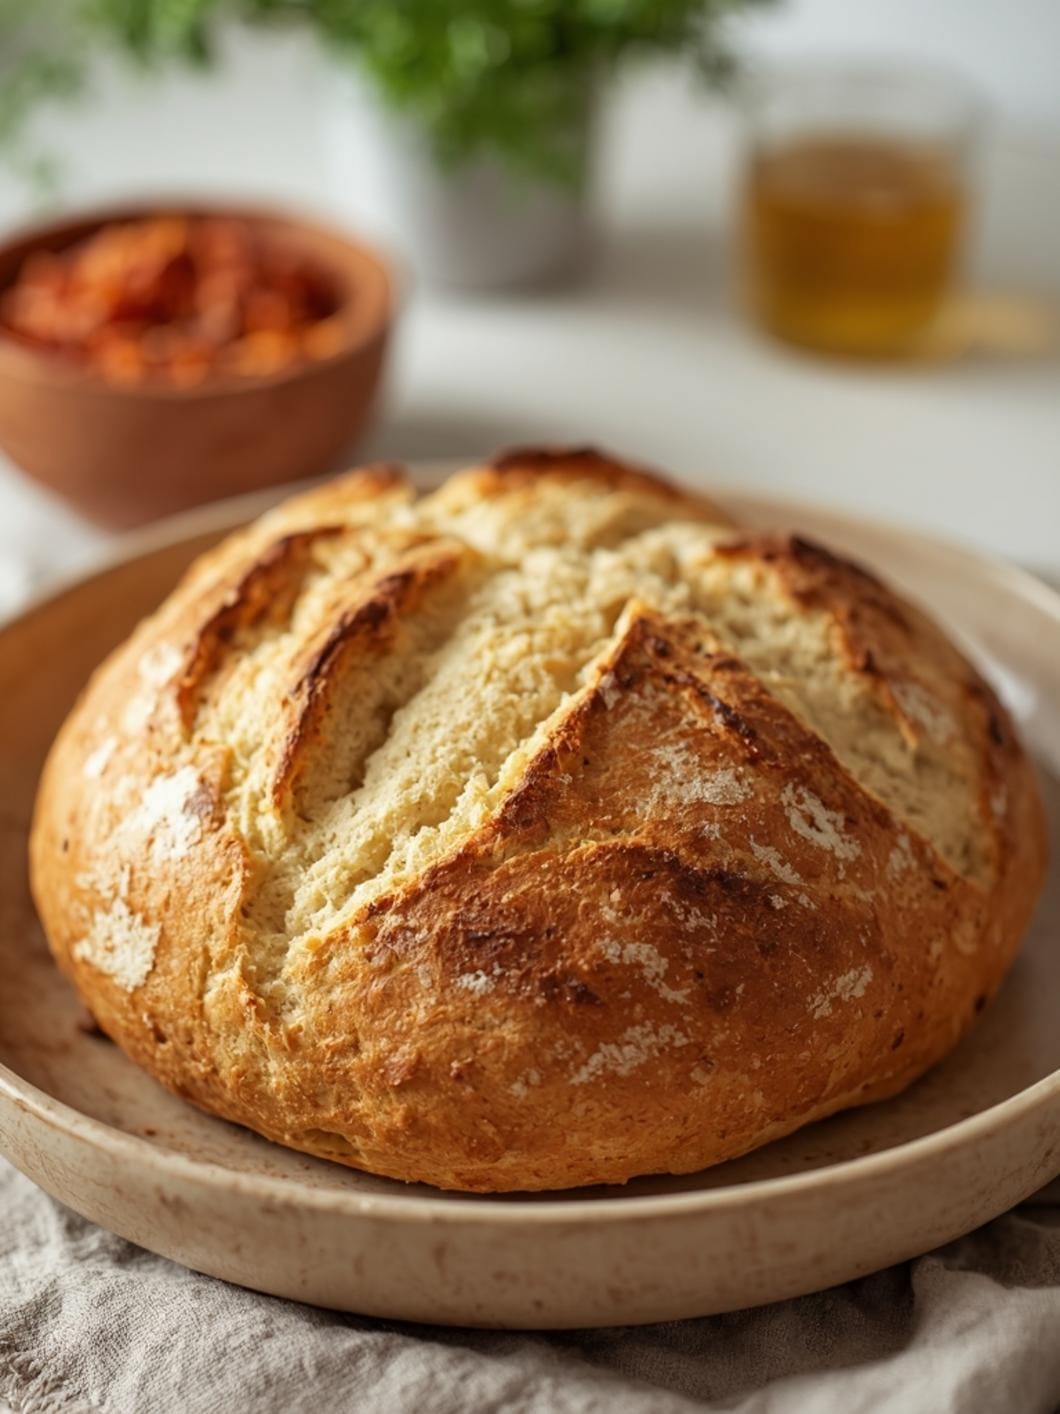
These delightful sourdough raspberry rolls are bursting with fresh fruit flavor, making them a perfect treat for breakfast or dessert.

If you’re looking for a quick and easy way to enjoy the bright taste of raspberries, these rolls are sure to become a new favorite. They bring a touch of sunshine to any meal, whether it’s a special occasion or just a regular Tuesday morning.
Learn how to make sourdough raspberry rolls with our easy-to-follow recipe. We’ll guide you through each step, ensuring a delicious outcome without any fuss. Discover the details below and get ready to enjoy these wonderfully fruity and tender rolls.
Table of Contents
- What You’ll Love About This Quick And Easy Recipe
- Everything You Need To Make This Recipe Without Stress
- Time Needed From Start To Finish
- How To Make It Step By Step With Visual Cues
- Easy Variations And Serving Ideas That Fit Real Life
- Common Slip-Ups And How To Avoid Them
- How To Store It And Make It Ahead Without Ruining Texture

Sourdough Raspberry Rolls
- Total Time: 27-30 minutes
- Yield: 8-10 rolls 1x
Description
These delightful sourdough raspberry rolls are bursting with fresh fruit flavor, making them a perfect treat for breakfast or dessert. They are quick and easy to make, perfect for busy home cooks, and use readily available ingredients. This recipe guides you through each step to ensure a delicious outcome without any fuss, resulting in warm, fruity, and tender rolls that are sure to become a new favorite.
Ingredients
Instructions
1. Preheat Your Oven and Prepare Your Baking Sheet: Start by preheating your oven to 375 F (190 C). Line a baking sheet with parchment paper to prevent sticking and make cleanup a breeze. This ensures your rolls bake evenly and don’t stick to the pan.
2. Unroll the Crescent Dough: Carefully unroll the can of crescent rolls onto your prepared baking sheet. Do not separate the triangles. You should have one large rectangle of dough. If there are perforations, gently press them together to seal them, creating a more solid base for your filling.
3. Prepare the Raspberry Filling: In a small bowl, gently combine the fresh or frozen raspberries with the granulated sugar and all-purpose flour. The flour helps to thicken the raspberry juices as they bake, preventing the rolls from becoming too soggy. If using, stir in the lemon zest here for an extra pop of flavor.
4. Spread the Filling: Evenly spread the raspberry mixture over the entire surface of the crescent roll dough, leaving a small border (about 1/2 inch) around the edges. This ensures the filling is distributed throughout each roll.
5. Roll Up the Dough: Starting from one of the long sides, carefully roll the dough tightly into a log. Take your time to keep the roll as uniform as possible. Once rolled, pinch the seam closed to seal the log.
6. Slice the Rolls: Using a sharp knife or a piece of unflavored dental floss, slice the log into 8-10 equal pieces, about 1 to 1.5 inches thick. Arrange these slices cut-side up on your prepared baking sheet, leaving a little space between each roll to allow for expansion.
7. Bake Until Golden: Place the baking sheet in the preheated oven and bake for 12-15 minutes, or until the rolls are golden brown and the filling is bubbly. The golden color on the outside indicates they are cooked through and have a lovely texture.
8. Prepare the Glaze and Finish: While the rolls are baking or cooling slightly, whisk together the powdered sugar, 1 tablespoon of milk or cream, and vanilla extract in a small bowl until smooth. If the glaze is too thick, add more milk or cream a teaspoon at a time until it reaches a pourable consistency. Once the rolls are out of the oven and have cooled for a few minutes, drizzle the glaze generously over them. Serve warm and enjoy!
- Prep Time: 10 minutes
- Cook Time: 12-15 minutes
- Category: dessert
- Method: baking
- Cuisine: american
Nutrition
- Serving Size: 1 roll
Keywords: raspberry, rolls, crescent, easy, dessert, breakfast, fruit, sweet, quick, baked
What You’ll Love About This Quick And Easy Recipe
This recipe for sourdough raspberry rolls is a true gem for anyone who loves the tangy sweetness of raspberries combined with a soft, warm pastry. It’s designed for busy home cooks and families who want a delicious treat without spending hours in the kitchen. You’ll love how quickly these come together, making them perfect for a spontaneous breakfast, a brunch centerpiece, or a comforting dessert after dinner. The beauty of this recipe lies in its simplicity and the vibrant flavor it delivers. It’s a fantastic way to use fresh or frozen raspberries and create something truly special with minimal effort. Kids and adults alike will adore these, making them a crowd-pleasing option for any gathering or a simple family meal.
Everything You Need To Make This Recipe Without Stress
Gathering your ingredients before you start cooking is the best way to ensure a smooth and stress-free baking experience. This recipe uses readily available items that you likely already have on hand or can easily find at any grocery store. We’re focusing on convenience and delicious results, so no fancy equipment or hard-to-find components are needed.
INGREDIENTS:

- 1 (8-ounce) can refrigerated crescent rolls
- 1/2 cup fresh or frozen raspberries (do not thaw if frozen)
- 2 tablespoons granulated sugar
- 1 tablespoon all-purpose flour
- 1/4 teaspoon lemon zest (optional, for extra brightness)
- 2 tablespoons unsalted butter, melted
- 1/2 cup powdered sugar
- 1-2 tablespoons milk or cream
- 1/4 teaspoon vanilla extract
For the raspberries, both fresh and frozen work wonderfully. If using frozen, there’s no need to thaw them beforehand; they’ll bake beautifully right from the freezer. The lemon zest is optional but highly recommended as it really brightens up the raspberry flavor and complements the “sourdough” (crescent roll) base. When choosing your crescent rolls, any standard brand will do. For the glaze, feel free to use any type of milk you have on hand, whether it’s dairy or a plant-based alternative.
Time Needed From Start To Finish
This recipe is designed for speed and convenience, making it perfect for those moments when you crave something delicious without a long wait.
- Preparation Time: 10 minutes
- Baking Time: 12-15 minutes
- Cooling/Glazing Time: 5 minutes
- Total Time: 27-30 minutes
You’ll be enjoying these warm, fruity rolls in under half an hour, which is fantastic for a homemade treat!
How To Make It Step By Step With Visual Cues

Making these sourdough raspberry rolls is incredibly straightforward. Follow these simple steps, and you’ll have a delightful treat ready in no time.
- Preheat Your Oven and Prepare Your Baking Sheet: Start by preheating your oven to 375°F (190°C). Line a baking sheet with parchment paper to prevent sticking and make cleanup a breeze. This ensures your rolls bake evenly and don’t stick to the pan.
- Unroll the Crescent Dough: Carefully unroll the can of crescent rolls onto your prepared baking sheet. Do not separate the triangles. You should have one large rectangle of dough. If there are perforations, gently press them together to seal them, creating a more solid base for your filling.
- Prepare the Raspberry Filling: In a small bowl, gently combine the fresh or frozen raspberries with the granulated sugar and all-purpose flour. The flour helps to thicken the raspberry juices as they bake, preventing the rolls from becoming too soggy. If using, stir in the lemon zest here for an extra pop of flavor.
- Spread the Filling: Evenly spread the raspberry mixture over the entire surface of the crescent roll dough, leaving a small border (about 1/2 inch) around the edges. This ensures the filling is distributed throughout each roll.
- Roll Up the Dough: Starting from one of the long sides, carefully roll the dough tightly into a log. Take your time to keep the roll as uniform as possible. Once rolled, pinch the seam closed to seal the log.
- Slice the Rolls: Using a sharp knife or a piece of unflavored dental floss, slice the log into 8-10 equal pieces, about 1 to 1.5 inches thick. Arrange these slices cut-side up on your prepared baking sheet, leaving a little space between each roll to allow for expansion.
- Bake Until Golden: Place the baking sheet in the preheated oven and bake for 12-15 minutes, or until the rolls are golden brown and the filling is bubbly. The golden color on the outside indicates they are cooked through and have a lovely texture.
- Prepare the Glaze and Finish: While the rolls are baking or cooling slightly, whisk together the powdered sugar, 1 tablespoon of milk or cream, and vanilla extract in a small bowl until smooth. If the glaze is too thick, add more milk or cream a teaspoon at a time until it reaches a pourable consistency. Once the rolls are out of the oven and have cooled for a few minutes, drizzle the glaze generously over them. Serve warm and enjoy!
Easy Variations And Serving Ideas That Fit Real Life
These sourdough raspberry rolls are wonderfully versatile and can be adapted to suit different tastes or occasions. Here are some simple variations and serving suggestions that fit perfectly into a busy family life.
For a kid-friendly twist, you can add a sprinkle of mini chocolate chips along with the raspberries before rolling. The combination of chocolate and raspberry is always a hit! If you don’t have raspberries, feel free to swap them out for other berries like blueberries, blackberries, or even a mixed berry blend. Just ensure the berries are small enough or chopped if they are larger. A pinch of cinnamon or cardamom can also be added to the filling for a warmer, spicier note.
These rolls are fantastic on their own for breakfast or as an afternoon snack with a cup of coffee or tea. For a more decadent dessert, serve them warm with a scoop of vanilla ice cream or a dollop of whipped cream. They also make a lovely addition to a brunch buffet, arranged on a platter for easy grabbing. You can even make a double batch for a potluck or family gathering – they disappear quickly!
Common Slip-Ups And How To Avoid Them
Even with a simple recipe like this, a few common mistakes can occur. Knowing how to avoid them will ensure your sourdough raspberry rolls turn out perfectly every time.
One common slip-up is overfilling the rolls. Too much raspberry mixture can make the rolls difficult to roll tightly and cause the filling to ooze out excessively during baking, leading to a sticky mess. Stick to the recommended amount of filling for the best results.
Another mistake is not sealing the crescent dough properly after unrolling it. If the perforations aren’t gently pressed together, the rolls might separate or tear during baking, losing their nice spiral shape. Take a moment to press those seams together firmly.
Baking at too high a temperature or for too long can result in dry, overly browned rolls. Keep an eye on them during the last few minutes of baking. They should be golden brown, not dark brown. Every oven is different, so adjust baking time as needed.
Finally, slicing the rolls too thin can make them fall apart easily. Aim for slices that are at least 1 inch thick to ensure they hold their shape and have a good amount of filling in each bite. Using a sharp knife or dental floss helps create clean cuts.
How To Store It And Make It Ahead Without Ruining Texture
These sourdough raspberry rolls are best enjoyed warm and fresh from the oven, but you can certainly store them or prepare them ahead of time with a few tips to maintain their delicious texture.
Storing Leftovers: If you have any rolls left over, store them in an airtight container at room temperature for up to 2 days. For longer storage, you can refrigerate them for up to 4-5 days. The glaze might soften a bit, but the rolls will still be tasty.
Reheating: To enjoy them warm again, place refrigerated rolls on a baking sheet and reheat in a preheated oven at 300°F (150°C) for about 5-7 minutes, or until warmed through. You can also microwave individual rolls for 15-20 seconds, but the oven method will give them a crisper exterior.
Making Ahead: You can prepare the rolls up to the point of slicing and arranging them on the baking sheet. Cover the baking sheet loosely with plastic wrap and refrigerate for up to 12 hours. When ready to bake, remove them from

FAQs
- Can I make these ahead? Yes—prep ahead, refrigerate, then serve when ready.
- How long do leftovers last? Store covered in the fridge for 3–4 days for best texture.
- Can I adjust sweetness? Yes—add more or less sweetener to taste.
- Can I change the fruit? Yes—swap strawberries for blueberries, raspberries, or sliced banana.