Learning to shape sourdough can feel like a big step in your baking journey, but it’s a skill that truly elevates your homemade loaves. A well-shaped batard doesn’t just look beautiful; it also contributes to a better rise and crumb structure in your finished bread.

This guide focuses on demystifying the process of shaping a batard, breaking it down into simple, manageable steps. Whether you’re new to sourdough or looking to refine your technique, you’ll find practical advice here to help you achieve that perfect oval loaf every time.
Table of Contents
- What You’ll Love About This Quick And Easy Recipe
- Everything You Need To Make This Recipe Without Stress
- Time Needed From Start To Finish
- How To Make It Step By Step With Visual Cues
- Easy Variations And Serving Ideas That Fit Real Life
- Common Slip-Ups And How To Avoid Them
- How To Store It And Make It Ahead Without Ruining Texture
- Questions People Always Ask Before Making This Recipe

How to Shape a Sourdough Batard Loaf
- Total Time: 5-10 minutes
- Yield: 1 loaf
Description
This guide demystifies the process of shaping a sourdough batard, breaking it down into simple, manageable steps to help home bakers achieve a beautiful oval loaf with improved rise and crumb structure. It covers essential techniques, common pitfalls, and storage tips for perfect results every time.
Ingredients
Instructions
1. Prepare Your Work Surface: Lightly dust your clean work surface with rice flour or all-purpose flour. Avoid using too much flour, as this can prevent the dough from sticking to itself and sealing properly. Have your proofing basket (banneton) ready and dusted with flour as well.
2. Gently Turn Out Your Dough: Carefully scrape your fermented sourdough dough out of its bulk fermentation container onto the lightly floured surface. Try to disturb it as little as possible to maintain the air bubbles developed during fermentation.
3. Preshape the Dough (Optional but Recommended): If your dough is particularly slack, a preshape can help. Gently pull the edges of the dough towards the center to form a loose ball or round. Let it rest for 15-20 minutes, uncovered, to relax the gluten. This step makes the final shaping easier and helps build tension.
4. Flatten and Gently Stretch: After the rest (or if you skipped preshaping), gently flatten the dough into a rough rectangle or oval shape. Be careful not to degas it too much. You want to create a surface area for folding.
5. First Fold: Top to Center: Take the top edge of the dough and fold it down towards the center, overlapping by about one-third. Press gently with the heel of your hand to seal this fold.
6. Second Fold: Bottom to Top: Take the bottom edge of the dough and fold it up over the previously folded section, extending past the center. Again, press gently to seal. At this point, your dough should resemble a cylinder or a short, thick log.
7. Create Tension: Roll and Seal: Starting from one end of the cylinder, gently roll the dough towards you, maintaining tension as you go. As you roll, use your thumbs to tuck the dough under itself, creating a tight seam at the bottom. This rolling and tucking action is crucial for building surface tension.
8. Final Sealing and Transfer: Once rolled, pinch the seam firmly along the entire length of the loaf to ensure it’s completely sealed. Gently cup the dough with your hands, rotating it slightly to further tighten the surface tension. Carefully transfer the shaped batard, seam-side up, into your well-floured proofing basket. This allows the dough to expand upwards during proofing and prevents the seam from bursting prematurely.
- Prep Time: 5-10 minutes
- Cook Time: 0 minutes
- Category: baking
- Method: shaping
- Cuisine: sourdough
Nutrition
- Serving Size: 1 slice
Keywords: sourdough, batard, shaping, bread, baking, technique, dough, artisan, homemade, guide
What You’ll Love About This Quick And Easy Recipe
This guide is designed for home bakers who are ready to take their sourdough game to the next level by mastering the art of shaping a batard loaf. You’ll love how clearly each step is laid out, making what might seem like a complex process feel entirely achievable. It’s perfect for anyone who wants to improve their bread’s appearance and internal structure, leading to more consistent and delicious results. This shaping method is ideal for your weekly bake, a special brunch, or simply impressing friends and family with a professional-looking loaf of bread.
Everything You Need To Make This Recipe Without Stress
To successfully shape a batard loaf, you don’t need a long list of ingredients or fancy equipment. The most important “ingredients” here are your prepared sourdough dough and a clean, lightly floured surface. Having the right tools on hand will make the process much smoother and more efficient.
INGREDIENTS:

- Prepared sourdough dough (after bulk fermentation)
- Rice flour or all-purpose flour, for dusting
You’ll also want to have a bench scraper, which is incredibly helpful for handling the dough without it sticking to your hands or the counter. A proofing basket (banneton) specifically designed for batards is highly recommended for holding the shape during the final proof. If you don’t have rice flour, all-purpose flour works perfectly fine for dusting your work surface and banneton to prevent sticking. The key is to have a lightly floured surface, not a heavily floured one, as too much flour can prevent the dough from sealing properly.
Time Needed From Start To Finish
The actual shaping process for a batard loaf is surprisingly quick once you get the hang of it. The bulk of your time will be spent on the prior steps of sourdough making, such as mixing and bulk fermentation.
- Active Shaping Time: 5-10 minutes
- Total Time (for shaping): 5-10 minutes
This timing assumes your dough is already through its bulk fermentation and is ready to be divided and shaped. The speed will increase with practice, but even as a beginner, you should be able to complete the shaping within this timeframe.
How To Make It Step By Step With Visual Cues

Shaping a batard involves a series of folds and tucks that build tension in the dough, preparing it for its final proof and bake. Follow these steps carefully for a beautifully shaped loaf.
- Prepare Your Work Surface: Lightly dust your clean work surface with rice flour or all-purpose flour. Avoid using too much flour, as this can prevent the dough from sticking to itself and sealing properly. Have your proofing basket (banneton) ready and dusted with flour as well.
- Gently Turn Out Your Dough: Carefully scrape your fermented sourdough dough out of its bulk fermentation container onto the lightly floured surface. Try to disturb it as little as possible to maintain the air bubbles developed during fermentation.
- Preshape the Dough (Optional but Recommended): If your dough is particularly slack, a preshape can help. Gently pull the edges of the dough towards the center to form a loose ball or round. Let it rest for 15-20 minutes, uncovered, to relax the gluten. This step makes the final shaping easier and helps build tension.
- Flatten and Gently Stretch: After the rest (or if you skipped preshaping), gently flatten the dough into a rough rectangle or oval shape. Be careful not to degas it too much. You want to create a surface area for folding.
- First Fold: Top to Center: Take the top edge of the dough and fold it down towards the center, overlapping by about one-third. Press gently with the heel of your hand to seal this fold.
- Second Fold: Bottom to Top: Take the bottom edge of the dough and fold it up over the previously folded section, extending past the center. Again, press gently to seal. At this point, your dough should resemble a cylinder or a short, thick log.
- Create Tension: Roll and Seal: Starting from one end of the cylinder, gently roll the dough towards you, maintaining tension as you go. As you roll, use your thumbs to tuck the dough under itself, creating a tight seam at the bottom. This rolling and tucking action is crucial for building surface tension.
- Final Sealing and Transfer: Once rolled, pinch the seam firmly along the entire length of the loaf to ensure it’s completely sealed. Gently cup the dough with your hands, rotating it slightly to further tighten the surface tension. Carefully transfer the shaped batard, seam-side up, into your well-floured proofing basket. This allows the dough to expand upwards during proofing and prevents the seam from bursting prematurely.
Easy Variations And Serving Ideas That Fit Real Life
While this guide focuses on the classic batard shape, the beauty of sourdough is its versatility. Once you master this shape, you can easily adapt your loaves for different uses or add simple enhancements.
For a family dinner, a perfectly shaped batard is fantastic simply sliced and served with butter or olive oil. It’s also the ideal shape for making impressive sandwiches or serving alongside a hearty soup or stew. If you’re hosting, a batard makes a beautiful centerpiece for a cheese board or charcuterie spread.
You can also experiment with different flours in your dough recipe to change the flavor and texture profile of your batard. For instance, adding a percentage of whole wheat or rye flour will give it a deeper, more complex taste. Before baking, consider adding some seeds (like sesame, poppy, or sunflower) to the top of your loaf for extra crunch and visual appeal. Simply mist the surface with water and sprinkle the seeds on before scoring.
Common Slip-Ups And How To Avoid Them
Even experienced bakers encounter challenges, and shaping sourdough is no exception. Knowing common pitfalls can help you avoid them.
- Dough Sticking to the Surface: This is a frequent issue. The solution is usually more flour on your work surface and hands, but don’t overdo it. A light dusting is key. Too much flour can prevent the dough from sealing properly. A bench scraper is your best friend here for maneuvering sticky dough.
- Loaf Spreading Too Much: If your batard spreads out rather than holding its shape during proofing or baking, it often indicates insufficient tension during shaping. Focus on those tight folds and the rolling action to create a taut skin on the dough. Also, ensure your dough isn’t over-proofed before shaping, as over-proofed dough is weaker.
- Difficulty Sealing the Seam: A poorly sealed seam can lead to your loaf bursting open in an undesirable way during baking. Make sure to pinch the seam firmly along its entire length. If the dough is too dry, a tiny bit of water on your fingertips can help it adhere.
- Over-Degassing the Dough: While shaping, it’s easy to press out too much of the precious gas built up during fermentation. Be gentle! Think of stretching and folding rather than pressing and squishing. Maintaining those air pockets is crucial for a good crumb.
- Using a Banneton That’s Too Big: If your proofing basket is too large for your dough, the dough won’t have enough support to hold its shape and will spread. Choose a banneton that snugly fits your dough.
How To Store It And Make It Ahead Without Ruining Texture
Once your beautifully shaped batard is baked, proper storage is key to maintaining its freshness and texture.
For short-term storage (1-2 days), store your cooled loaf at room temperature in a paper bag or a bread box. This allows the crust to remain crisp while keeping the interior soft. Avoid airtight plastic bags for freshly baked bread, as they can trap moisture and make the crust soggy.
If you want to store it for longer, or make it ahead, freezing is your best option. Once the loaf is completely cool, slice it or keep it whole. Wrap it tightly in plastic wrap, then an additional layer of aluminum foil. It can be frozen for up to 3 months. To enjoy, thaw at room temperature. If whole, you can refresh it in a preheated oven (350°F/175°C) for 10-15 minutes to revive the crust. Sliced bread can be toasted directly from frozen.
This shaping method is part of the “make ahead” process of sourdough baking. You shape the dough, then typically place it in the fridge for a cold proof (retardation) for 12-24 hours before baking. This cold proof develops flavor and makes the dough easier to handle.
Questions People Always Ask Before Making This Recipe
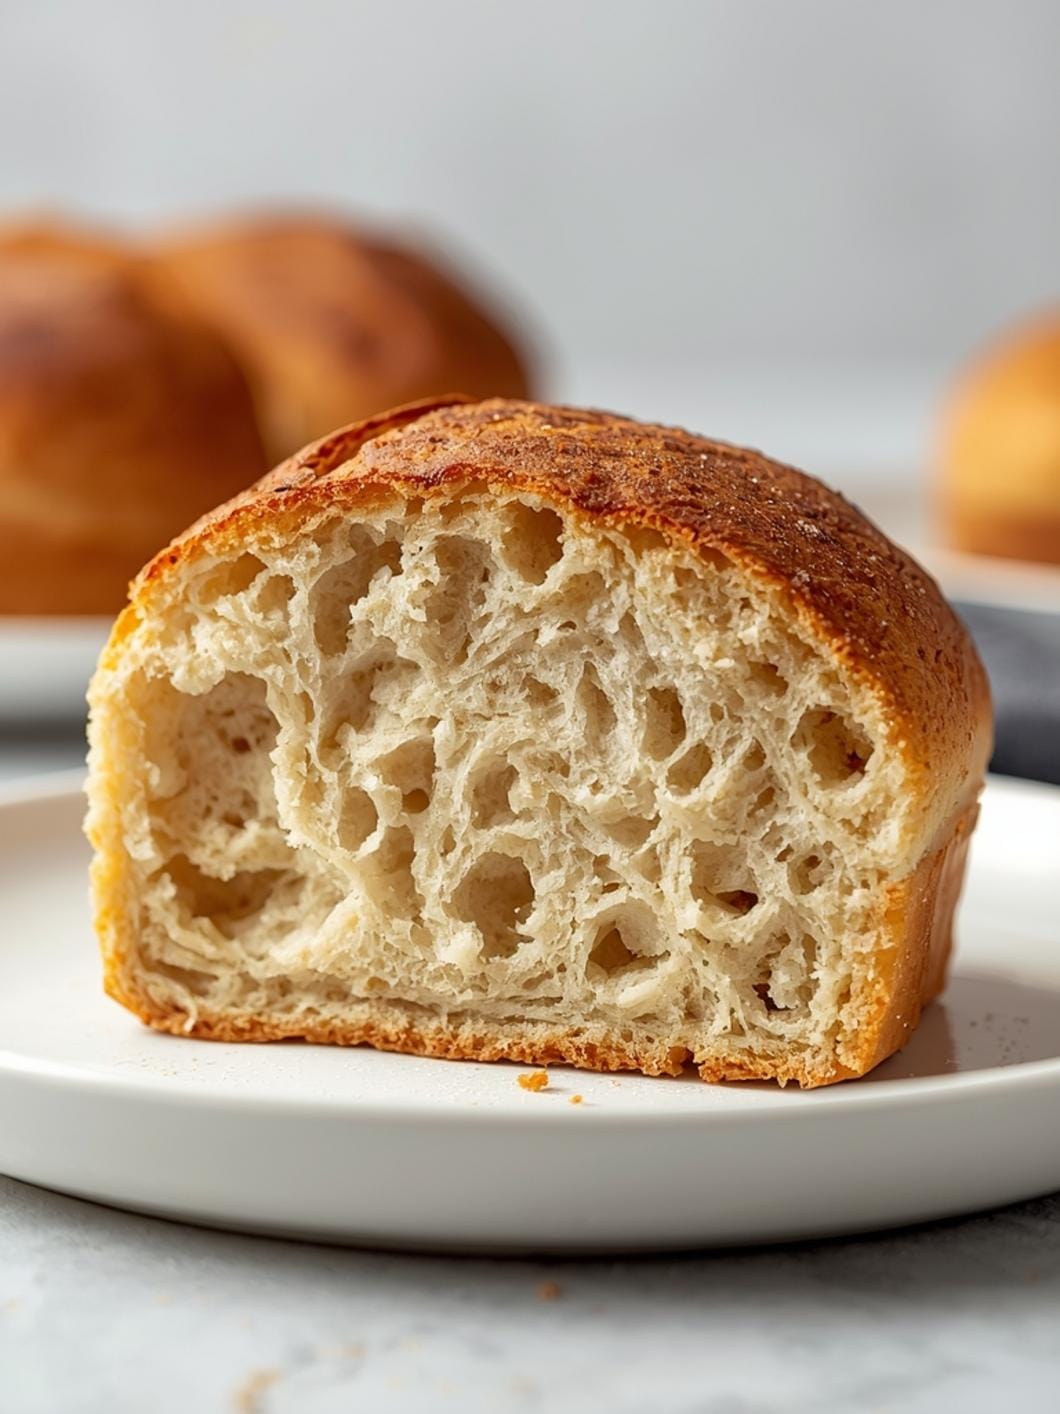
What is a batard loaf?
A batard is an oval-shaped loaf
FAQs
- Can I make these ahead? Yes—prep ahead, refrigerate, then serve when ready.
- How long do leftovers last? Store covered in the fridge for 3–4 days for best texture.
- Can I adjust sweetness? Yes—add more or less sweetener to taste.
- Can I change the fruit? Yes—swap strawberries for blueberries, raspberries, or sliced banana.