Unlocking the secrets to a thriving sourdough starter can feel like a complex puzzle, but it doesn’t have to be.

This guide is designed specifically for beginners, demystifying the crucial concept of feeding ratios. Understanding these ratios is the cornerstone of creating a robust and active sourdough starter right from scratch.
Whether you’re aiming for your first successful loaf or simply want to maintain a consistently vigorous starter for all your future baking adventures, mastering feeding ratios is key. We’ll break down the details in a clear, easy-to-follow manner, ensuring you have the knowledge to cultivate the best sourdough starters for your kitchen.
Table of Contents
- What You’ll Love About This Quick And Easy Recipe
- Everything You Need To Make This Recipe Without Stress
- Time Needed From Start To Finish
- How To Make It Step By Step With Visual Cues
- Easy Variations And Serving Ideas That Fit Real Life
- Common Slip-Ups And How To Avoid Them
- How To Store It And Make It Ahead Without Ruining Texture

Sourdough Starter Feeding Ratios for Beginners
- Total Time: 4-12 hours (fermentation)
- Yield: 1 active sourdough starter
Description
This guide demystifies sourdough starter feeding ratios, focusing on the crucial 1:1:1 ratio for beginners. It provides a foundational blueprint for maintaining a healthy and active sourdough starter, essential for various baking endeavors. Learn how to feed your starter with precision, avoid common pitfalls, and store it effectively for consistent results.
Ingredients
Instructions
1. Gather Your Tools and Ingredients: Make sure you have your existing sourdough starter, your chosen flour, and filtered water ready. You’ll also need a clean jar or container for your starter, a kitchen scale for accurate measurements, and a spoon or spatula for mixing.
2. Weigh Your Existing Starter: Place your clean jar on the kitchen scale and zero it out. Add your existing sourdough starter to the jar. For a typical feed, you might aim for 50 grams (about 1/4 cup) of starter. This is the “1” in your 1:1:1 ratio.
3. Add Fresh Flour: Zero out your scale again. Add the same weight of fresh flour as your starter. So, if you used 50 grams of starter, add 50 grams of flour. Gently tap the jar or use your spoon to level the flour.
4. Incorporate Filtered Water: Zero out the scale one last time. Add the same weight of filtered water. If you used 50 grams of starter and 50 grams of flour, add 50 grams of water. The mixture will look a bit thick at first.
5. Mix Thoroughly: Using your spoon or spatula, mix all the ingredients together until there are no dry pockets of flour remaining and the mixture is smooth and uniform. Scrape down the sides of the jar to keep it tidy. The consistency should be like a thick pancake batter.
6. Mark and Store: Place a rubber band or use a marker to indicate the current level of your freshly fed starter on the outside of the jar. This will help you visually track its rise and fall. Loosely cover the jar with a lid (don’t seal it tightly, as gases need to escape) and place it in a warm spot (70-75 F or 21-24 C) to ferment.
7. Observe for Activity: Over the next 4-12 hours, watch for signs of activity. Your starter should begin to rise, developing bubbles on the surface and throughout the mixture. It will typically double in size or more, reaching its peak activity before slowly falling back down. When it’s at its peak, it’s ready to use for baking.
- Prep Time: 10 minutes
- Cook Time: 0 minutes
- Category: baking
- Method: fermentation
- Cuisine: american
Nutrition
- Serving Size: 1 starter
Keywords: sourdough, starter, baking, bread, fermentation, ratios, beginners, homemade, flour, water
What You’ll Love About This Quick And Easy Recipe
This guide isn’t a recipe in the traditional sense, but rather a foundational blueprint for maintaining a healthy sourdough starter, which is the heart of countless delicious baking recipes. You’ll love its straightforward approach because it takes the guesswork out of feeding your starter, making the process accessible even if you’ve never touched sourdough before. It’s perfect for anyone looking to dive into the world of homemade bread, pizza, or pastries, providing the essential knowledge to keep your starter alive and thriving. This information is for anyone who wants to bake with sourdough, from busy parents to curious home cooks, and it can be applied any day of the week, whenever your starter needs a refresh.
Everything You Need To Make This Recipe Without Stress
Maintaining a sourdough starter requires just a few basic components, and understanding their proportions is what this guide is all about. You don’t need fancy equipment, just consistent ingredients and a little patience. The beauty of sourdough is its simplicity once you grasp the fundamentals.
INGREDIENTS:

- Active sourdough starter (the “mother” culture)
- Unbleached all-purpose flour or bread flour
- Filtered water (room temperature)
When it comes to flour, unbleached all-purpose flour is a great starting point for beginners as it’s widely available and works well. You can also use bread flour, which has a higher protein content and can contribute to a stronger gluten network, potentially making your starter more robust. Avoid bleached flours, as the bleaching process can interfere with the natural yeasts and bacteria in your starter. For water, filtered water is highly recommended. Tap water often contains chlorine or chloramine, which can inhibit the microbial activity in your starter. If you don’t have a filter, you can let tap water sit out uncovered for 24 hours to allow the chlorine to dissipate. The temperature of the water is also important; room temperature water (around 70-75°F or 21-24°C) is ideal for encouraging active fermentation.
Time Needed From Start To Finish
Understanding sourdough starter feeding isn’t about active “cook time” but rather a commitment to regular maintenance. The actual hands-on time for feeding your starter is incredibly quick, usually just 5-10 minutes. However, the “total time” involves waiting for your starter to become active and bubbly after a feed, which can range from 4 to 12 hours depending on the ambient temperature and the health of your starter. So, while the preparation is minimal, the waiting period is essential for its development.
How To Make It Step By Step With Visual Cues

The key to a successful sourdough starter lies in consistent feeding ratios. We’ll focus on the most common and beginner-friendly ratio: 1:1:1, meaning equal parts starter, flour, and water by weight. This ratio is easy to remember and provides a good balance for maintaining an active starter.
- Gather Your Tools and Ingredients: Make sure you have your existing sourdough starter, your chosen flour, and filtered water ready. You’ll also need a clean jar or container for your starter, a kitchen scale for accurate measurements, and a spoon or spatula for mixing.
- Weigh Your Existing Starter: Place your clean jar on the kitchen scale and zero it out. Add your existing sourdough starter to the jar. For a typical feed, you might aim for 50 grams (about 1/4 cup) of starter. This is the “1” in your 1:1:1 ratio.
- Add Fresh Flour: Zero out your scale again. Add the same weight of fresh flour as your starter. So, if you used 50 grams of starter, add 50 grams of flour. Gently tap the jar or use your spoon to level the flour.
- Incorporate Filtered Water: Zero out the scale one last time. Add the same weight of filtered water. If you used 50 grams of starter and 50 grams of flour, add 50 grams of water. The mixture will look a bit thick at first.
- Mix Thoroughly: Using your spoon or spatula, mix all the ingredients together until there are no dry pockets of flour remaining and the mixture is smooth and uniform. Scrape down the sides of the jar to keep it tidy. The consistency should be like a thick pancake batter.
- Mark and Store: Place a rubber band or use a marker to indicate the current level of your freshly fed starter on the outside of the jar. This will help you visually track its rise and fall. Loosely cover the jar with a lid (don’t seal it tightly, as gases need to escape) and place it in a warm spot (70-75°F or 21-24°C) to ferment.
- Observe for Activity: Over the next 4-12 hours, watch for signs of activity. Your starter should begin to rise, developing bubbles on the surface and throughout the mixture. It will typically double in size or more, reaching its peak activity before slowly falling back down. When it’s at its peak, it’s ready to use for baking.
Easy Variations And Serving Ideas That Fit Real Life
While feeding ratios are fundamental, there are variations you can explore once you’re comfortable with the basics. For instance, some bakers use a 1:2:2 ratio (1 part starter, 2 parts flour, 2 parts water) if they want to feed their starter less frequently or if they need a larger quantity of active starter. This “dilutes” the starter more, meaning it will take longer to become active, but it uses less of your existing starter. You can also experiment with different types of flour, such as whole wheat or rye, to change the flavor profile and activity of your starter. These flours are rich in nutrients that yeast love, often leading to a more vigorous starter.
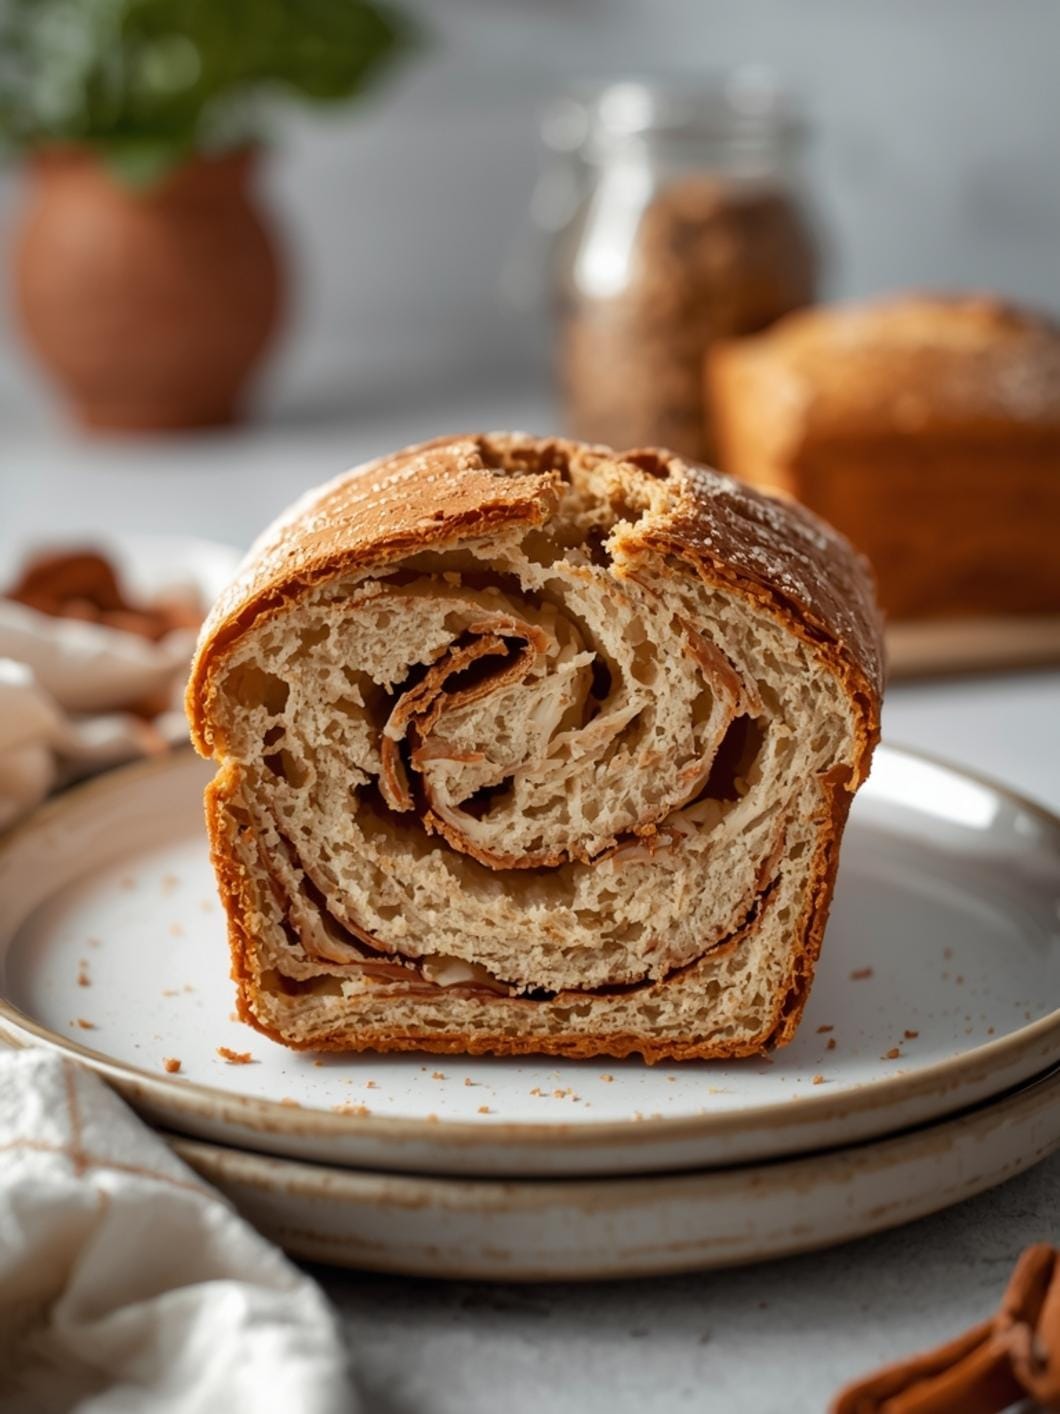
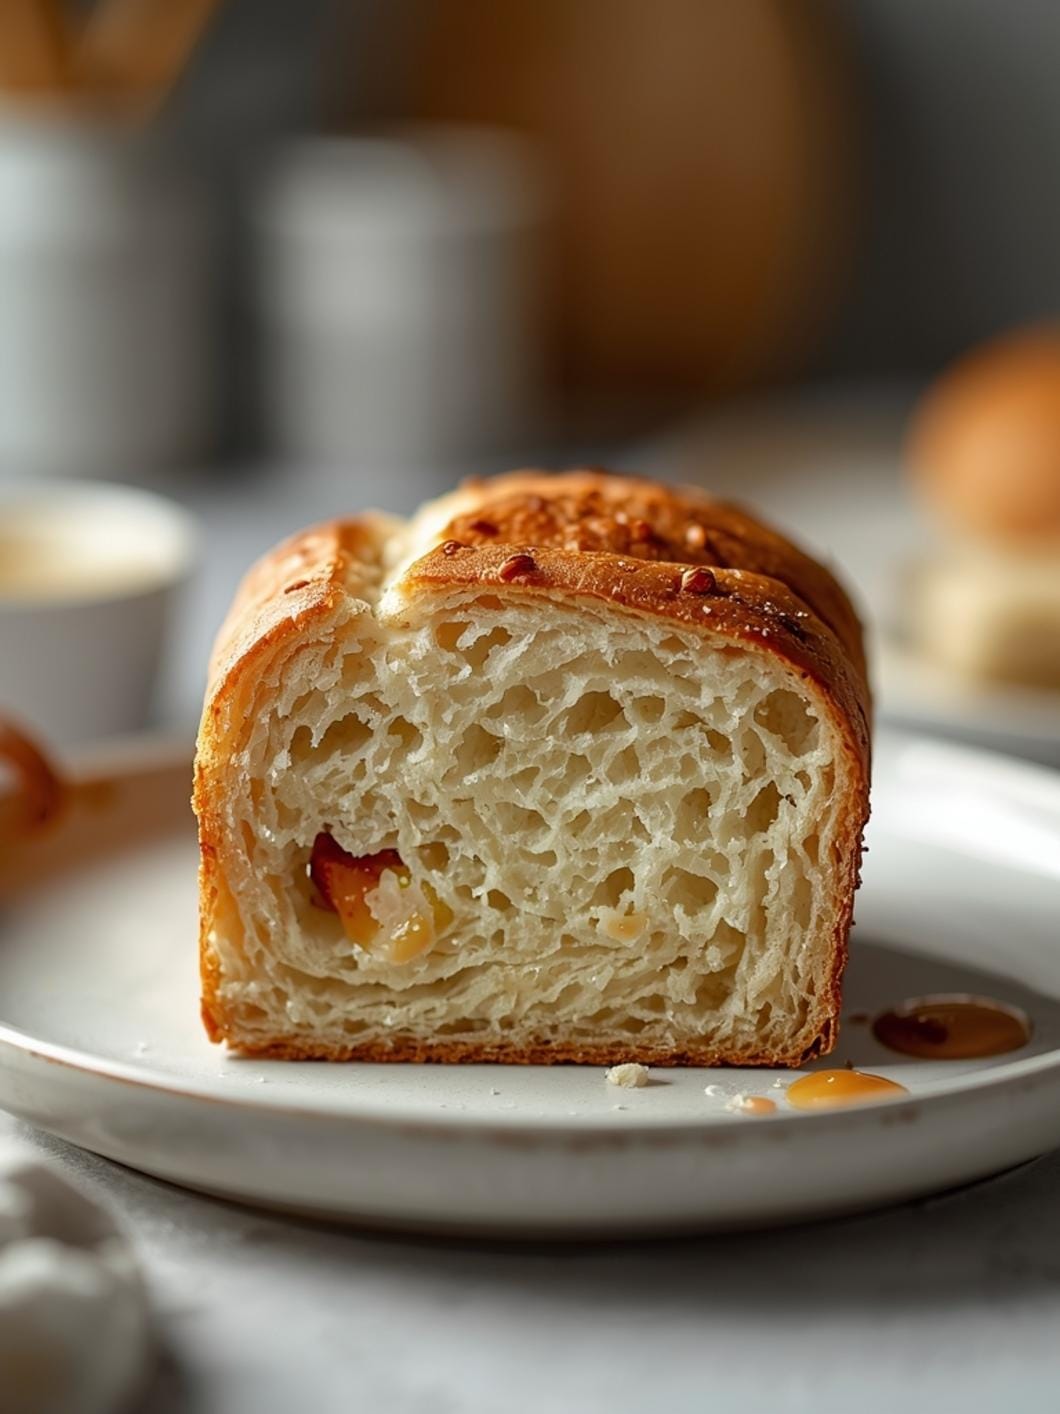
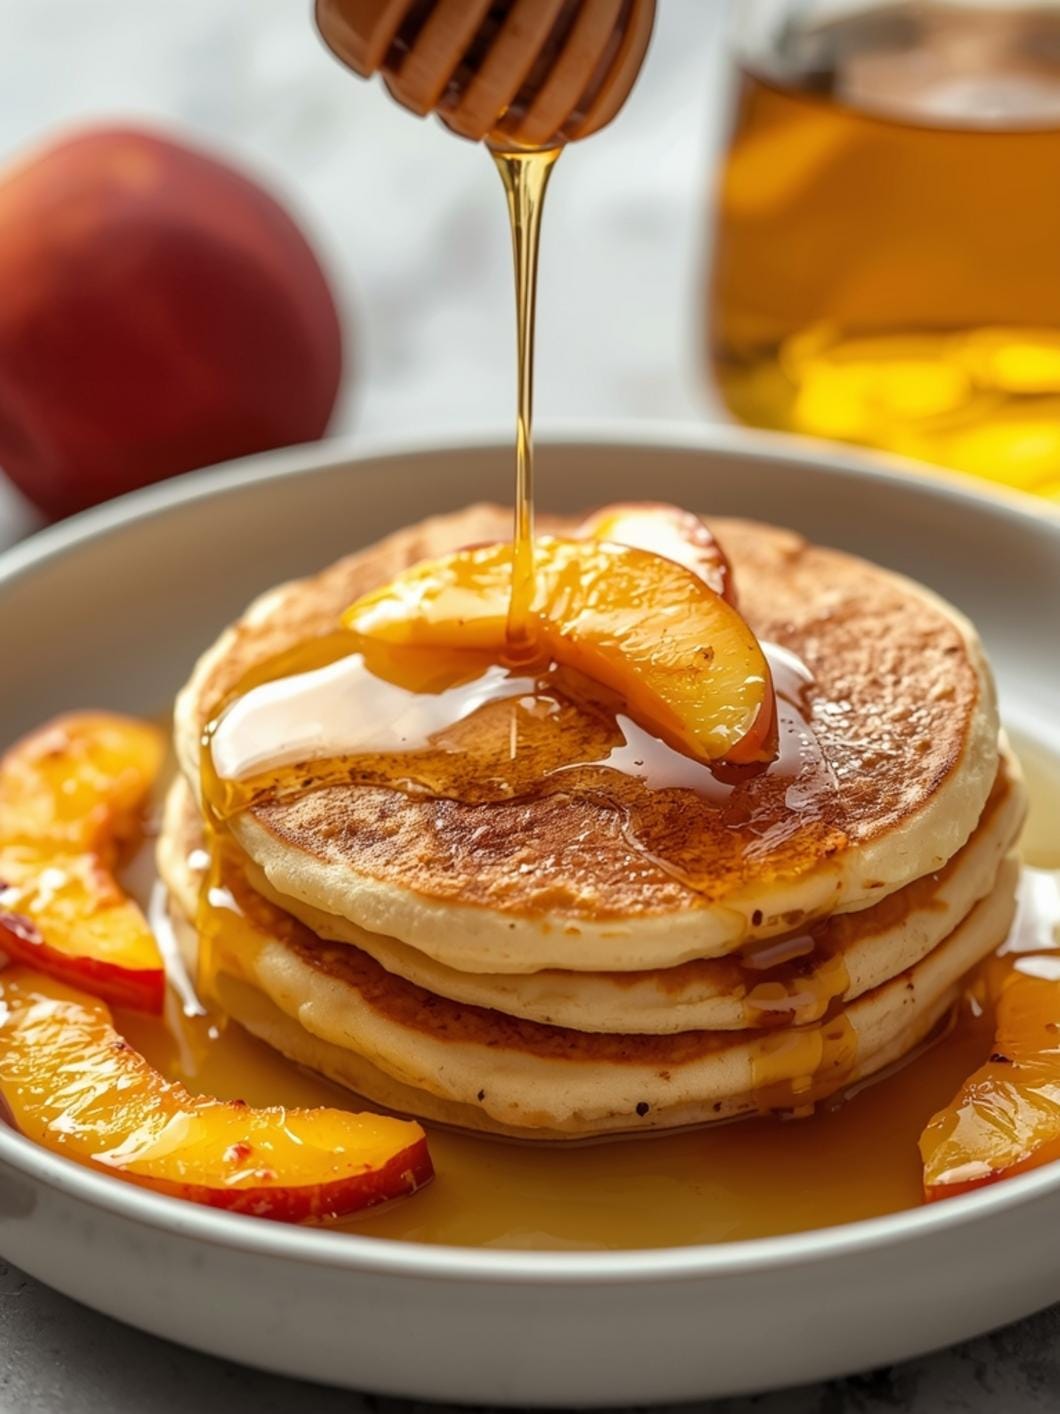
Regarding “serving ideas,” a healthy, active sourdough starter is the ultimate ingredient for a wide array of baked goods. Think about using it to make a rustic country loaf for sandwiches, fluffy sourdough pancakes for a weekend breakfast, crispy pizza dough for family movie night, or even light and airy sourdough discard crackers. The possibilities are truly endless once you have a robust starter at your disposal.
Common Slip-Ups And How To Avoid Them
Even experienced bakers encounter challenges with their sourdough starter, but many common beginner slip-ups are easily avoided with a little knowledge.
- Using Chlorinated Water: As mentioned, chlorine in tap water can kill off the beneficial microbes in your starter. Always use filtered water or let tap water sit out for 24 hours.
- Inaccurate Measurements: Eyeballing ingredients can lead to inconsistent results. A kitchen scale is your best friend for precise and repeatable feeding ratios. This consistency is crucial for a happy starter.
- Sealing the Jar Too Tightly: Sourdough starters produce gases during fermentation. If the jar is sealed tightly, pressure can build up, potentially causing a mess or even breaking the jar. Always use a loose-fitting lid or cover with a breathable cloth.
- Ignoring Temperature: The ambient temperature significantly impacts your starter’s activity. Too cold, and it will be sluggish; too hot, and it can become overly acidic or spoil. Aim for a consistent room temperature between 70-75°F (21-24°C).
- Overfeeding or Underfeeding: Feeding too often without allowing the starter to peak can weaken it, while not feeding often enough can lead to an overly acidic, hungry starter. Stick to a regular feeding schedule based on your desired activity level and storage method (e.g., daily if left on the counter, weekly if refrigerated).
- Not Discarding: It might feel wasteful, but discarding a portion of your starter before feeding is essential. Without discarding, you’d end up with an enormous amount of starter, and the food (flour and water) would be spread too thin among too many microbes, leading to a weak starter.
How To Store It And Make It Ahead Without Ruining Texture
Your sourdough starter can be stored in a couple of ways, depending on how frequently you plan to bake.
- Countertop Storage (Active Use): If you bake frequently (daily or every other day), you can keep your fed starter on the counter at room temperature. Feed it every 12-24 hours using your chosen ratio. This keeps it consistently active and ready to use.
- Refrigerator Storage (Less Frequent Use): For less frequent baking (once a week or less), store your fed starter in the refrigerator. After feeding, let it sit at room temperature for 1-2 hours to kickstart fermentation, then place it in the fridge. The cold temperature

FAQs
- Can I make these ahead? Yes—prep ahead, refrigerate, then serve when ready.
- How long do leftovers last? Store covered in the fridge for 3–4 days for best texture.
- Can I adjust sweetness? Yes—add more or less sweetener to taste.
- Can I change the fruit? Yes—swap strawberries for blueberries, raspberries, or sliced banana.