So you’ve decided to dive into the world of sourdough baking. Welcome to the coolest (and slightly nerdy) kitchen hobby out there. But wait—why is your sourdough starter not rising the way Instagram promised it would? You’re feeding it like you’re supposed to, you’re patiently waiting for those bubbles, and yet… crickets. I know firsthand how frustrating this can be. It’s practically a rite of passage for sourdough newbies. But don’t worry—I’ve got your back!
In this post, I’ll chat about why your sourdough starter may not be growing as expected (hello, science), provide practical fixes you can try today, and sprinkle in some fun anecdotes from my own messy starter experiments. By the end of this, you’ll be confidently feeding that bubbly jar of magic and dreaming about fresh-baked loaves.
Let’s break this down like a good sourdough—that is, with patience and care but also a touch of chaos!
Why Your Sourdough Starter Isn’t Rising
First things first: relax. This problem isn’t rare. In fact, it’s super common for beginners (and even seasoned sourdough bakers). Before you start pointing fingers—at your flour, your yeast, or the entire concept of sourdough—let’s figure out what’s going on.
- Your starter is too cold
Sourdough is a living thing, and like all living things, it prefers temperatures it vibes with. If your kitchen is chilly (looking at you, my winter bakers), the yeast and bacteria in your starter are practically hibernating.
- Not enough flour or water
If you’re trying to “eyeball” your measurements, you might accidentally underfeed your starter. Yeast needs the right mix of food and hydration to thrive.
- Timing issues
I’ll admit, sometimes it’s not the starter’s fault—it’s timing. If you’re checking after just 30 minutes or even a few hours, you might not be giving it enough time to rise. Remember: sourdough is the lazy teenager of the baking world.
- Your flour choice might stink
Did you know different flours have different nutrient levels? All-purpose flour works fine, but whole wheat or rye flour? Absolute gold. These flours act like espresso shots for your starter.
- Bad bacteria have taken over
Okay, don’t panic. You didn’t create a biohazard. But sometimes, if your starter smells weird weird (think nail polish remover), bad bacteria might be out-competing the good stuff.
- It’s dead
Let’s address the elephant in the room. Starters can die, but more often than not, they’re just weak and need some TLC. Don’t toss it just yet!
Simple Ways to Fix a Weak Sourdough Starter
Now that we’ve diagnosed the possible issues, let’s hit the solutions head-on. These tips are like CPR for your sourdough starter.
Feed It Better
Your starter might just be hungry. Try this feeding routine:
- Ingredients
- 50g of your existing sourdough starter
- 50g warm water (filtered or tap water that’s chlorine-free)
- 50g whole wheat or rye flour (ideally organic)
- Tools
- A glass jar (bigger than you think you’ll need—trust me)
- A kitchen scale (guessing isn’t your friend here)
- A small spatula or spoon
- Instructions
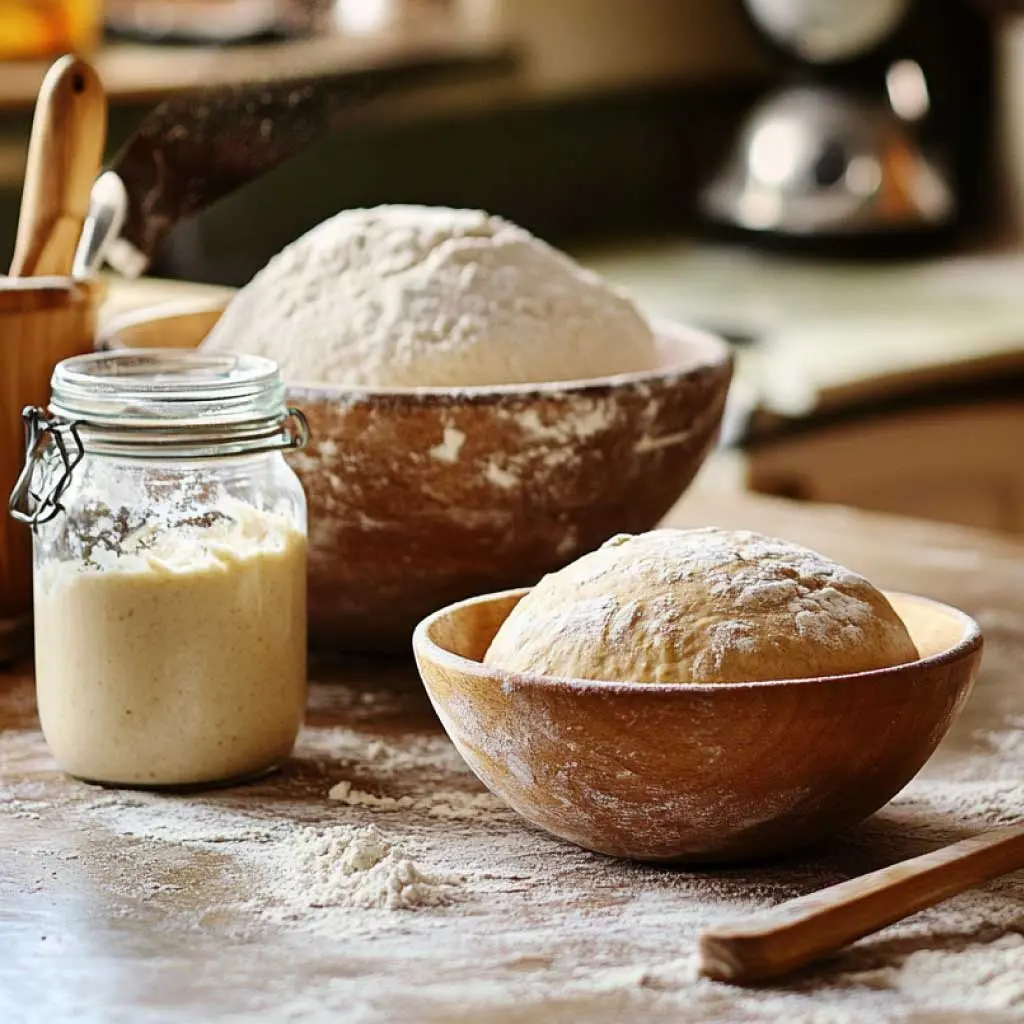
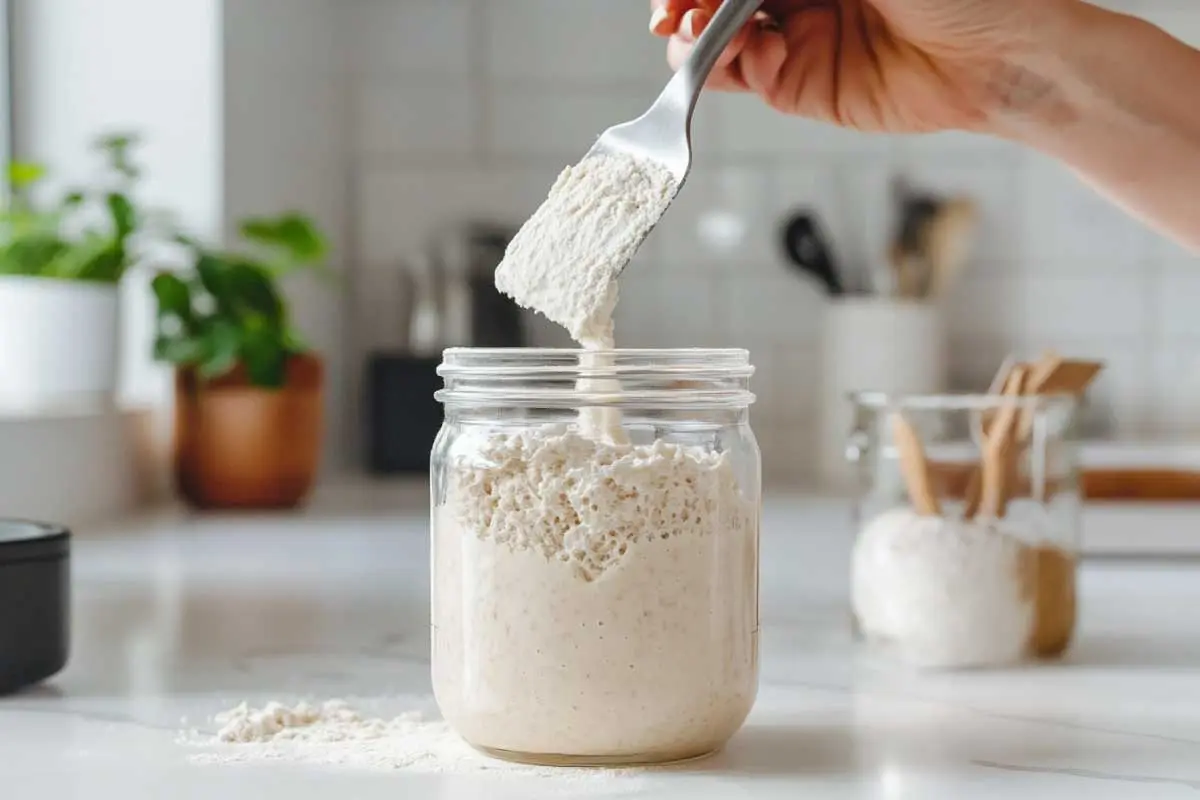
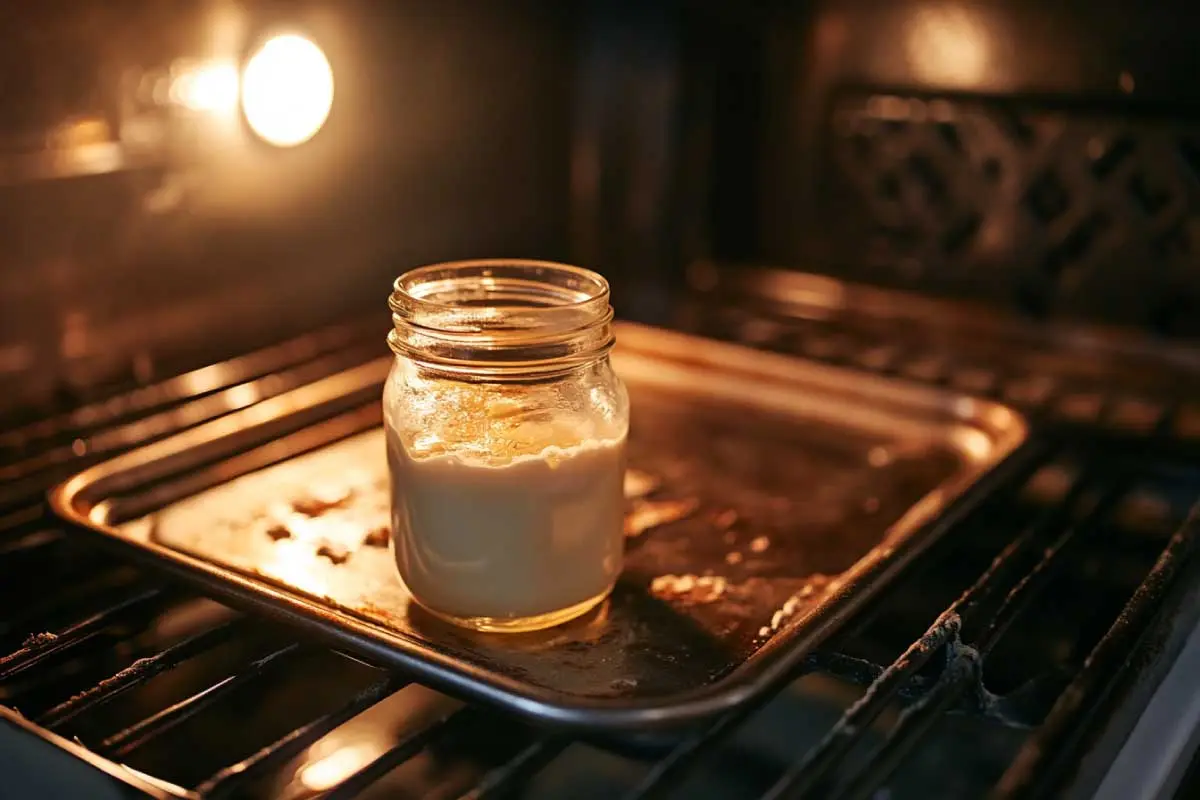
Dump the starter, water, and flour into the jar and stir like it’s your job. You want a thick pancake-batter consistency. Cover the jar loosely (a lid or even a cloth works) and leave it somewhere warm. I keep mine near the stove, but you can also try the inside of your oven with the light on if your kitchen is drafty. After 4-8 hours, you should see bubbles starting to form.
Warm It Up
If your kitchen feels like Antarctica, you’re putting your starter at a disadvantage. Yeast thrives around 75-80°F. You can create a cozy spot by:
- Putting the jar in a warm water bath (not hot, or you’ll accidentally kill it).
- Placing it near a sunny window.
- Using a proofing box if you’re fancy—or a heating pad wrapped in a towel if you’re not.
Double Up the Feedings
Sometimes, your starter just needs more food more often. Try feeding it twice a day instead of just once. Keep those proportions equal (1:1:1 starter-flour-water ratio), and within a day or two, you’ll likely see some action.
Smell Test It
If your starter smells sour and tangy, you’re golden. But if it’s giving off chemical vibes, you might need to refresh it. Discard about 90% and feed the remaining 10% with fresh flour and water. This process dilutes any bad bacteria.
Water Quality Matters
Using straight tap water can sometimes be a problem. If your area has lots of chlorine in the water, it can knock out the microbial gang inside your starter. Let tap water sit out overnight, or use filtered or spring water instead.
Common FAQs About Sourdough Starters
What do I do if my sourdough starter doesn’t rise?
First, don’t panic (seriously). Check the temperature, your flour choice, and your feeding routine. Try switching to whole wheat flour or moving it to a warmer spot.
What to do if my sourdough starter isn’t doubling?
A starter that grows slowly or doesn’t quite double might need better feeding habits or higher-quality water. You can also try adding a pinch of sugar or honey to give it a kick-start!
How do I know if I killed my sourdough starter?
Look for signs of life. If it smells okay and has any bubbles, it’s probably not dead. If it’s moldy or smells rancid, though, it’s time to say goodbye. Check-out my article here for more details!
How do you fix a weak sourdough starter?
Feeding your starter twice a day with whole grains can bring it back to life. Keep it warm, use good water, and be patient—it’s a slow process sometimes.
Personal Sourdough Starter Woes
Let me share a little story. The first time I attempted sourdough, I was so excited. I fed my starter religiously for three days, then noticed absolutely zero bubbles. I felt absurdly defeated. Turns out, my apartment was freezing (hello, New England winters), and my water had too much chlorine. It took several experiments to get it right. But once my starter was happy, oh boy—it was on. Nothing beats the smell of fresh sourdough baking—get a good playlist going, and you’ll feel like a pro baker in no time.
Wrapping It Up
Dealing with a sourdough starter not rising can make you feel like the universe is conspiring against you. But once you figure out the quirks of your starter, it’s one of the most rewarding things you can do in the kitchen. Whether it’s feeding it better, warming it up, or tweaking your ingredients, the fixes are usually simple and oh-so-satisfying.
So take a deep breath, roll up your sleeves, and don’t give up on that jar of potential just yet. Next time you see your sourdough starter bubbling happily, you’ll know it was all worth it. And hey, when your first loaf comes out of the oven, send me a picture, okay?
Happy baking!
(P.S.—If things still aren’t working, geek out even more by checking out this starter troubleshooting guide).


