Sourdough Starter Troubleshooting: If your starter isn’t rising, smells funky, or looks off, don’t worry—you’re not alone. Every baker encounters starter challenges. Sourdough starters have a personality. Think of them like a moody teenager—they need feeding, attention, and the right environment to thrive, otherwise chaos ensues. If your starter is refusing to rise, smelling funky, or looking like a science experiment gone wrong, don’t despair. You’re not alone. Sourdough problems are practically a rite of passage for every baker, and fixing them is easier than you think.

Let’s tackle the most common sourdough starter problems and their fixes, step by step. Spoiler: It might involve flour—and LOTS of patience.
—
Sourdough Starter Troubleshooting: Why Is My Starter Acting Up?
When you’re new to sourdough, it’s tempting to think your starter has a mind of its own. Nope. Starters are picky about their surroundings—flour type, hydration, temperature, and feeding schedules all matter. If something’s off, your starter will complain. The goal? Listen to its grumbles, figure out the issue, and solve it.
1. My Starter Won’t Rise
This is the classic sourdough dilemma. You feed your starter, tuck it away in a cozy spot, and nervously peek after several hours… only to find it stubbornly stuck at the same volume. Frustrating, right?
What Went Wrong?
- Wrong Flour: Using low-protein flours like cake flour might not provide enough energy for the yeast and bacteria. Higher-protein flours (like bread flour or whole wheat) are better options.
- Temperature Issues: Starters prefer the Goldilocks zone—around 70-75°F. Too cold, and they’ll sulk. Too hot, and the yeast might get lazy or even die off.
- Underfed Starter: If your starter isn’t bubbling and rising after feeding, it might simply lack the strength to grow.
The Fix:
- Switch to a high-protein flour, like bread flour. Consider half-and-half bread flour and whole wheat for extra nutrients. (Check out this guide on how to choose the best flour for sourdough baking.)
- Place your starter in a warm place—next to a sunny window, above the fridge, or even in a barely warm oven (just keep an eye on the temp!).
- Feed it more often! Try feeding your starter twice a day at a 1:1:1 ratio (starter:flour:water by weight) for a few days to strengthen it.
2. My Starter Smells Weird (Like Nail Polish or Vomit)

Listen, a sourdough starter should smell sour, not like a crime scene. If you’re catching whiffs of acetone (nail polish remover), rotten cheese, or straight-up death, there’s an imbalance in your starter’s microbial jungle.
What’s Going On?
- Starters can develop an acetone-like smell when they’re starving and the yeast produces extra alcohol.
- Improper feeding ratios can lead to a build-up of “bad” bacteria (but no need to panic—it’s not dangerous).
The Fix:
- Feed it more often! A starving starter always smells worse.
- Try adjusting to a 1:2:2 feeding ratio (1 part starter, 2 parts flour, 2 parts water). This gives your little yeast an all-you-can-eat buffet to munch on.
- Discard all but 1 tablespoon and restart the feeding cycle—this can reset the microbial balance.
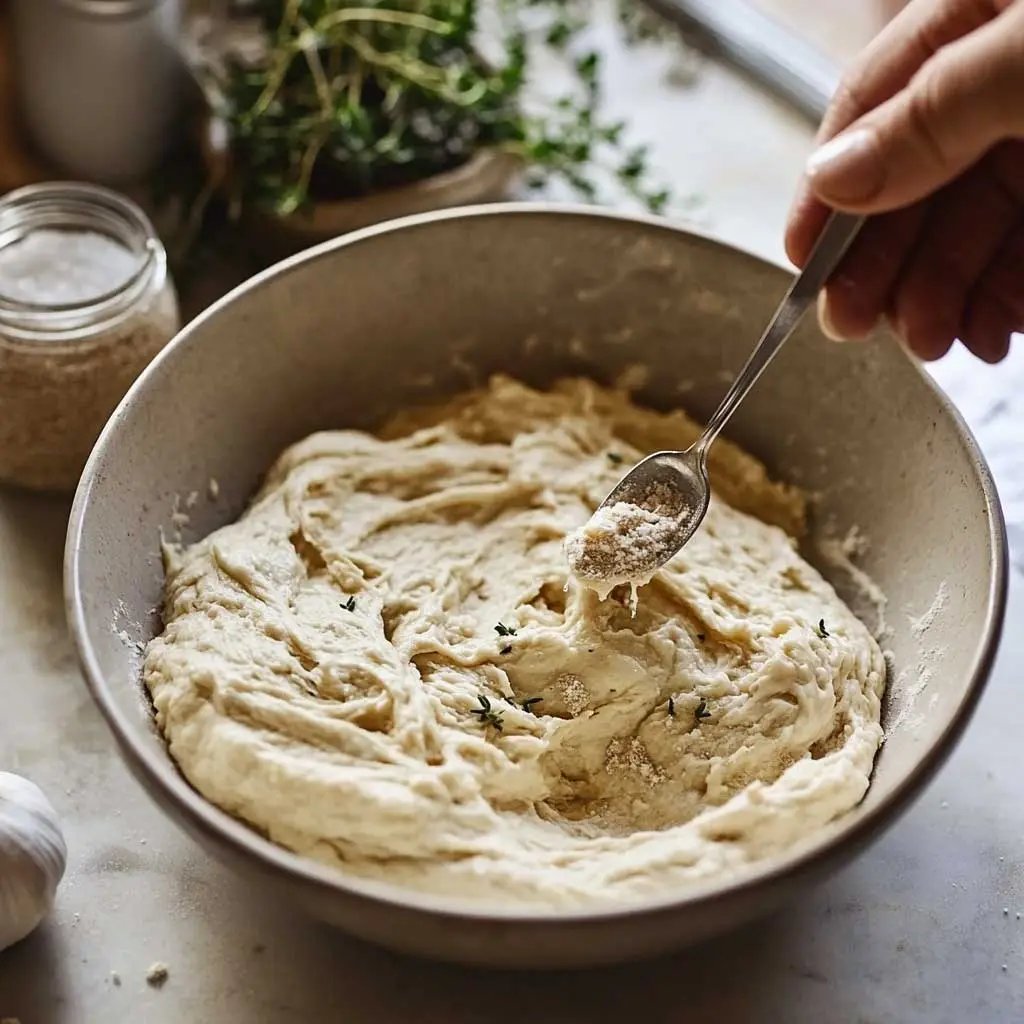
3. My Starter is Really Liquidy or Really Thick
Your starter’s consistency is its way of sending you a message:
- Really Runny Starter: It may be overfed or contain too much water.
- Super Thick Starter: It might be underfed or low on hydration.
The Fix:
- For a liquidy starter, increase the flour in your next feeding.
- If it’s too thick, add a little more water until the consistency resembles pancake batter.
Pro Tip: If you’re struggling with consistency and hydration, pay attention to your flour choice. Whole wheat and rye flours absorb more water than all-purpose or bread flour.
4. Mold! (Or, Is It Mold?)
Colony of green, pink, or black fuzz growing on your starter? Yuck. True mold isn’t super common in properly maintained starters, but it can happen in extreme cases. On the flip side, harmless “hooch” or dried-out crust can sometimes get mistaken for mold.
Preventing Mold:
- Keep your starter in a clean, dry jar—moisture buildup on the sides invites unwanted guests.
- Feed it regularly to prevent stagnation.
The Fix:
- If it’s definitely mold (full-on Petri dish vibes), toss the entire starter. It’s heartbreaking, I know.
- If it’s a small patch of “crusties” on the edges, scrape them off and resume feeding after transferring to a clean jar.
5. My Starter Isn’t Bubbling
Bubbles = life. If your starter isn’t bubbling, the yeast isn’t acting as it should.
Troubleshooting Bubble Problems:
- Old or weaker flours (low nutrient content) might not be cutting it. Switch to fresh, unbleached bread flour or whole wheat.
- Temperature, as always, could be the culprit. Too cold? Warm it up. Too hot? Cool it down.
- It might just need a wake-up call. Sometimes starters lose their oomph if they’ve been neglected.
Quick Fix for Lifeless Starters:
- Add 1 tablespoon of whole wheat or rye flour during your next feeding. These flours are like caffeine for a starter.
- Switch to twice-daily feedings at room temperature for a few days to revive it.
6. My Starter Smells “Normal” but Won’t Bake Good Bread
This might be the most quietly frustrating problem of all. If your starter looks fine and smells okay but your loaves come out gummy or dense, the issue might lie in starter strength.
Check Your Starter’s Strength:
Drop a dollop of fed starter into a cup of water. If it floats, congrats—it’s bread-ready. If it sinks, let it ferment longer.
For more tips on ensuring a strong, active starter, check out The Perfect Loaf Ultimate Sourdough Starter Guide.
The Fix: Time and habit-building. Feed your starter consistently, store it properly, and track its growth. Starters get stronger with love (and regular attention).
Pro Tips for Avoiding Troubles Altogether

- Flour Matters: The type of flour you use impacts everything from texture to fermentation speed. For a deeper dive into flour types, read how to choose the best flour for sourdough baking.
- Hydration Ratios: Most homemade sourdough starters do well at 100% hydration (equal parts water and flour by weight).
- Temperature Monitoring: Invest in a room thermometer or proofing box for consistent fermentation results.
Final Thoughts
Dealing with your sourdough starter is less about science and more about learning its quirks. Whether you’re troubleshooting flat dough, fixing funky smells, or trying to coax bubbles out of a sleepy jar, remember: sourdough is a journey, not a sprint.
And hey, if all else fails? Make pancakes. Sourdough discard pancakes are heavenly, and they take way less patience than a perfect loaf.
Oh, and don’t forget: Always experiment with your flour! (If you need inspo, check out How to Choose the Best Flour for Sourdough Baking for tips on different options.)