In the realm of sourdough baking, the moment you shape your dough is a big deal. Like, forget “big deal,” it’s a huge deal. Why? Because shaping is the point where your loaf’s personality gets locked in—its structure, rise, and Instagram-worthiness all stem from this step. So, if you’re here to master the art of shaping sourdough loaves, congrats! You’re halfway to baking bread that looks as good as it tastes.

But hold up—before you start Googling “complicated sourdough techniques that make me cry,” let me tell you this: it’s not as scary as you think. I was terrified of shaping at first too, certain I’d mess it up beyond recognition. Turns out, like most things, all it takes is some patience, practice, and having the right tools (and maybe a glass of wine nearby).
Below, I’ve laid out a no-nonsense, step-by-step guide to shaping sourdough loaves with just enough tips and tricks to get you from “meh, it’s bread-ish” to “omg, I made THIS?!”
The Basics: Why Shape, Anyway?
I get it. If you’re new to sourdough, shaping might seem extra. Can’t you just toss the dough into a pan and call it a day? Technically… sure. But if you want that iconic round (or oval) shape, with tall, proud sides and a chewy-open crumb inside, shaping is non-negotiable. Here’s why:
- Structure: Shaping builds internal strength so your dough doesn’t spread into a sad pancake while proofing or baking.
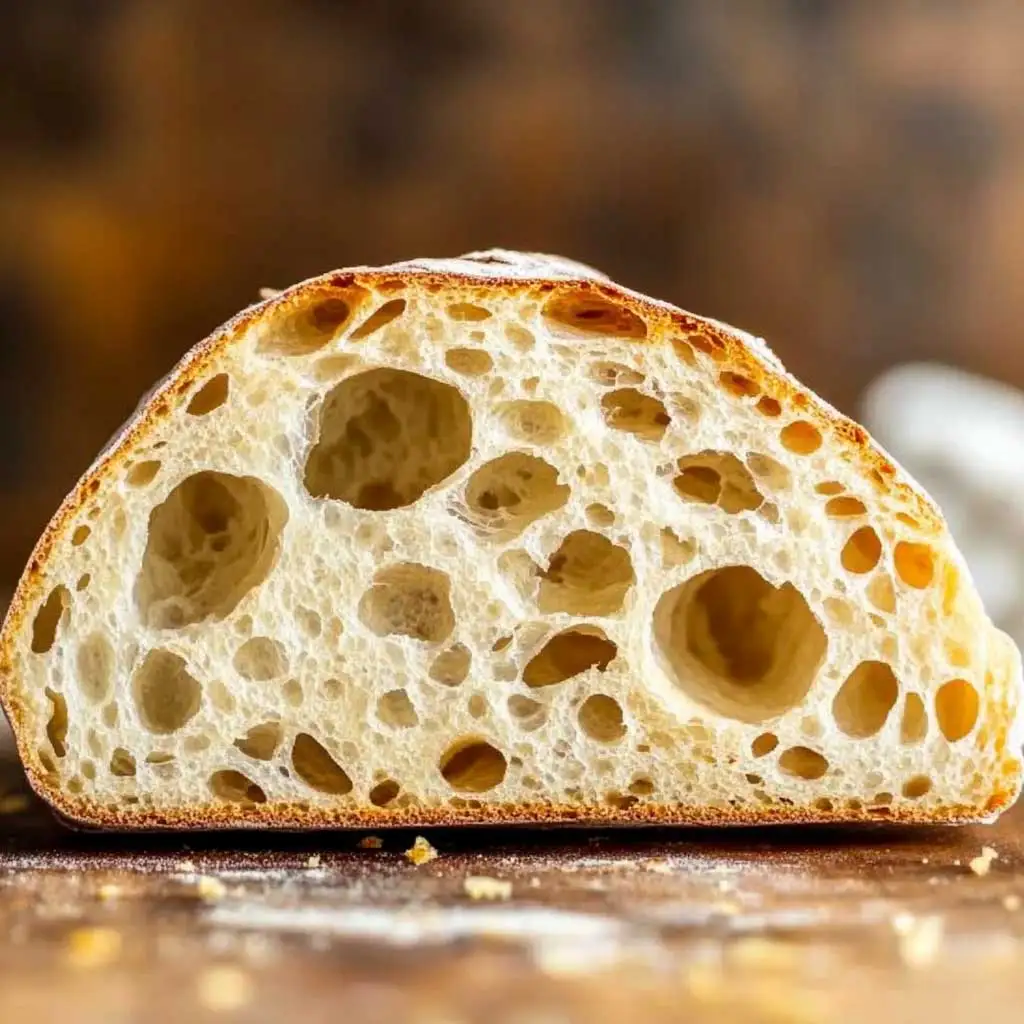
- Crumb & Texture: A properly shaped dough traps gases, making that airy, hole-y interior sourdough fans obsess over.
- Aesthetic Glory: Let’s be honest—half of sourdough’s charm is LOOKING like a bakery masterpiece.
If you’ve mastered How to Knead Sourdough Dough Properly (spoiler: stretch-and-folds for the win), shaping is your next frontier.
Kitchen Prep: What You’ll Need
Before we dive in, make sure you’ve got the right gear and mindset:
Tools
- Bench Scraper: This baby is your secret weapon for handling dough and scraping sticky bits off your countertop.
- Flour or Rice Flour: Use just enough to dust surfaces or towels—too much and you’ll be skating on flour while shaping.
- A Proofing Basket (Banneton): Not required, but keeps your dough snug and supported while it proofs.
- Linen or Cotton Towel: Use these if you don’t have a proofing basket (they’re like a cozy blanket for your dough).
- Parchment Paper: Makes transferring dough to your hot Dutch oven WAY easier—and saves your sanity.
Mindset: Channel your inner Earth goddess (or bread witch)—calm, measured, and okay with imperfection. No two loaves are alike, and that’s the magic.
When to Shape: Timing is Everything

The right time to shape sourdough is after bulk fermentation, aka when your dough has hung out for hours and doubled in size. How do you know it’s ready? Look for:
- A smooth surface with visible air bubbles just under the skin.
- Dough that jiggles like Jell-O when you poke it gently.
If you’re unsure, give it an extra 30 minutes. Dough that’s under-proofed might fight with you during shaping, and dough that’s over-proofed might turn into a sticky, uncooperative mess.
How to Shape Sourdough Loaves (The Actual Step-by-Step Guide)
Now to the fun part! Let’s break it down:
1. Prepare Your Workspace
Lightly flour your countertop or work surface. Too much flour and the dough won’t grip; too little and you’ll end up in a sticky nightmare. Find that sweet spot.
2. Pre-Shape the Dough
Think of this as a “rough draft” before the final shape. Pre-shaping helps organize the dough and creates surface tension.
How to Pre-Shape:
- Gently tip your dough out of its fermentation container onto the floured surface. Be nice—don’t deflate all those lovely bubbles you worked so hard to create.
- Using your bench scraper, fold the edges of the dough toward the center, like forming a little package.
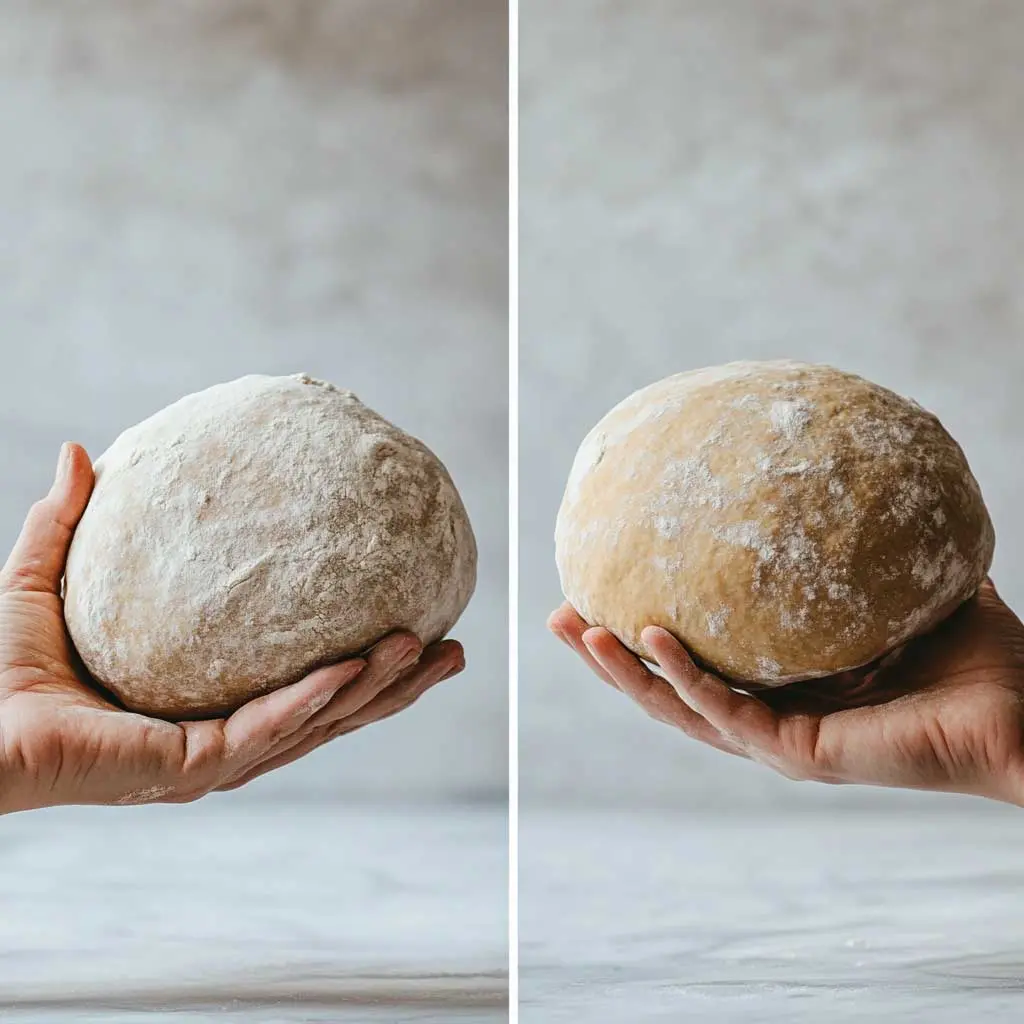
- Flip the dough over so the seams are on the bottom. Cup your hands around the dough and tuck the edges under as you rotate it in a circular motion. Go slow—baby steps! You’re done when the dough looks like a puffy, cute blob. Cover with a towel and let it rest for 20-30 minutes.
3. The Final Shaping
This is where your loaf becomes “loaf-shaped.” You’ve got options—round (boule) or oval (batard)—depending on your vibe and mood.
For a Round Boule:
- Start with your pre-shaped dough, seam side up.
- Gently stretch and fold the top edge toward the center. Repeat with the bottom edge and both sides, always folding toward the middle.
- Flip the dough over (seam-side down) and use your hands to create surface tension by tucking and rotating the dough against the counter. Visualize a beach ball that you’re trying to make tight and compact.
For an Oval Batard:
- Flatten your pre-shaped dough (gently) into a rectangle.
- Fold the top third down, like folding a letter. Press lightly to seal.
- Fold the bottom third up, overlapping the seam, and press again to seal.
- Flip it seam-side down and tuck the sides under, shaping it into a log-like oval.
4. Into the Banneton (or Bowl)
Dust your proofing basket or towel-lined bowl with flour. Place your shaped dough seam-side up in the basket/bowl. Gently cover it with a towel or plastic wrap to keep the surface from drying out.
Proofing: The Beauty Nap Your Dough Deserves

Sourdough needs one last rest before baking—usually 1-2 hours at room temp, or overnight in the fridge for a slow proof (and extra flavor). If you press the dough lightly and it springs back slowly, it’s ready.
Bonus Tips: Common Mistakes and Fixes
- Too Sticky? Flour your hands lightly or add a smidge more flour to the counter.
- Dough Spreading Out? It may need more shaping or extra time in the fridge to firm up.
- Flat Loaf After Baking? Under-proofing is the likely culprit. Next time, give it more time to rest during bulk fermentation.
Why Shaping Is Worth Every Step
Shaping your dough is more than a technical step—it’s an art that brings your bread to life. This is where the real magic happens (okay, also in the oven). A well-shaped sourdough loaf isn’t just pretty—it holds its structure better, rises beautifully, and cuts like a dream.
Plus, shaping is a zen thing. It’s calming, meditative, and lets you connect with your dough on a deeper level. Take your time, enjoy the process, and remember: sourdough is as much about the journey as it is about the loaf.
Final Thoughts
So, there you have it—your comprehensive step-by-step guide to shaping sourdough loaves. Whether you’re aiming for a boule or batard, the key is to start simple and build your skills. And if your first loaf looks wonky? Who cares. It’s homemade, and that’s kind of the whole point.
Next up on your bread-making adventure: mastering How to Knead Sourdough Dough Properly. Once you’ve got that down, you’re all set for sourdough greatness!
For additional tips on shaping and perfecting your sourdough technique, check out King Arthur Baking’s Sourdough Shaping Guide.
Happy baking—and may your loaves always rise high.