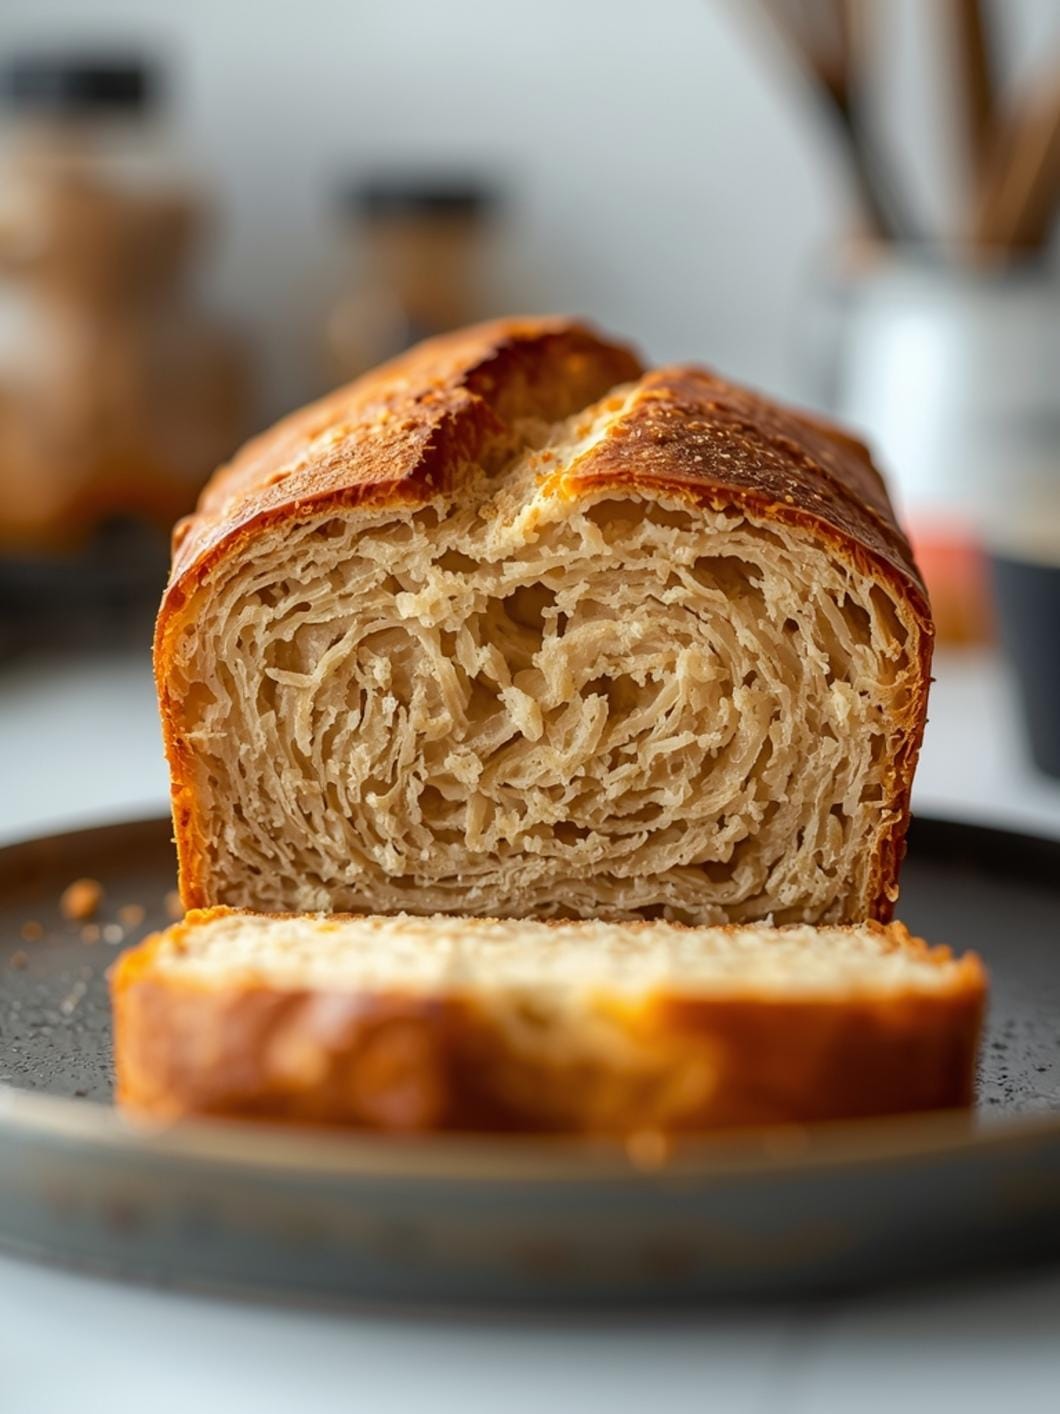
If you’ve been dabbling in the wonderful world of sourdough, you know the magic of a bubbly, active starter.
 11")
But let’s be honest, sometimes life happens, and your once-vibrant starter can become a bit sluggish, leaving you with flat loaves and deflated dreams. Don’t despair! This guide is your secret weapon to quickly revive a weak sourdough starter, ensuring your homemade bread is always a triumph.
We’re going to dive into simple, effective steps that will breathe new life into your starter, making it robust and ready to tackle any baking project. Forget complicated techniques; this is about getting your starter back on track fast, so you can enjoy perfect sourdough bread every time.
Table of Contents
 12")
How to Revive a Weak Sourdough Starter
- Total Time: 4-12 hours
- Yield: 1 active sourdough starter
Description
This guide provides simple, effective steps to quickly revive a sluggish sourdough starter, transforming it into a robust and active one ready for baking. It focuses on troubleshooting and revitalizing an existing starter using basic ingredients and minimal effort, perfect for busy home bakers.
Ingredients
Instructions
1. Assess Your Starter’s Condition: Check for mold (discard if present). If it smells acidic, has hooch, or isn’t bubbling, it’s a good candidate for revival. Pour off any dark hooch.
2. Start with a Small Amount: In a clean glass jar, place about 20-30 grams (1-2 tablespoons) of your sluggish starter.
3. Feed with Equal Parts Flour and Water: Add an equal weight of filtered water and an equal weight of flour to the starter. For example, if you used 20 grams of starter, add 20 grams of filtered water and 20 grams of flour (a 1:1:1 ratio).
4. Mix Thoroughly: Using a clean spoon or spatula, mix the starter, water, and flour until there are no dry spots and the mixture is smooth. Scrape down the sides of the jar.
5. Mark the Level and Cover Loosely: Mark the initial level of the fed starter on the outside of the jar. Cover the jar loosely with a lid, plastic wrap, or a clean kitchen towel.
6. Find a Warm Spot and Observe: Place the starter in a warm spot, ideally 75-80 F (24-27 C). Observe for 4-12 hours for it to double in size, become bubbly, and smell yeasty and slightly acidic.
7. Repeat if Necessary: If after 12 hours the starter hasn’t doubled or shown significant activity, discard most of it (leaving 20-30 grams) and repeat steps 3-6. Continue until it consistently doubles within 4-8 hours.
- Prep Time: 5 minutes
- Cook Time: N/A
- Category: baking
- Method: feeding
- Cuisine: american
Nutrition
- Serving Size: N/A
Keywords: sourdough, starter, revive, baking, bread, fermentation, yeast, flour, water, troubleshooting
What You’ll Love About This Quick And Easy Recipe
This guide is a lifesaver for anyone who has a sourdough starter that’s looking a little sad and inactive. It’s designed for busy home bakers, from beginners to those with more experience, who need a reliable method to strengthen their starter without a lot of fuss or advanced knowledge. You’ll love how quickly you can see results, transforming a sluggish starter into a bubbly, active one that’s eager to leaven your next loaf. This isn’t about making a new starter; it’s about troubleshooting and revitalizing the one you already have. It’s perfect for those moments when your starter hasn’t been fed regularly, has been stored in the fridge for too long, or just isn’t performing as expected. The best part? It uses ingredients you likely already have on hand and requires minimal effort, making it ideal for fitting into a packed schedule.
Everything You Need To Make This Recipe Without Stress
Getting your sourdough starter back to its prime doesn’t require a trip to a specialty store. The beauty of this process is its simplicity, relying on fundamental ingredients that are key to a starter’s health.
INGREDIENTS:
 13")
- Sourdough starter (the weak or sluggish one)
- Unbleached all-purpose flour or bread flour
- Filtered water (room temperature)
- A clean glass jar or container
- A clean spoon or spatula
- A kitchen scale (optional, but highly recommended for accuracy)
When it comes to flour, unbleached all-purpose flour is generally sufficient, but bread flour can sometimes give your starter an extra boost due to its higher protein content. Avoid bleached flours as the bleaching agents can inhibit the beneficial microbes in your starter. For water, filtered water is always best. Tap water can contain chlorine or chloramines, which can be detrimental to your starter’s health. If you don’t have filtered water, you can leave tap water out in an open container for 24 hours to allow the chlorine to dissipate. The key is consistency in feeding and using quality ingredients to support the microbial activity.
Time Needed From Start To Finish
Reviving a weak sourdough starter is less about active “cooking” time and more about observation and patience. The hands-on time for feeding is very quick, but you’ll need to allow several hours for the starter to become active again.
- Active Preparation Time: 5 minutes
- Waiting/Observation Time: 4-12 hours (depending on the starter’s initial state and ambient temperature)
- Total Time Until Active: 4-12 hours
This timeframe accounts for the initial feeding and then waiting for the starter to show signs of activity (doubling in size, becoming bubbly). You might need to repeat the feeding process once or twice if your starter is particularly weak, extending the total time.
How To Make It Step By Step With Visual Cues
 14")
Bringing your sourdough starter back to life is a straightforward process. Follow these steps carefully to ensure success.
- Assess Your Starter’s Condition: Before you begin, take a look at your starter. Does it have any mold (not to be confused with kahm yeast, which looks like a white film)? If it has mold, it’s best to discard it and start fresh. If it just smells overly acidic, has a layer of dark liquid (hooch) on top, or isn’t bubbling, it’s a good candidate for revival. Pour off any dark hooch.
- Start with a Small Amount: In a clean glass jar, place a small amount of your sluggish starter. A good starting point is about 20-30 grams (1-2 tablespoons). Using a smaller amount allows the fresh food to be more concentrated and gives the microbes less “old” starter to work through.
- Feed with Equal Parts Flour and Water: To the small amount of starter, add an equal weight of filtered water and an equal weight of flour. For example, if you used 20 grams of starter, add 20 grams of filtered water and 20 grams of flour. This 1:1:1 ratio (starter:water:flour) is a strong feeding ratio that encourages rapid activity.
- Mix Thoroughly: Using a clean spoon or spatula, mix the starter, water, and flour together until there are no dry spots of flour remaining and the mixture is smooth. Scrape down the sides of the jar to keep it clean.
- Mark the Level and Cover Loosely: Place a rubber band or use a marker to indicate the initial level of your freshly fed starter on the outside of the jar. This will help you easily track its growth. Cover the jar loosely with a lid, plastic wrap, or a clean kitchen towel. This allows air exchange while preventing the starter from drying out.
- Find a Warm Spot and Observe: Place your starter in a warm spot in your kitchen, ideally between 75-80°F (24-27°C). Warmth encourages microbial activity. Over the next 4-12 hours, observe your starter. You’re looking for it to double in size, become very bubbly, and smell pleasantly yeasty and slightly acidic. If it doubles and then falls, that’s a sign of peak activity.
- Repeat if Necessary: If after 12 hours your starter hasn’t doubled or shown significant activity, don’t worry. Discard most of it, leaving about 20-30 grams, and repeat steps 3-6. Sometimes a very weak starter needs a couple of strong feedings to get back on track. Once it’s consistently doubling within 4-8 hours, it’s ready for baking or for its regular feeding schedule.
Easy Variations And Serving Ideas That Fit Real Life
While this guide focuses on strengthening your starter, a healthy starter opens up a world of delicious possibilities. Once your starter is robust, you can use it for so much more than just traditional sourdough loaves.
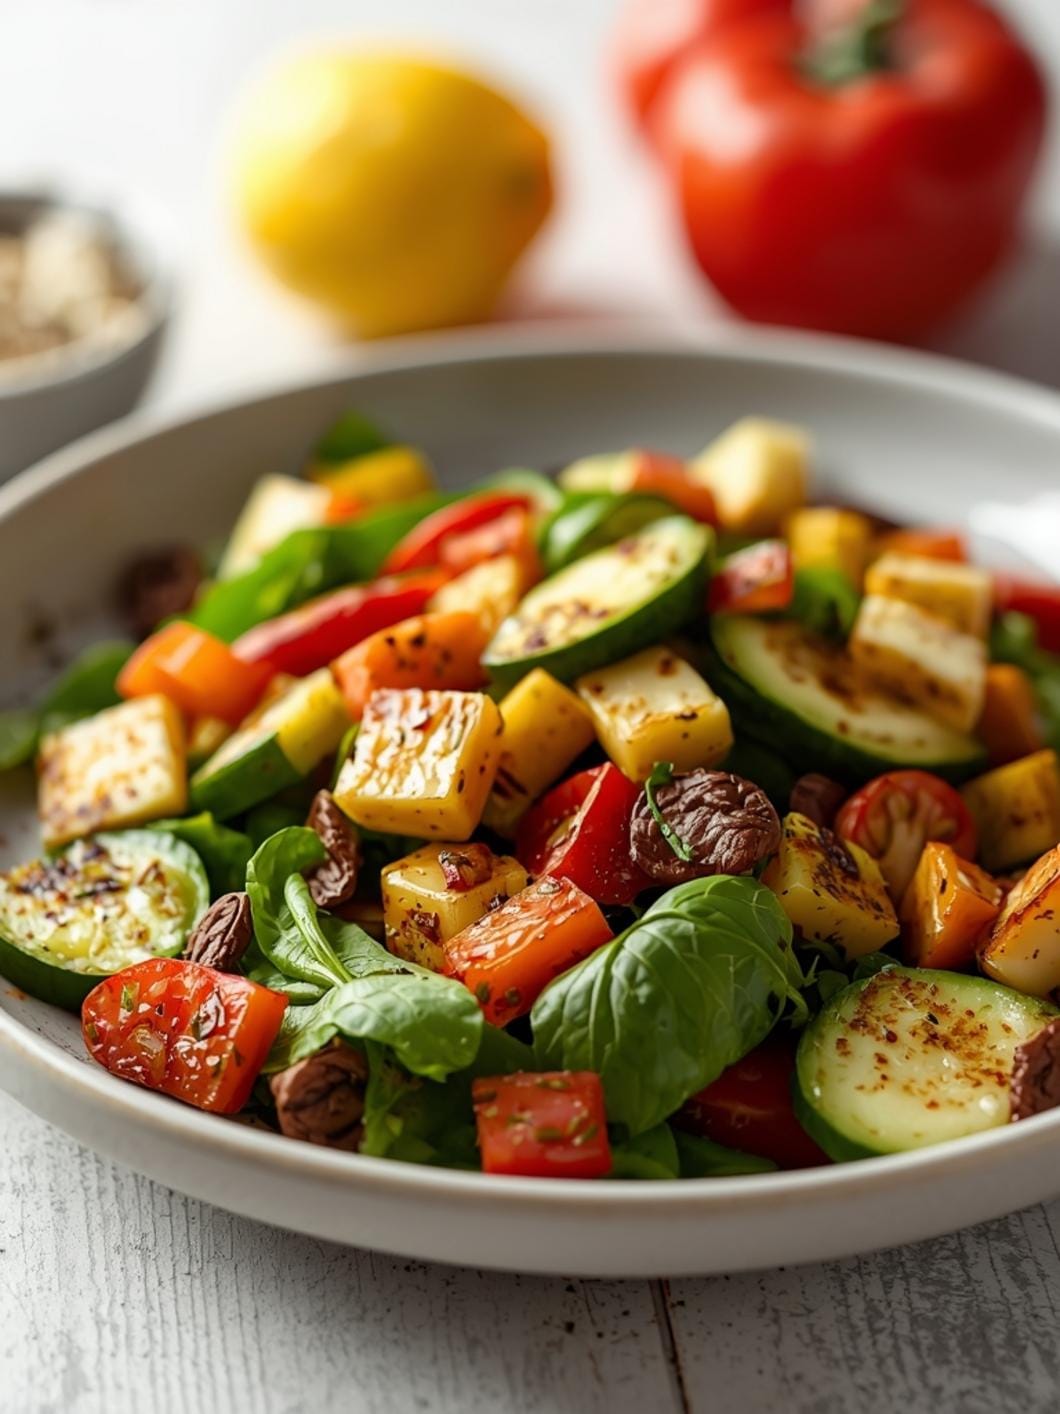
For family-friendly options, consider making sourdough pancakes or waffles. The starter adds a wonderful tang and lightness. You can even use a small amount of discard (the portion you remove before feeding) in recipes like sourdough crackers or quick breads, which are fantastic for snacks or lunchboxes. For a quick weeknight treat, sourdough pizza dough is a game-changer; it’s easy to make ahead and freezes well. You can top it with anything your family loves, from classic pepperoni to fresh vegetables.
If you’re looking for optional toppings or dips once your starter is thriving and you’re baking bread, consider a simple olive oil and balsamic vinegar dip, or a homemade garlic herb butter. For a more substantial serving, a fresh bruschetta or a creamy artichoke dip pairs wonderfully with slices of warm, freshly baked sourdough. The versatility of a strong sourdough starter means you can constantly experiment and integrate it into various meals and snacks, making it a staple in your kitchen.
Common Slip-Ups And How To Avoid Them
Even with the best intentions, it’s easy to make a few mistakes when trying to revive a sourdough starter. Being aware of these common slip-ups can help you avoid them and ensure a quicker recovery for your starter.
One frequent mistake is not using enough starter when feeding. While you want to use a small amount of the *old* starter to give the new food a chance to work, using too little can mean there aren’t enough active microbes to kickstart the process. Conversely, using too much old starter can overwhelm the fresh food, making it take longer to become active. Stick to the 1:1:1 ratio as a starting point for revival.
Another common issue is using chlorinated tap water. Chlorine can kill the beneficial bacteria and yeast in your starter, hindering its activity. Always use filtered water, or let tap water sit out for at least 24 hours to allow the chlorine to dissipate.
Inconsistent feeding temperatures can also be a problem. Sourdough starters thrive in warmth. If your kitchen is too cold, your starter will be sluggish. Aim for a consistent warm spot, ideally around 75-80°F (24-27°C). Avoid placing it in direct sunlight, which can overheat it, or near a drafty window.
Finally, not mixing thoroughly can leave dry pockets of flour, which can lead to mold or uneven fermentation. Always scrape down the sides of your jar and ensure all the flour is fully incorporated into the mixture. A well-mixed starter has a more consistent texture and allows the microbes to access all the food. Being mindful of these details will significantly improve your chances of a speedy and successful revival.
How To Store It And Make
 15")
FAQs
- Can I make these ahead? Yes—prep ahead, refrigerate, then serve when ready.
- How long do leftovers last? Store covered in the fridge for 3–4 days for best texture.
- Can I adjust sweetness? Yes—add more or less sweetener to taste.
- Can I change the fruit? Yes—swap strawberries for blueberries, raspberries, or sliced banana.