Let’s talk sourdough—one of life’s simple joys. If you’ve been part of the sourdough renaissance (like so many of us were during lockdown—you know what I’m talking about!), you’ve probably heard about something called autolyse. But what exactly is it, and why is everyone talking about it like it’s the secret behind bakery-level bread? Well, grab your apron and settle in, because I’m here to break it all down in plain English.

We’re getting into everything you need to know about what autolyse means in sourdough baking, why it works (no hardcore science today, I promise), and how you can add it to your baking routine. Whether you’re a crusty sourdough pro or totally green, I’ve got tips, personal wins (and flops), and FAQs to guide you.
So, What Is Autolyse Anyway?
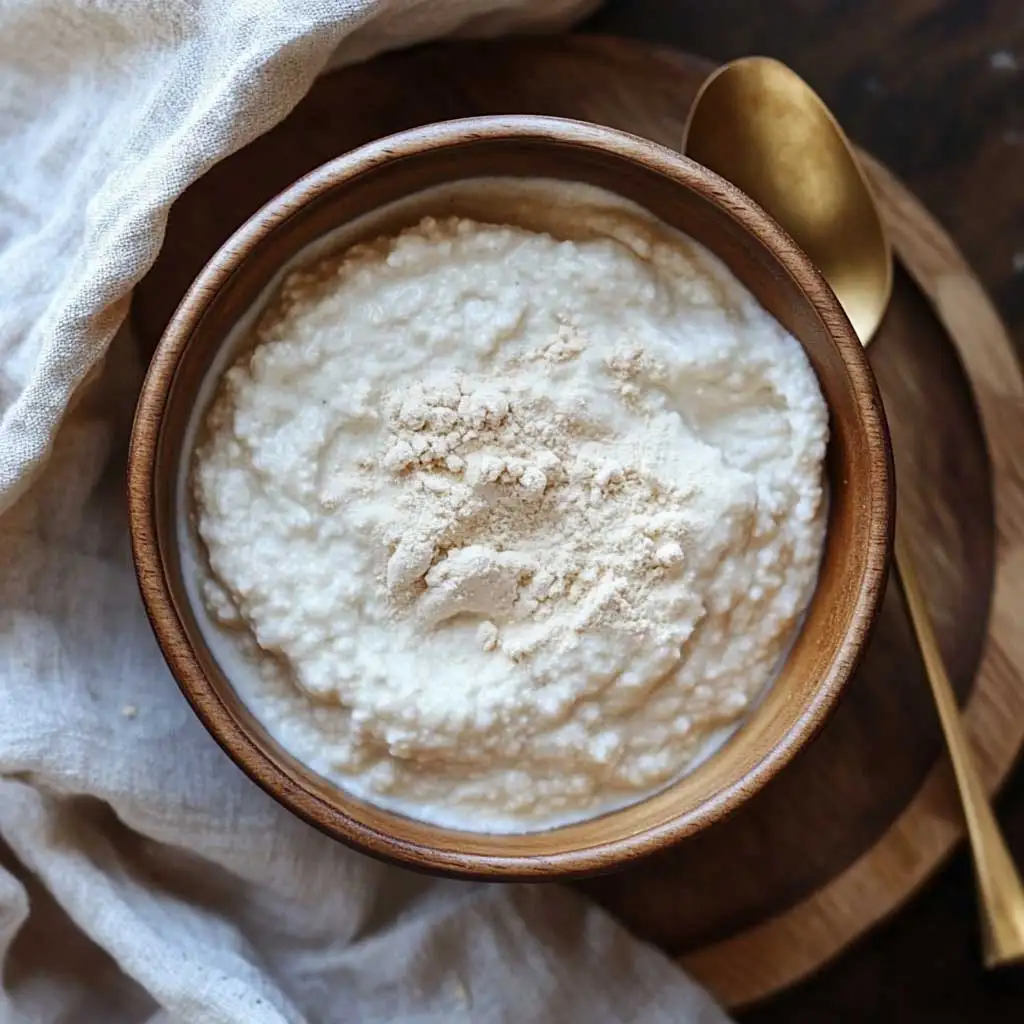
Autolyse is a fancy word for something actually super simple: it’s when you mix just flour and water (no salt, no starter) and let it hang out for a while. Think of it as giving the dough a little nap before the kneading begins.
Here’s why it’s such a game-changer for sourdough: during the autolyse process, enzymes in the flour start breaking down starches into sugars and strengthening the gluten structure. (Gluten is the stretchy web that traps all those lovely bubbles!) The result? Your dough gets easier to work with, and your finished loaf has better flavor, a lighter texture, and that beautiful open crumb all the cool bakers rave about.
I don’t know about you, but when I learned that doing less work could give me better bread, I was like, “Sign me up.”
Why Bother with Autolyse?
I get it. Adding another step to your already multi-hour sourdough process might feel… tedious. But here’s the kicker: it’s not more work; it’s smarter work.
Here’s what the autolyse technique can do for your bread:
- Better Dough Texture: Autolyse relaxes the dough, so it feels smoother and less sticky.
- Easier Shaping: When the gluten structure forms earlier, you’ll find the dough easier to shape without ripping. (Been there, done that.)
- Boosted Flavor: Leaving the dough to sit brings out subtle, nutty notes in the flour. Chef’s kiss!
- Open Crumb: If you’re after big, airy pockets in your bread, autolyse is your new bestie.
- Less Kneading: Because autolyse starts the gluten party early, you don’t have to work your dough as hard. That means less sore arms.
Quick note: Not every recipe needs autolyse. If you’re baking a high-hydration sourdough (softer dough with more water) or going for something rustic and artisanal, autolyse will fit right in. But for denser bread, like sandwich loaves, you can skip it.
How to Add Autolyse to Your Sourdough Routine
You don’t need fancy tools or a Ph.D. in bread science to master an autolyse method. Here’s how even a hobby baker like me can nail it:
Ingredients
For this, you just need two things:
- 500g bread flour (or whatever flour mix your recipe calls for)
- 325-350g water (keep it room temp—around 70°F to 75°F)
(Pro tip: Always weigh your ingredients. Measuring by volume is, like, guessing. And trust me, you don’t want to guess wrong with bread.)
Tools You’ll Want
- A bread bowl (glass or stainless steel works best)
- Digital scale (seriously, get one—life-changing)
- Bench scraper (optional but handy)
Instructions

- Mix Flour and Water Only (No Salt or Starter Yet): Add your flour and water to a bowl. Stir until there’s no dry flour hanging around. Don’t stress about lumps; those will take care of themselves later.
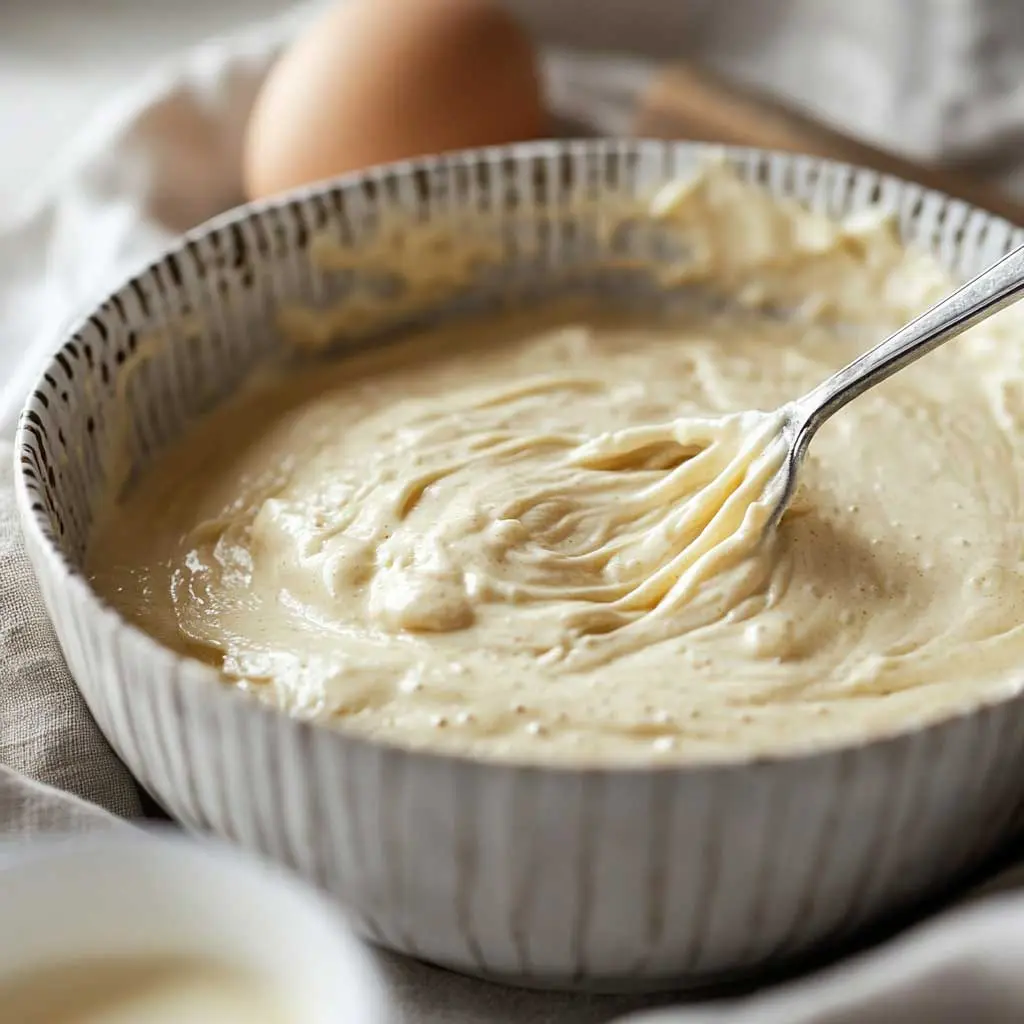
- Let It Rest: Cover the bowl with a towel and let it sit at room temp. For most dough types, 30 minutes to 1 hour is perfect. But if you’re feeling extra chill, you can go up to 2 hours. Longer resting times can lead to even better gluten development, especially with whole grain flours.
- Incorporate the Starter and Salt: After the autolyse step is done, grab your sourdough starter and salt. Add them in and start mixing or kneading, depending on your recipe. (At first, it might feel sticky, but trust the process—it’ll come together!)
That’s it! Simple, right? It’s like letting the dough do some of the heavy lifting early on.
Understanding Sourdough Hydration: A Simple Guide
Water is your BFF in sourdough baking, but it’s also the trickiest part to get right. So, when I mention “high-hydration dough,” it’s all about how much water you’re using compared to the flour.
- Low Hydration (50-60% water): Easier to handle, perfect for beginner bakers. These loaves tend to be more dense though (great for sandwiches!).
- Moderate Hydration (65-75% water): This is the sweet spot for most homemade sourdough. It’s workable and gives a nice airiness.
- High Hydration (80%+ water): This is for the showstoppers—super open crumb, big holes, and bakery vibes. It’s also a sticky mess to master!
When using autolyse with high-hydration dough, you’ll notice it softens and stretches beautifully, making the process a bit more beginner-friendly.
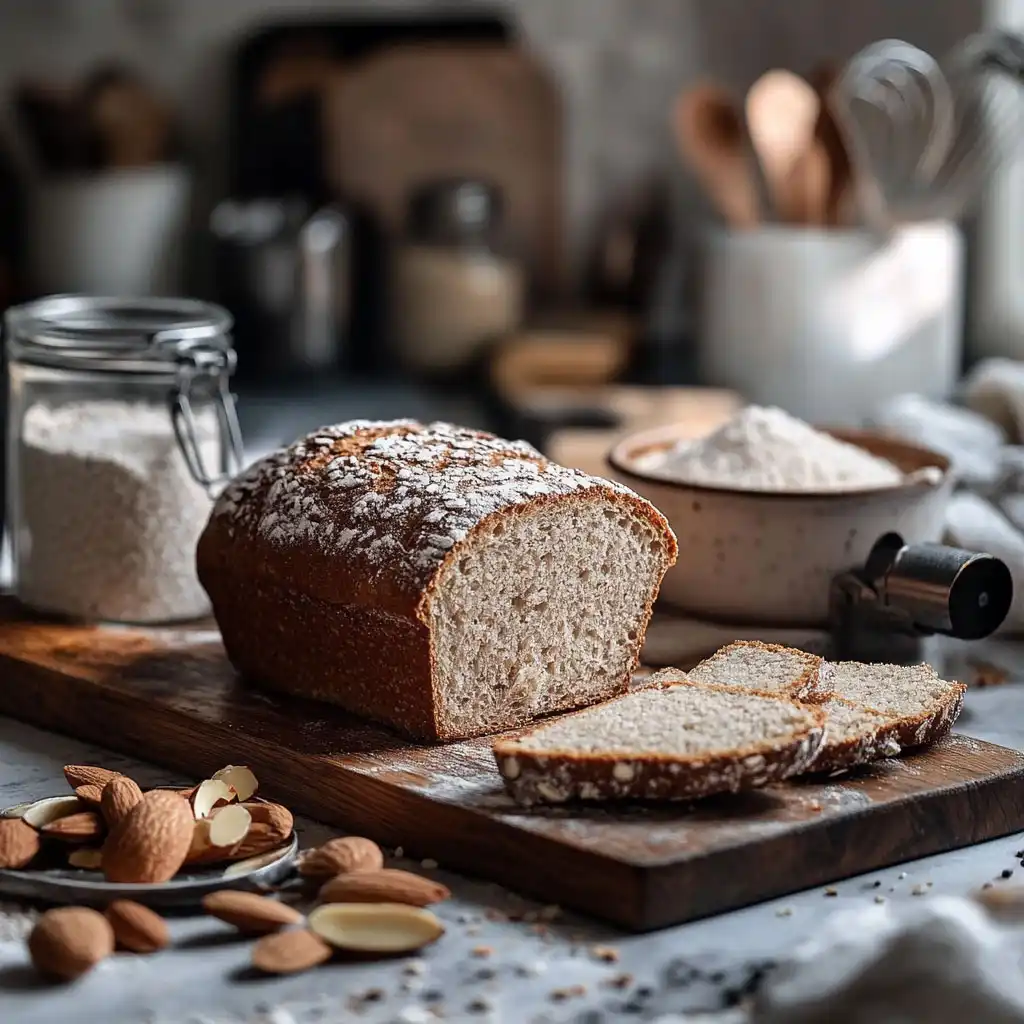
How to Achieve an Open Crumb in Sourdough Bread
Ah, the holy grail: that Instagram-worthy open crumb. If you’ve ever cut into a loaf and thought, “Dang, why doesn’t mine look like that?”—you’re not alone.
Here’s my rundown for getting that beauty shot crumb:
- High Hydration Dough: Start with at least 75% water in your recipe.
- Gentle Handling: No rough kneading! You want to build strength without overworking the dough.
- Proper Proofing: Let your dough rise long enough but not so long that it collapses. The sweet spot takes practice.
- Smart Baking: Preheat your oven well and use steam during the first 10-15 minutes.
Adding autolyse to your sourdough baking technique is a surefire way to improve crumb—especially for beginners. Even if you don’t nail it the first time, every loaf teaches you something new.
Tips for Baking Sourdough in Humid vs. Dry Climates
Your kitchen’s climate can dramatically change how dough behaves. In a humid spot (hey, summer bakers!), your dough might feel stickier and rise faster. In a dry climate, you might find it tougher to keep everything hydrated.
Here are my quick tricks:
- Humid Conditions: Use slightly less water in the mix and proof your dough in a cool spot.
- Dry Air: Cover your dough with something damp, like a tea towel, during resting periods. Also, don’t skimp on the water content in your recipe.
Living in the Midwest, I’ve seen it all—from dry, central-heated winters to muggy July days. Adjusting as you go makes all the difference.
Sourdough Starter Maintenance: Feeding vs. Discarding

Your sourdough starter is like a pet, right? You feed it, you watch it grow, and sometimes… you have to deal with the leftovers (aka “discard”).
- Feeding Your Starter: This keeps it active and strong for baking. Use a balance of flour and water—usually about equal weights.
- Discarding: You don’t have to throw it away! Use it for pancakes, crackers, or even cookies.
Keeping your starter healthy makes a big difference in how well autolyse and other sourdough techniques work. It’s like building a strong foundation—you can’t skip it!
Final Thoughts
Autolyse in sourdough baking is one of those little tricks that makes a huge difference—kind of like finally learning how to properly cut onions (game-changer, right?). It’s not scary, it’s not complicated, and it’s backed by some good old-fashioned kitchen wisdom.
For a deeper dive into the science and benefits of autolyse, check out The Perfect Loaf’s Guide to Autolyse.
Whether you’re whipping up beautiful boules for a potluck or just experimenting with flour on a quiet Sunday afternoon, this technique is worth a try. Who knows? Your next loaf might just turn out to be the one. Happy baking! 🍞
And if you want more Sourdough Tips, check out our list of articles here.