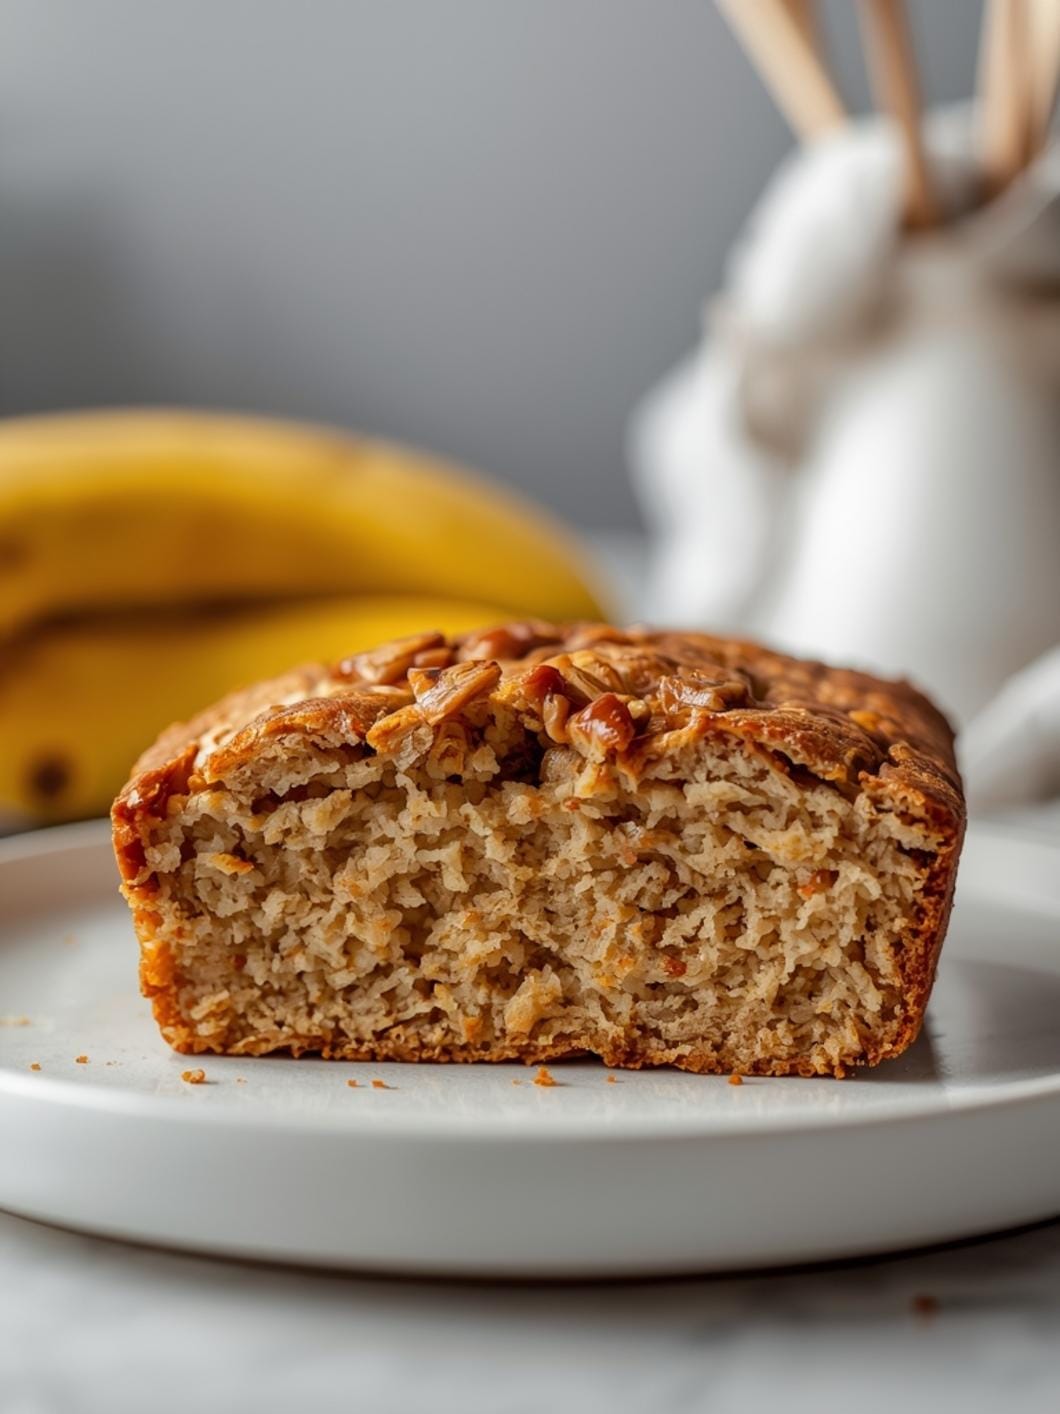
If you’ve been baking sourdough bread and find your crumb is consistently tight, dense, or gummy, you’re not alone.

Many home bakers encounter this challenge, and it can be frustrating when you’re aiming for that beautiful, open, airy texture. The good news is that achieving an ideal sourdough crumb is entirely within reach with a few key adjustments to your process.
This guide will walk you through the most common reasons for a tight sourdough crumb and provide actionable tips to transform your loaves. We’ll focus on practical advice that you can implement immediately to improve your sourdough bread’s texture, ensuring you get that perfect, airy result every time.

Achieving an Airy Sourdough Crumb: A Troubleshooting Guide
- Total Time: 12 hours to 2+ days
- Yield: 1 loaf
Description
This guide provides actionable tips and techniques to troubleshoot and improve your sourdough bread’s crumb, helping you achieve that coveted open, airy texture. It addresses common issues like dense or gummy crumb and offers practical advice for refining your baking process.
Ingredients
Instructions
1. 1. Ensure Your Starter is Robust and Active: Before mixing dough, your sourdough starter needs to be at its peak. Feed it 4-6 hours before you plan to mix, and wait until it has visibly doubled or tripled in size, is bubbly, and passes the float test (a small dollop floats in water). A weak starter is a primary cause of a dense crumb.
2. 2. Master the Autolyse or Rubaud Mixing: Begin by mixing just the flour and water from your recipe until no dry spots remain. Let this mixture rest for 30-60 minutes. This “autolyse” phase allows the flour to fully hydrate and gluten to start developing without the interference of salt or starter, leading to a more extensible dough. Alternatively, a thorough Rubaud mix (vigorous hand mixing for 5-10 minutes) can achieve similar hydration and gluten development.
3. 3. Incorporate Salt and Starter Effectively: After the autolyse, add your active starter and salt. Mix thoroughly to ensure they are evenly distributed. This can be done by hand, squeezing the dough, or with a stand mixer. The goal is to fully integrate these ingredients without overworking the dough immediately.
4. 4. Develop Gluten with Stretching and Folding: Over the next 2-3 hours of bulk fermentation, perform a series of “stretch and folds” every 30-45 minutes. Gently stretch a portion of the dough up and fold it over itself, rotating the bowl and repeating 3-4 times. This builds strength and elasticity, crucial for trapping gas and creating an open crumb. The dough should become progressively smoother and more elastic with each set.
5. 5. Achieve Optimal Bulk Fermentation: This is perhaps the most critical stage. The dough should increase in volume by 30-50% (depending on your recipe and ambient temperature), feel airy, and have a domed top with visible bubbles. It should also have some “jiggle” when you gently shake the bowl. Under-fermented dough will be dense, while over-fermented dough will be soupy and hard to shape.
6. 6. Shape Gently but Firmly: After bulk fermentation, gently turn the dough onto a lightly floured surface. Preshape it into a round or rectangle and let it rest for 20-30 minutes. Then, perform your final shaping. The key is to create surface tension without degassing the dough too much. A tight skin on the outside helps the loaf hold its shape and rise during baking.
7. 7. Proof Properly, Especially Cold Proofing: Place your shaped dough in a floured banneton or bowl for cold proofing in the refrigerator for 8-24 hours. Cold proofing slows fermentation, develops flavor, and allows the gluten structure to relax and strengthen, leading to a better oven spring and crumb.
8. 8. Bake with High Heat and Steam: Preheat your Dutch oven or baking vessel to a high temperature (450-500 F / 230-260 C). Bake covered for the first 20-25 minutes to trap steam, which keeps the crust soft and allows the loaf to expand fully. Then, uncover and continue baking until the crust is deeply golden brown and the internal temperature reaches 200-210 F (93-99 C).
- Prep Time: 20-30 minutes active
- Cook Time: 30-45 minutes
- Category: bread
- Method: baking
- Cuisine: american
Nutrition
- Serving Size: 1 slice
Keywords: sourdough, bread, baking, crumb, airy, troubleshooting, fermentation, gluten, starter, homemade
What You’ll Love About This Quick And Easy Recipe
This guide isn’t a recipe in the traditional sense, but rather a collection of essential tips designed to troubleshoot and perfect your sourdough baking. You’ll love that it directly addresses the common frustration of a dense sourdough crumb, offering clear, actionable advice rather than just another set of instructions. It’s perfect for any home baker who has already started their sourdough journey but is struggling to achieve that coveted open, airy texture. This isn’t about starting from scratch; it’s about refining your existing process to get better results. You’ll find it incredibly practical for everyday baking, helping you turn out consistently excellent loaves for family meals, potlucks, or simply to enjoy with your morning coffee. It’s for those moments when you’re ready to elevate your sourdough from good to truly great, without needing to invest in complex new equipment or techniques.
Everything You Need To Make This Recipe Without Stress
Since this isn’t a traditional recipe, there aren’t specific ingredients to list in the usual sense. Instead, the “ingredients” for success here are your existing sourdough starter, flour, water, and salt, along with a few basic baking tools you likely already have. The focus is on technique and understanding, rather than adding new components.
INGREDIENTS:

- Active sourdough starter
- Bread flour (or all-purpose flour, depending on your recipe)
- Water
- Salt
For your flour, using a good quality bread flour with a higher protein content can significantly help with gluten development, which is crucial for an open crumb. However, if your recipe calls for all-purpose flour, ensure it’s unbleached. The water you use should ideally be filtered, as chlorine can sometimes negatively impact your starter’s activity. As for salt, fine sea salt or kosher salt are generally preferred for baking. There are no specific brand recommendations here; simply use what you typically use for your sourdough, but be mindful of the quality.
Time Needed From Start To Finish
Understanding the time commitment for sourdough baking is crucial for managing expectations and achieving a great crumb. While the active “hands-on” time for mixing and shaping might only be 20-30 minutes, the overall process, including bulk fermentation and proofing, spans many hours, often overnight.
- Active Prep Time: 20-30 minutes (mixing, stretching and folding, shaping)
- Bulk Fermentation Time: 4-12 hours (highly variable based on starter activity and ambient temperature)
- Cold Proofing Time: 8-24 hours (or more, in the refrigerator)
- Baking Time: 30-45 minutes
Total Time: While the active work is minimal, the full process from mixing to a baked loaf can range from 12 hours to over 2 days, depending on your schedule and desired proofing method. This extended timeline is what develops flavor and structure, so patience is key.
How To Make It Step By Step With Visual Cues

Achieving an airy sourdough crumb involves careful attention to several stages of the baking process. Here’s a step-by-step guide to improving your technique:
- Ensure Your Starter is Robust and Active: Before you even think about mixing dough, your sourdough starter needs to be at its peak. Feed it 4-6 hours before you plan to mix, and wait until it has visibly doubled or tripled in size, is bubbly, and passes the float test (a small dollop floats in water). A weak starter is a primary cause of a dense crumb.
- Master the Autolyse or Rubaud Mixing: Begin by mixing just the flour and water from your recipe until no dry spots remain. Let this mixture rest for 30-60 minutes. This “autolyse” phase allows the flour to fully hydrate and gluten to start developing without the interference of salt or starter, leading to a more extensible dough. Alternatively, a thorough Rubaud mix (vigorous hand mixing for 5-10 minutes) can achieve similar hydration and gluten development.
- Incorporate Salt and Starter Effectively: After the autolyse, add your active starter and salt. Mix thoroughly to ensure they are evenly distributed. This can be done by hand, squeezing the dough, or with a stand mixer. The goal is to fully integrate these ingredients without overworking the dough immediately.
- Develop Gluten with Stretching and Folding: Over the next 2-3 hours of bulk fermentation, perform a series of “stretch and folds” every 30-45 minutes. Gently stretch a portion of the dough up and fold it over itself, rotating the bowl and repeating 3-4 times. This builds strength and elasticity, crucial for trapping gas and creating an open crumb. The dough should become progressively smoother and more elastic with each set.
- Achieve Optimal Bulk Fermentation: This is perhaps the most critical stage. The dough should increase in volume by 30-50% (depending on your recipe and ambient temperature), feel airy, and have a domed top with visible bubbles. It should also have some “jiggle” when you gently shake the bowl. Under-fermented dough will be dense, while over-fermented dough will be soupy and hard to shape.
- Shape Gently but Firmly: After bulk fermentation, gently turn the dough onto a lightly floured surface. Preshape it into a round or rectangle and let it rest for 20-30 minutes. Then, perform your final shaping. The key is to create surface tension without degassing the dough too much. A tight skin on the outside helps the loaf hold its shape and rise during baking.
- Proof Properly, Especially Cold Proofing: Place your shaped dough in a floured banneton or bowl for cold proofing in the refrigerator for 8-24 hours. Cold proofing slows fermentation, develops flavor, and allows the gluten structure to relax and strengthen, leading to a better oven spring and crumb.
- Bake with High Heat and Steam: Preheat your Dutch oven or baking vessel to a high temperature (450-500°F / 230-260°C). Bake covered for the first 20-25 minutes to trap steam, which keeps the crust soft and allows the loaf to expand fully. Then, uncover and continue baking until the crust is deeply golden brown and the internal temperature reaches 200-210°F (93-99°C).
Easy Variations And Serving Ideas That Fit Real Life
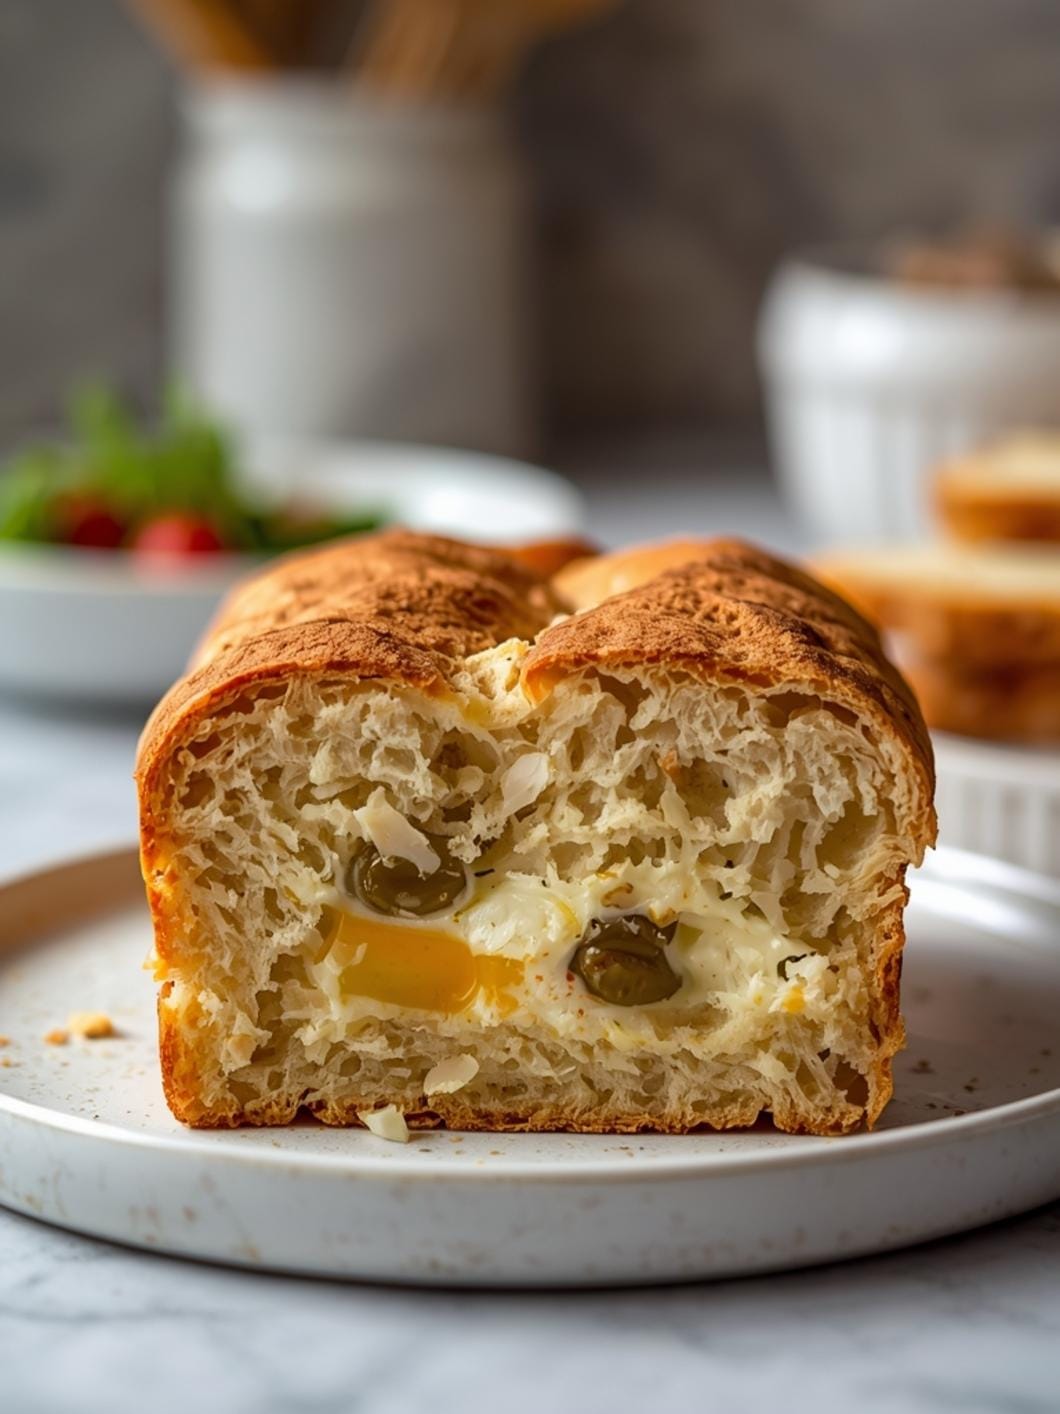
While this article focuses on improving the basic sourdough crumb, once you’ve mastered that, the possibilities for variations are endless. For a simple twist, consider adding mix-ins to your dough during the final stages of bulk fermentation. Think about a handful of toasted seeds like sesame, poppy, or sunflower for added texture and flavor. Dried fruits such as cranberries or raisins, along with chopped nuts like walnuts or pecans, can also be folded in for a sweeter, richer loaf.
When it comes to serving, a perfectly airy sourdough loaf is a star on its own. It’s fantastic simply sliced and served with good quality butter and a sprinkle of flaky sea salt. For a quick family meal, use it to make gourmet grilled cheese sandwiches, or toast slices for bruschetta topped with fresh tomatoes, basil, and mozzarella. It’s also excellent alongside a hearty soup or stew, perfect for soaking up every last drop. For a party or buffet, arrange slices on a platter with a selection of cheeses, charcuterie, and olives. The versatility of a well-baked sourdough means it can elevate almost any meal, from a simple breakfast to an elegant dinner.
Common Slip-Ups And How To Avoid Them
Many factors can contribute to a tight sourdough crumb, and recognizing these common mistakes is the first step to correcting them.
- Using a Weak or Underfed Starter: If your starter isn’t consistently doubling or tripling in size after feeding, it doesn’t have enough leavening power. Always ensure your starter is at its peak activity before mixing your dough. Feed it regularly and consistently, and consider a “float test” before use.
- Insufficient Gluten Development: Not enough stretching and folding during bulk fermentation means the gluten network isn’t strong enough to trap the gases produced by the yeast. This leads to a dense, brick-like loaf. Ensure you perform enough sets of stretch and folds until the dough feels elastic and passes the “windowpane test” (you can stretch a small piece thin enough to see light through it without tearing).
- Under-Fermentation During Bulk: This is a very common culprit. If the dough hasn’t risen enough during bulk fermentation, it won’t have the internal structure or gas

FAQs
- Can I make these ahead? Yes—prep ahead, refrigerate, then serve when ready.
- How long do leftovers last? Store covered in the fridge for 3–4 days for best texture.
- Can I adjust sweetness? Yes—add more or less sweetener to taste.
- Can I change the fruit? Yes—swap strawberries for blueberries, raspberries, or sliced banana.