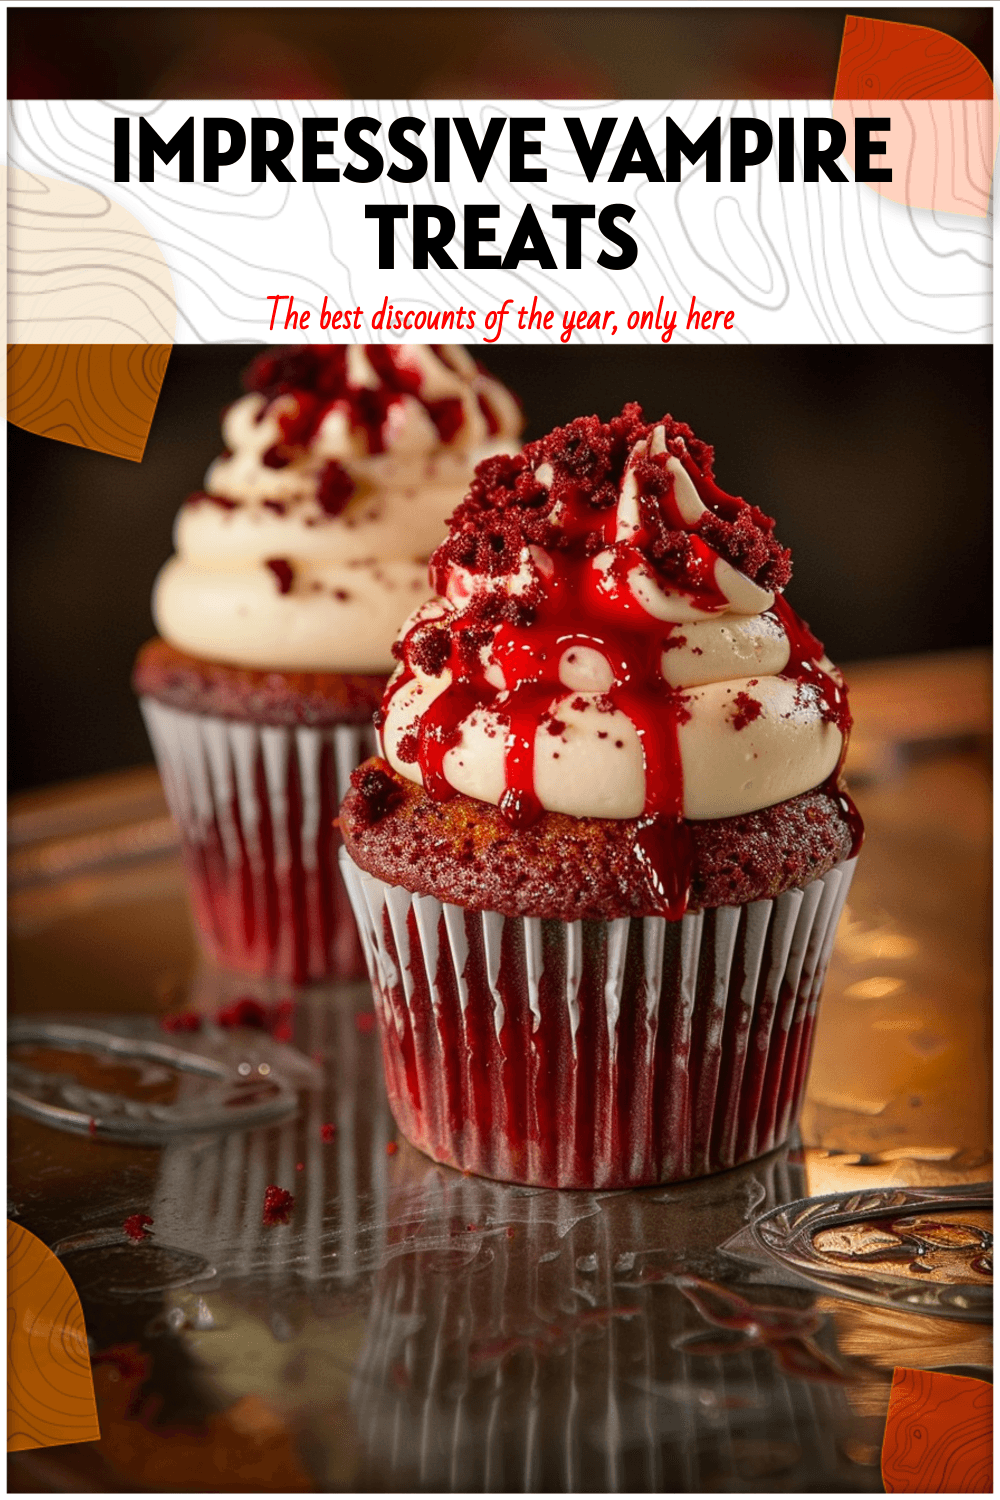
Get ready to conjure up some serious Halloween fun with a delightful candy board that’s as easy to assemble as it is enchanting to behold! This isn’t just a snack; it’s an experience, a centerpiece that brings smiles and a touch of spooky charm to any family-friendly celebration.

Whether you’re hosting a ghoulish gathering or simply want to treat your little monsters to something special, this guide will walk you through creating a visually stunning and utterly delicious Halloween candy board. It’s all about simple ideas, readily available treats, and making memories without the stress.
Table of Contents
- What You’ll Love About This Quick And Easy Recipe
- Everything You Need To Make This Recipe Without Stress
- Time Needed From Start To Finish
- How To Make It Step By Step With Visual Cues
- Easy Variations And Serving Ideas That Fit Real Life
- Common Slip-Ups And How To Avoid Them
- How To Store It And Make It Ahead Without Ruining Texture

Easy Halloween Candy Board
- Total Time: 25-35 minutes
- Yield: 1 large candy board
Description
Create a spooktacular and delicious Halloween candy board with this easy-to-follow guide. Perfect for family-friendly gatherings, this centerpiece is quick to assemble and offers a variety of treats for all ages. It’s a low-stress, high-impact solution for any Halloween celebration.
Ingredients
Instructions
1. Choose Your Base: Start with a clean, large serving board, platter, or even a baking sheet lined with parchment paper. Consider the size of your gathering when selecting your board.
2. Anchor with Bowls: Place a few small bowls or ramekins strategically on your board. These will hold smaller, loose candies like M&M’s, candy corn, or gummy worms, preventing them from scattering and creating visual anchors.
3. Distribute Larger Items: Begin placing your larger items first. Arrange mini chocolate bars, Halloween-themed cookies, and marshmallow shapes around the bowls. Try to create a sense of balance, distributing colors and sizes evenly across the board.
4. Fill in with Medium Candies: Next, add candies of medium size, such as candy pumpkins, chocolate eyeballs, and licorice twists. Drape licorice around other items or coil it into small piles to add texture.
5. Scatter Loose Candies: Carefully pour your smaller candies, like M&M’s and candy corn, into the pre-placed bowls. You can also sprinkle some directly onto the board in small clusters to fill in gaps and add pops of color.
6. Add Linear Elements: Use pretzel sticks or lollipops to add linear elements to your board. These can be placed in bundles, fanned out, or used to divide sections of the board, adding another layer of visual interest.
7. Garnish and Perfect: Take a step back and look at your board. Fill in any remaining empty spaces with smaller candies or additional pretzel sticks. For an extra spooky touch, scatter a few plastic spiders or other small Halloween decorations among the treats (just make sure they are clearly distinguishable from the edible items!).
8. Serve Immediately: Once assembled, your candy board is ready to be devoured! Place it in a central location where everyone can easily access the treats.
- Prep Time: 15-20 minutes
- Cook Time: 0 minutes
- Category: dessert
- Method: no cook
- Cuisine: american
Nutrition
- Serving Size: Varies
Keywords: halloween, candy, dessert, party, snack, easy, no bake, family friendly, spooky, treats
What You’ll Love About This Quick And Easy Recipe
You’ll adore this Halloween candy board because it’s the ultimate low-stress, high-impact party solution. It’s perfect for busy parents, last-minute party planners, or anyone who wants to add a festive touch without spending hours in the kitchen. This recipe is designed for families, meaning minimal fuss and maximum fun. It works wonderfully as a dessert spread for a Halloween party, a fun activity for kids to pick their own treats, or even a spooky movie night snack. The beauty of a candy board is its versatility and the sheer joy it brings to everyone who sees it. It’s an instant crowd-pleaser that caters to all ages and taste preferences, making it a go-to for any Halloween celebration.
Everything You Need To Make This Recipe Without Stress
Creating a fantastic Halloween candy board doesn’t require gourmet ingredients or fancy equipment. The magic lies in selecting a variety of colorful and thematic candies and treats that come together to create a visually appealing spread. Think about different textures, shapes, and colors to make your board pop.
INGREDIENTS:

- Large serving board or platter
- Small bowls or ramekins (for loose candies)
- Halloween-themed candy corn
- Gummy worms or gummy spiders
- Chocolate eyeballs or monster-themed chocolates
- Mini chocolate bars (assorted varieties)
- Orange and black M&M’s or similar chocolate candies
- Licorice twists (black and/or red)
- Marshmallow ghosts or pumpkin-shaped marshmallows
- Candy pumpkins
- Pretzel sticks (for dipping or filling gaps)
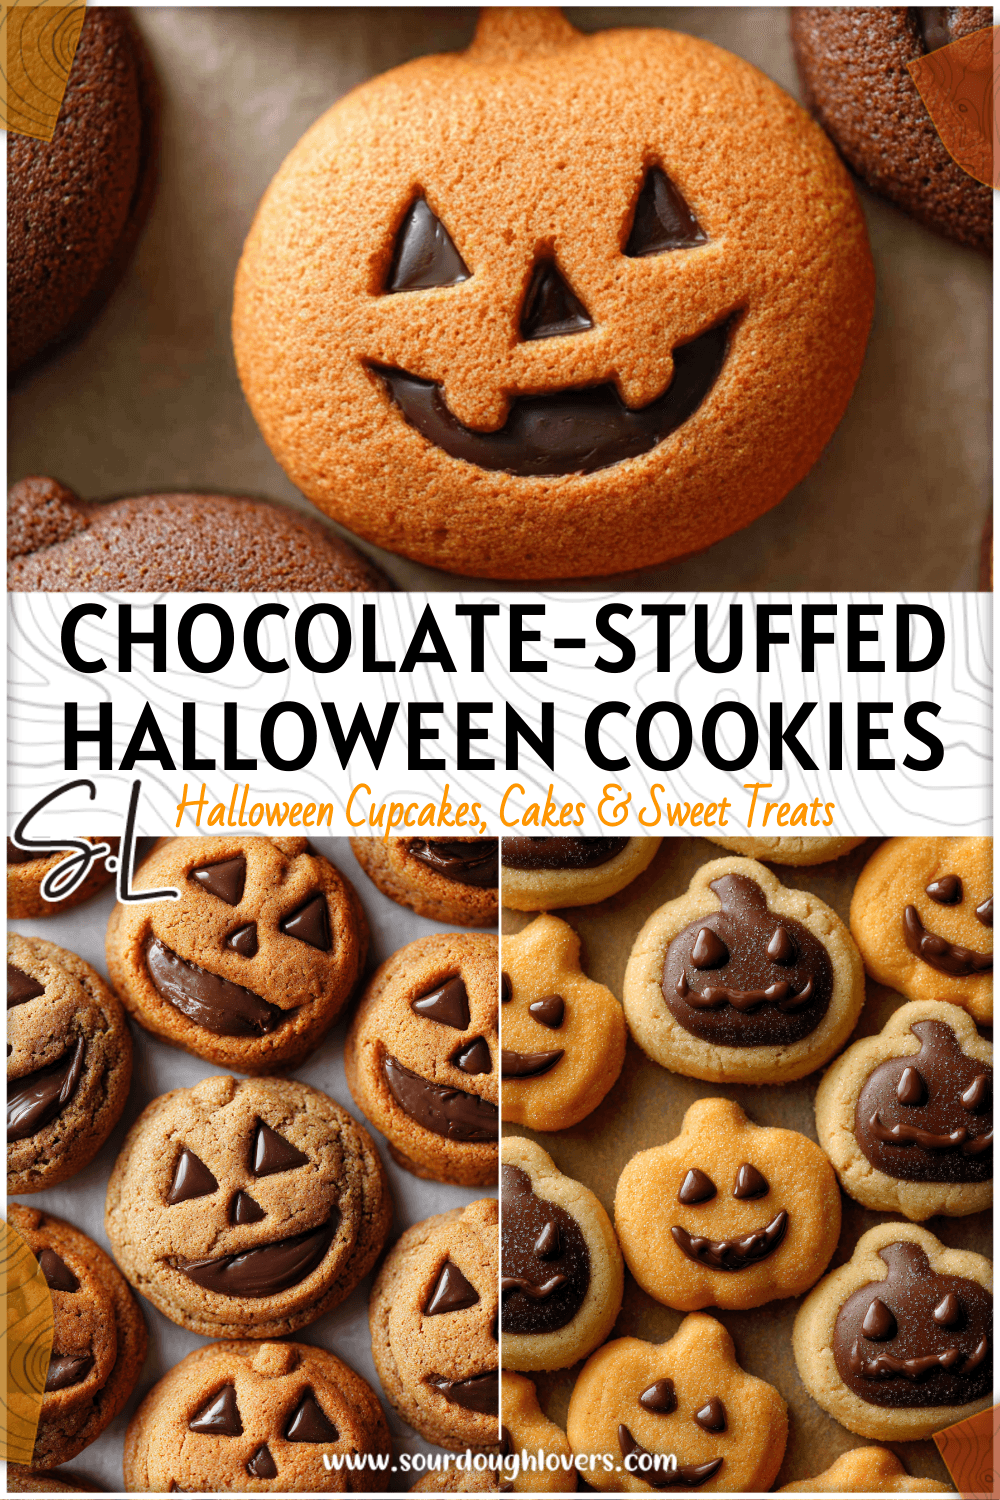
- Halloween-themed cookies (store-bought sugar cookies with frosting are great)
- Small lollipops or suckers
- Caramel candies or taffy
- Plastic spiders or other small Halloween decorations (optional, for garnish)
For simple substitutions, feel free to swap out any specific candy for another of similar color or theme. For example, if you can’t find chocolate eyeballs, use regular chocolate kisses wrapped in orange or black foil. Any variety of gummy candies will work if gummy worms aren’t available. You can also use different types of cookies, such as chocolate sandwich cookies or shortbread, and decorate them with Halloween sprinkles. The key is to choose items that are easily accessible at your local grocery store or candy shop. Don’t feel pressured to buy every single item on the list; focus on variety and color.
Time Needed From Start To Finish
The best part about assembling a Halloween candy board is how quickly it comes together, leaving you more time to enjoy the festivities.
- Preparation Time: 15-20 minutes
- Assembly Time: 10-15 minutes
- Total Time: 25-35 minutes
This timeline assumes you have all your candies and treats readily available. The process is mainly unwrapping and arranging, making it an ideal last-minute addition to your Halloween plans.
How To Make It Step By Step With Visual Cues

Creating a visually appealing Halloween candy board is all about thoughtful arrangement and playing with different shapes and colors. Follow these steps for a spooktacular display.
- Choose Your Base: Start with a clean, large serving board, platter, or even a baking sheet lined with parchment paper. Consider the size of your gathering when selecting your board.
- Anchor with Bowls: Place a few small bowls or ramekins strategically on your board. These will hold smaller, loose candies like M&M’s, candy corn, or gummy worms, preventing them from scattering and creating visual anchors.
- Distribute Larger Items: Begin placing your larger items first. Arrange mini chocolate bars, Halloween-themed cookies, and marshmallow shapes around the bowls. Try to create a sense of balance, distributing colors and sizes evenly across the board.
- Fill in with Medium Candies: Next, add candies of medium size, such as candy pumpkins, chocolate eyeballs, and licorice twists. Drape licorice around other items or coil it into small piles to add texture.
- Scatter Loose Candies: Carefully pour your smaller candies, like M&M’s and candy corn, into the pre-placed bowls. You can also sprinkle some directly onto the board in small clusters to fill in gaps and add pops of color.
- Add Linear Elements: Use pretzel sticks or lollipops to add linear elements to your board. These can be placed in bundles, fanned out, or used to divide sections of the board, adding another layer of visual interest.
- Garnish and Perfect: Take a step back and look at your board. Fill in any remaining empty spaces with smaller candies or additional pretzel sticks. For an extra spooky touch, scatter a few plastic spiders or other small Halloween decorations among the treats (just make sure they are clearly distinguishable from the edible items!).
- Serve Immediately: Once assembled, your candy board is ready to be devoured! Place it in a central location where everyone can easily access the treats.
Easy Variations And Serving Ideas That Fit Real Life
This Halloween candy board is incredibly adaptable, making it perfect for various occasions and preferences.
- Kid-Friendly Focus: If serving mostly young children, prioritize candies that are easy to chew and less likely to be a choking hazard. Think soft gummies, mini marshmallows, and small chocolate pieces. You can also add small toy spiders or plastic eyeballs (clearly marked as non-edible) for extra fun.
- Chocolate Lover’s Dream: Dedicate your board primarily to chocolate! Include various mini chocolate bars, chocolate-covered pretzels, chocolate coins, chocolate eyeballs, and different types of chocolate candies.
- Fruity Fiesta: For those who prefer non-chocolate treats, focus on gummy candies, fruit-flavored chews, lollipops, and fruit snacks in Halloween shapes.
- Savory & Sweet Mix: While this is primarily a candy board, you can easily incorporate a few savory elements. Consider adding small bowls of cheese crackers in Halloween shapes, mini pretzels, or even some spooky-themed popcorn to balance the sweetness.
- Dipping Fun: Include a small bowl of chocolate or caramel dip alongside some apple slices, pretzel rods, or graham crackers for an interactive element.
- Individual Treat Bags: For a party favor idea, provide small Halloween-themed bags or containers next to the board, allowing guests to fill their own custom treat bags to take home.
- Buffet Centerpiece: Place your candy board prominently on a buffet table, surrounded by other Halloween dishes. Its vibrant colors and playful arrangement make it a natural focal point.
Common Slip-Ups And How To Avoid Them
Even with something as simple as a candy board, a few common mistakes can detract from its appeal. Knowing these can help you create a perfect spread.
- Overcrowding the Board: While you want a generous spread, packing too many items onto a small board can make it look messy and unappetizing. Use a board that’s appropriately sized for the amount of candy you have, or use multiple smaller boards. Leave a little breathing room between different candy clusters.
- Lack of Variety: Sticking to just one or two types of candy can make the board less exciting. Aim for a mix of colors, textures (chewy, crunchy, soft), and shapes to keep things interesting.
- Ignoring Color Balance: A haphazard arrangement of colors can look chaotic. Try to distribute bright colors evenly and break up large blocks of similar colors with contrasting treats. For instance, don’t put all the orange candies in one corner.
- Using Only Tiny Candies: While small candies are great for filling gaps, relying solely on them can make the board look sparse. Incorporate some larger items like cookies, mini chocolate bars, or marshmallow shapes to give the board structure and visual weight.
- Not Using Bowls for Loose Items: Pouring loose candies directly onto the board without containment can lead to them scattering, mixing, and creating a mess. Small bowls are essential for keeping these items tidy and accessible.
- Forgetting Non-Edible Decorations: If using plastic spiders or other decorative elements, make sure they are clearly distinguishable from the edible treats to avoid any confusion or accidental consumption.
- Assembling Too Early: While candies generally have a long shelf life, some items like cookies or marshmallows can dry out or become stale if left exposed for too long. Assemble your board no more than a few hours before serving for optimal freshness.
How To Store It And Make It Ahead Without Ruining Texture
The beauty of a candy board is that many of its components are shelf-stable, making it quite forgiving for preparation.
- Making Ahead: You can purchase and unwrap most of your candies several days in advance. Store them in airtight containers at room temperature. This significantly cuts down on assembly time

FAQs
- Can I make these ahead? Yes—prep ahead, refrigerate, then serve when ready.
- How long do leftovers last? Store covered in the fridge for 3–4 days for best texture.
- Can I adjust sweetness? Yes—add more or less sweetener to taste.
- Can I change the fruit? Yes—swap strawberries for blueberries, raspberries, or sliced banana.