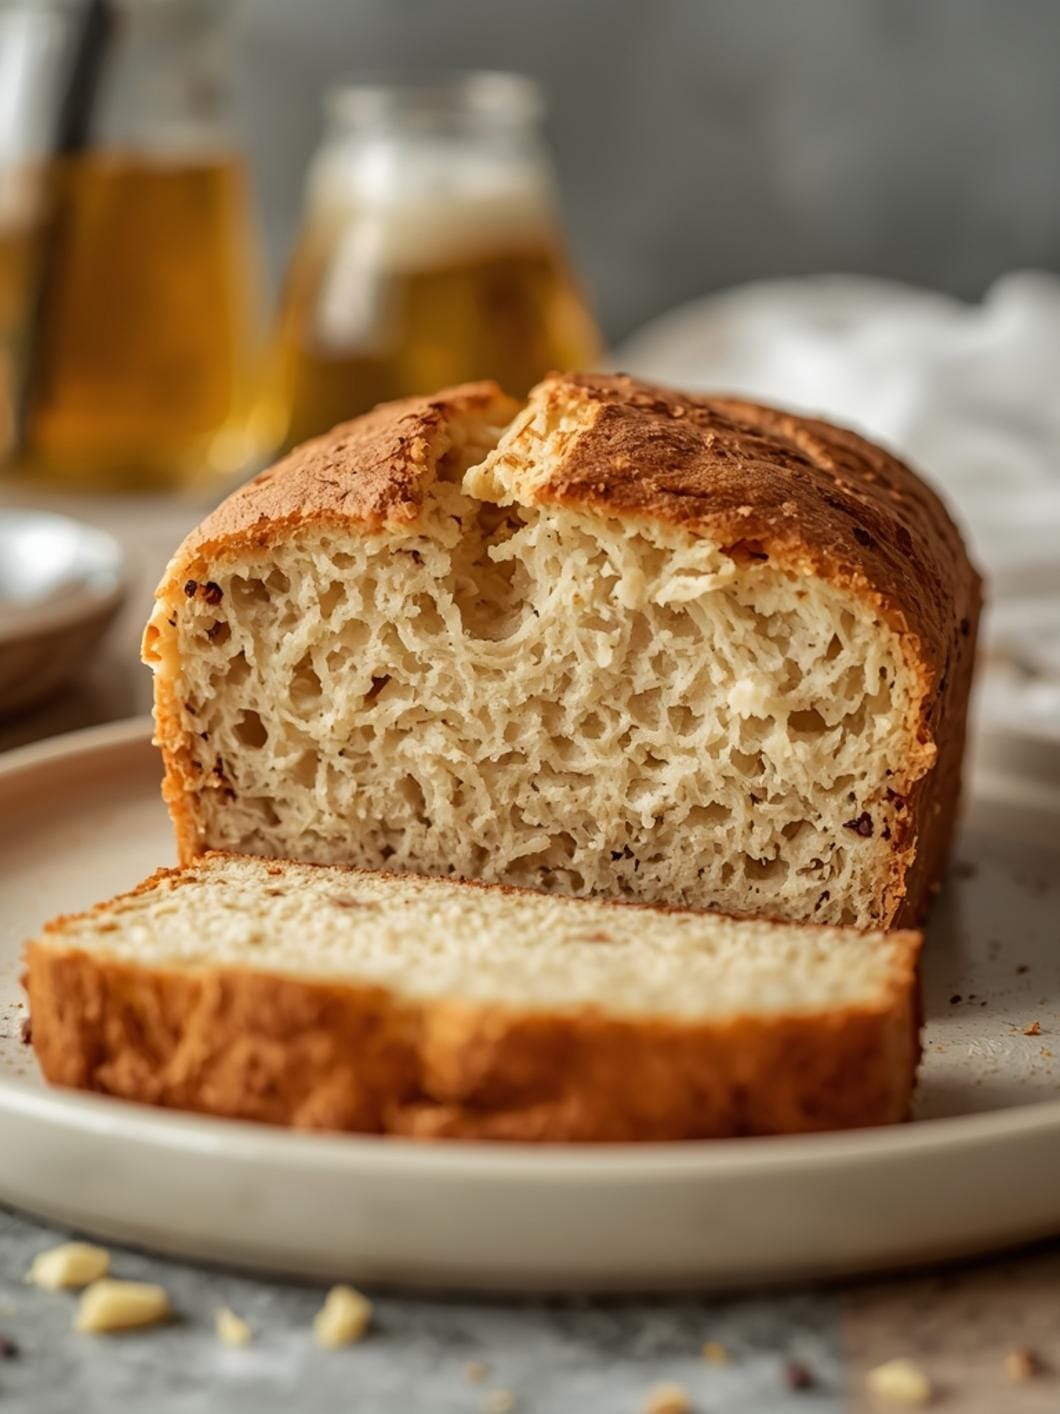
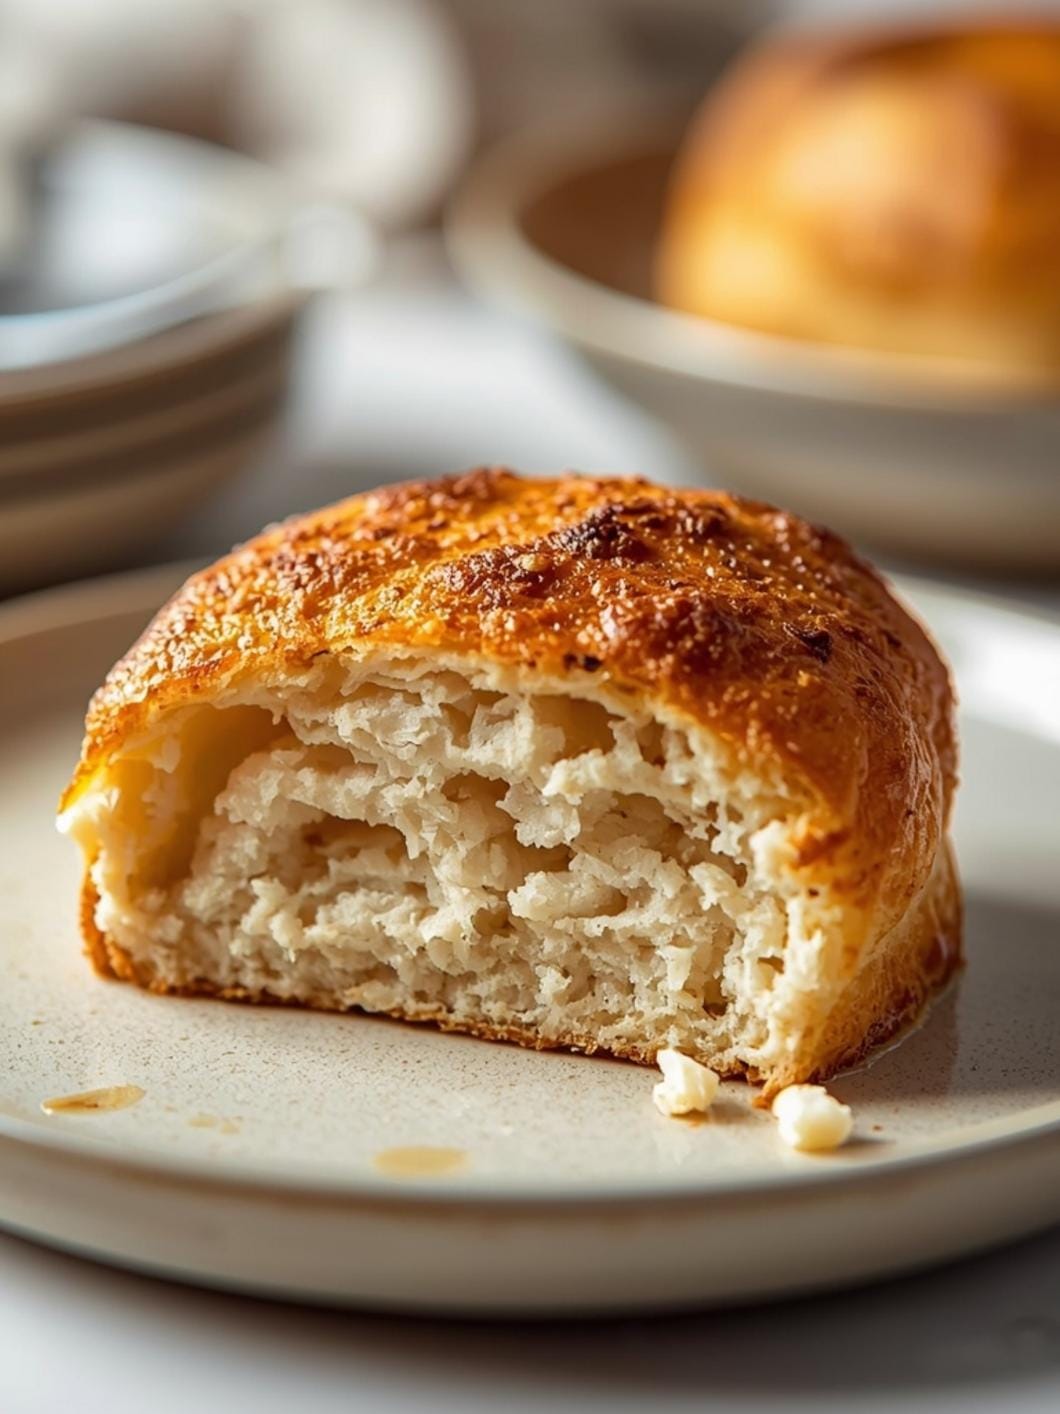
Sourdough ciabatta rolls with a beautiful open crumb are easier to achieve than you might think, especially with this straightforward recipe.
 7")
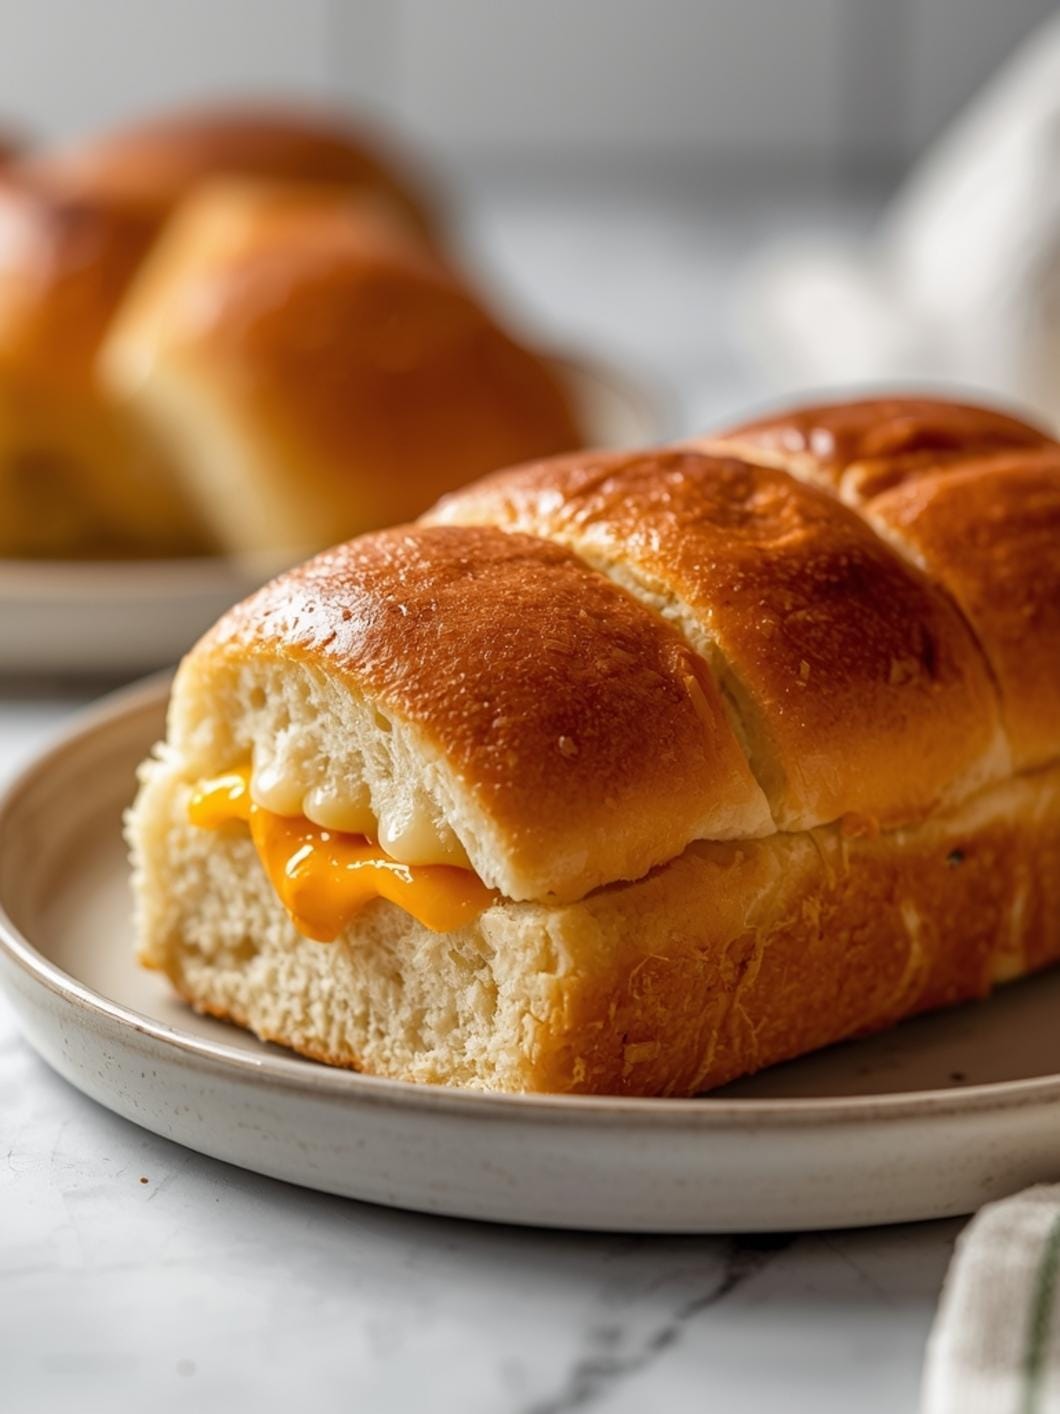
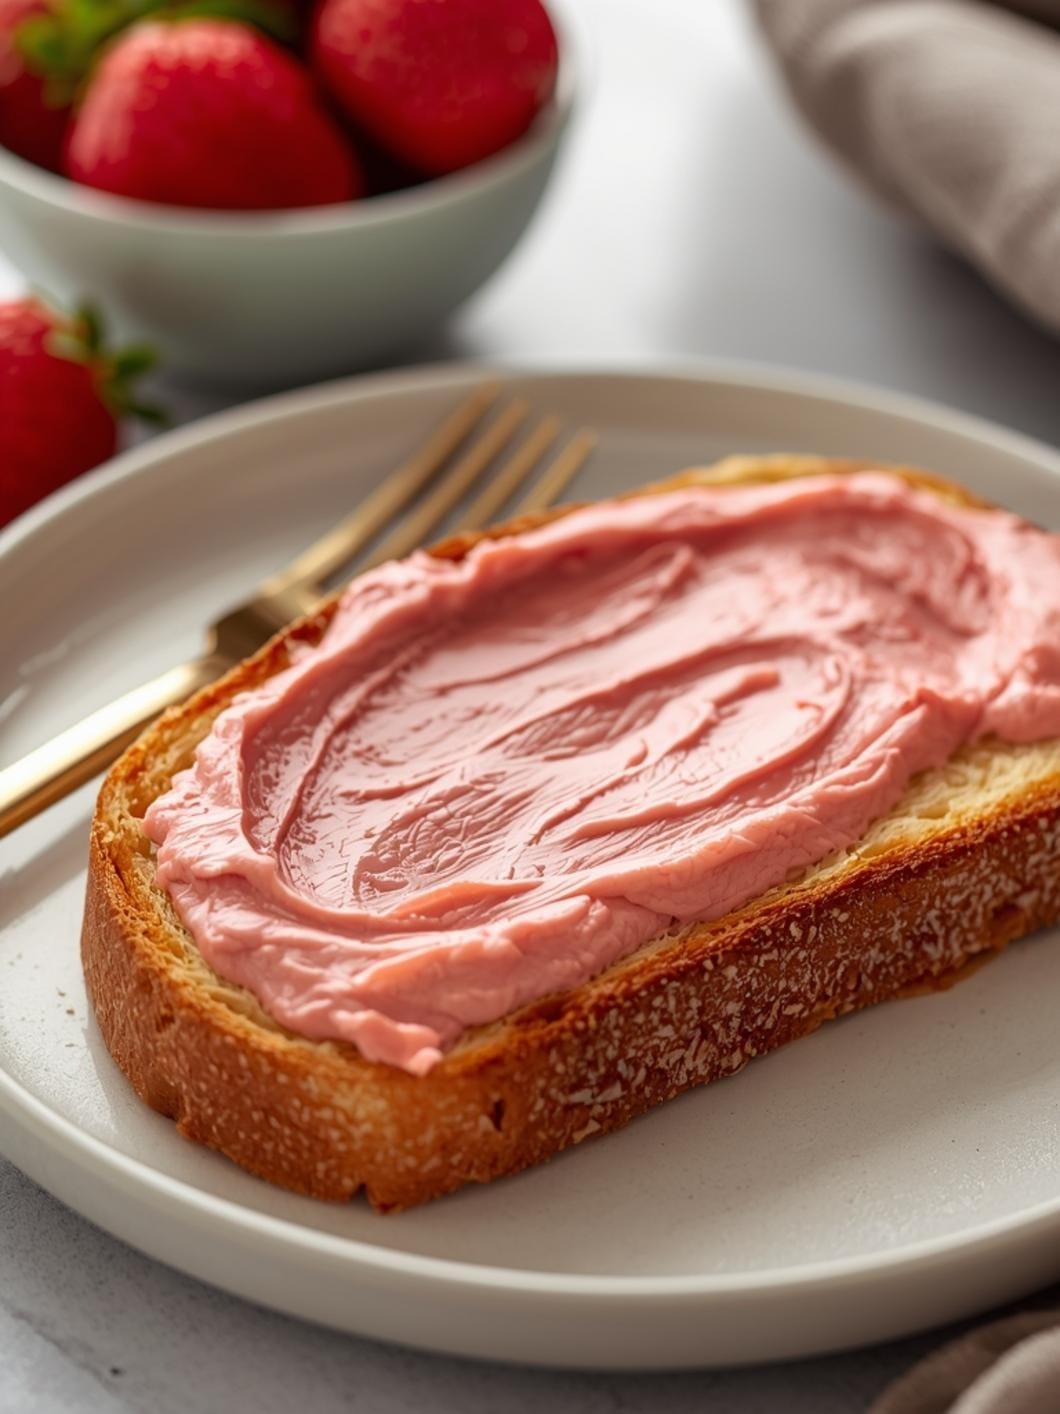
Perfect for soaking up sauces, building epic sandwiches, or simply enjoying with a smear of butter, these rolls bring a delightful chew and tangy flavor to any meal.
This recipe focuses on simplicity and uses your active sourdough starter to create light, airy ciabatta rolls that will impress without requiring advanced baking skills. Get ready to enjoy homemade bread that tastes like it came from a professional bakery.
 8")
Sourdough Ciabatta Rolls
- Total Time: 5-7 hours
- Yield: 6-8 rolls 1x
Description
This recipe guides you through making light, airy, and tangy sourdough ciabatta rolls with a beautiful open crumb. Perfect for sandwiches, dipping, or alongside meals, these rolls are easier to achieve than you might think and bring an artisan touch to your home baking.
Ingredients
Instructions
1. In a large mixing bowl, gently whisk together the active sourdough starter and warm water until the starter is mostly dissolved. Add the bread flour and mix with a Danish dough whisk or a sturdy spoon until no dry streaks of flour remain. The dough will be shaggy and sticky. Cover the bowl with a damp cloth or plastic wrap and let it rest for 30 minutes (autolyse).
2. After the autolyse, sprinkle the salt over the dough and drizzle in the olive oil. Use your hands to gently fold and squeeze the dough for about 2-3 minutes, ensuring the salt and oil are fully incorporated. The dough will still be sticky, but you’ll feel it start to develop some elasticity.
3. Over the next 3-4 hours, perform a series of “stretch and folds” every 30-45 minutes. To do this, lightly wet your hands. Grab a portion of the dough from one side, stretch it upwards, and fold it over to the opposite side of the bowl. Rotate the bowl a quarter turn and repeat this process 3-4 times until you’ve worked your way around the dough. Cover the bowl between folds. The dough should become smoother and more elastic with each set of folds.
4. After the last set of stretch and folds, let the dough rest, covered, at room temperature for the remainder of the 3-4 hour bulk fermentation period. The dough should increase in volume by about 30-50% and show some bubbles.
5. Lightly dust your work surface generously with semolina flour or rice flour. Gently tip the dough out onto the floured surface, trying not to deflate it too much. Gently stretch the dough into a rough rectangle, about 1-inch thick. Avoid pressing out all the air. Using a bench scraper or sharp knife, cut the dough into 6-8 equal-sized rectangles or squares for your rolls.
6. Carefully transfer the cut ciabatta pieces to a baking sheet lined with parchment paper that has been generously dusted with semolina or rice flour. Leave ample space between them. Cover the rolls loosely with a damp cloth or plastic wrap and let them proof at room temperature for 1-2 hours, or until they look puffy and slightly increased in size.
7. About 30 minutes before baking, preheat your oven to 450 F (230 C) with a baking stone or heavy baking sheet inside, if you have one. Once the oven is hot, carefully transfer the ciabatta rolls (still on their parchment paper) onto the preheated stone or baking sheet.
8. Bake for 20-25 minutes, or until the rolls are deeply golden brown and sound hollow when tapped on the bottom. Let the rolls cool completely on a wire rack before slicing and serving.
- Prep Time: 20 minutes
- Cook Time: 20-25 minutes
- Category: bread
- Method: baking
- Cuisine: italian
Nutrition
- Serving Size: 1 roll
Keywords: sourdough, ciabatta, bread, rolls, baking, artisan, homemade, tangy, airy, sandwich
What You’ll Love About This Quick And Easy Recipe
This recipe is a game-changer for anyone who loves the taste and texture of artisan bread but wants a practical approach for home baking. It’s designed for busy individuals and families who appreciate homemade goodness without spending an entire day in the kitchen. The use of sourdough starter not only imparts an incredible depth of flavor but also contributes to that desirable open, airy crumb that makes ciabatta so special. You’ll find this recipe works wonderfully for weekend brunch, alongside a hearty soup for dinner, or as the base for gourmet sandwiches for school or work lunches. It’s an accessible way to incorporate the joy of sourdough baking into your regular routine without stress.
Everything You Need To Make This Recipe Without Stress
Gathering your ingredients before you start is key to a smooth baking process. This recipe uses common pantry staples alongside your active sourdough starter. For best results, ensure your starter is bubbly and active, fed 4-12 hours before you plan to mix the dough.
INGREDIENTS:
 9")
- 150 grams active sourdough starter (100% hydration)
- 350 grams warm water (around 90-95°F / 32-35°C)
- 500 grams bread flour
- 10 grams fine sea salt
- 1 tablespoon olive oil (plus extra for greasing)
- Semolina flour or rice flour, for dusting
For the bread flour, a good quality unbleached bread flour will give you the best structure and chew. If you don’t have bread flour, all-purpose flour can work in a pinch, but the texture might be slightly less chewy. Fine sea salt is preferred for its even distribution and clean taste, but regular table salt can be used, though you might want to reduce the amount slightly as it’s often saltier by volume. The olive oil adds a lovely flavor and helps with the dough’s elasticity. Semolina or rice flour for dusting is crucial to prevent sticking and give the ciabatta its characteristic rustic crust; if you don’t have either, a light dusting of all-purpose flour will work, but be aware it might absorb into the dough more.
Time Needed From Start To Finish
While sourdough baking often implies long waits, this ciabatta recipe is designed to be relatively hands-off for much of the process, making it manageable even on a busy schedule.
- Prep Time: 20 minutes (for mixing and initial folds)
- Bulk Fermentation Time: 3-4 hours (with occasional folds)
- Proofing Time: 1-2 hours
- Bake Time: 20-25 minutes
- Total Active Time: Approximately 40-50 minutes
- Total Overall Time: 5-7 hours (including fermentation and proofing)
How To Make It Step By Step With Visual Cues
 10")
Creating these sourdough ciabatta rolls involves a few key steps that build structure and flavor. Don’t be intimidated by the “sourdough” aspect; the process is quite forgiving.
- Combine Starter, Water, and Flour: In a large mixing bowl, gently whisk together the active sourdough starter and warm water until the starter is mostly dissolved. Add the bread flour and mix with a Danish dough whisk or a sturdy spoon until no dry streaks of flour remain. The dough will be shaggy and sticky. Cover the bowl with a damp cloth or plastic wrap and let it rest for 30 minutes (this is called autolyse, which helps the flour hydrate).
- Incorporate Salt and Olive Oil: After the autolyse, sprinkle the salt over the dough and drizzle in the olive oil. Use your hands to gently fold and squeeze the dough for about 2-3 minutes, ensuring the salt and oil are fully incorporated. The dough will still be sticky, but you’ll feel it start to develop some elasticity.
- Perform Stretch and Folds: Over the next 3-4 hours, you will perform a series of “stretch and folds” every 30-45 minutes. To do this, lightly wet your hands. Grab a portion of the dough from one side, stretch it upwards, and fold it over to the opposite side of the bowl. Rotate the bowl a quarter turn and repeat this process 3-4 times until you’ve worked your way around the dough. This builds strength without kneading. Cover the bowl between folds. The dough should become smoother and more elastic with each set of folds.
- Bulk Fermentation: After the last set of stretch and folds, let the dough rest, covered, at room temperature for the remainder of the 3-4 hour bulk fermentation period. The dough should increase in volume by about 30-50% and show some bubbles.
- Shape the Ciabatta Rolls: Lightly dust your work surface generously with semolina flour or rice flour. Gently tip the dough out onto the floured surface, trying not to deflate it too much. Gently stretch the dough into a rough rectangle, about 1-inch thick. Avoid pressing out all the air. Using a bench scraper or sharp knife, cut the dough into 6-8 equal-sized rectangles or squares for your rolls.
- Second Proofing: Carefully transfer the cut ciabatta pieces to a baking sheet lined with parchment paper that has been generously dusted with semolina or rice flour. Leave ample space between them. You can also create “couches” by draping floured kitchen towels between the rolls to help them hold their shape during proofing. Cover the rolls loosely with a damp cloth or plastic wrap and let them proof at room temperature for 1-2 hours, or until they look puffy and slightly increased in size.
- Preheat Oven and Bake: About 30 minutes before baking, preheat your oven to 450°F (230°C) with a baking stone or heavy baking sheet inside, if you have one. Once the oven is hot, carefully transfer the ciabatta rolls (still on their parchment paper) onto the preheated stone or baking sheet.
- Bake to Golden Perfection: Bake for 20-25 minutes, or until the rolls are deeply golden brown and sound hollow when tapped on the bottom. If you like a crispier crust, you can spray the oven with water a few times during the first 10 minutes of baking to create steam. Let the rolls cool completely on a wire rack before slicing and serving.
Easy Variations And Serving Ideas That Fit Real Life
These sourdough ciabatta rolls are incredibly versatile and can elevate many meals. For a simple and satisfying meal, serve them alongside a hearty minestrone soup or a fresh garden salad. They are also perfect for building incredible sandwiches; think sliced turkey and provolone, or a classic Caprese with fresh mozzarella, tomato, and basil.
- Kid-Friendly Options: For younger eaters, ciabatta rolls are excellent for mini pizzas. Just slice them horizontally, spread with a little tomato sauce, sprinkle with mozzarella, and bake until bubbly. They also make great dippers for hummus or a simple olive oil and balsamic vinegar blend.
- Savory Add-ins: Before the second proofing, you can gently fold in additions like chopped fresh rosemary, sun-dried tomatoes, pitted olives, or grated Parmesan cheese into the dough pieces for flavored rolls.
- Party/Buffet Serving: Cut the baked ciabatta rolls into smaller squares or triangles and serve with a charcuterie board, a variety of dips, or alongside a cheese platter. Their open crumb is fantastic for soaking up flavored oils.
- Optional Toppings/Dips: Beyond olive oil and balsamic, consider a spicy arrabbiata dip, a creamy spinach artichoke dip, or a vibrant pesto. A simple garlic butter spread is also always a crowd-pleaser.
Common Slip-Ups And How To Avoid Them
Even experienced bakers can run into issues, but with a few pointers, you can avoid common sourdough ciabatta pitfalls.
- Dough is Too Sticky to Handle: Ciabatta dough is naturally high in hydration, making it very sticky. The key is to use a generous amount of semolina or rice flour on your work surface and hands when shaping. Also, avoid over-handling; work quickly and gently to maintain the air bubbles.
- Rolls Don’t Rise Enough: This often points to an inactive sourdough starter. Ensure your starter is fed and bubbly before you begin. Also, make sure your bulk fermentation and proofing environments are warm enough (around 70-75°F / 21-24°C is ideal). If your kitchen is cold, find a warmer spot or use a proofing box.
- Dense Crumb, Not Open and Airy: A dense crumb can result
 11")
FAQs
- Can I make these ahead? Yes—prep ahead, refrigerate, then serve when ready.
- How long do leftovers last? Store covered in the fridge for 3–4 days for best texture.
- Can I adjust sweetness? Yes—add more or less sweetener to taste.
- Can I change the fruit? Yes—swap strawberries for blueberries, raspberries, or sliced banana.