Elevate your homemade sourdough bread photos with these simple styling tips, perfect for showcasing your beautiful sourdough loaf.

A well-styled photo can make all the difference in sharing your baking triumphs, inspiring others, and simply appreciating the art of a perfectly baked loaf.
Whether you’re new to sourdough or a seasoned baker, these practical suggestions will help you capture your bread’s best side, highlighting its crust, crumb, and overall appeal. Get ready to make your sourdough shine in every picture!
Table of Contents
- What You’ll Love About This Quick And Easy Recipe
- Everything You Need To Make This Recipe Without Stress
- Time Needed From Start To Finish
- How To Make It Step By Step With Visual Cues
- Easy Variations And Serving Ideas That Fit Real Life
- Common Slip-Ups And How To Avoid Them
- How To Store It And Make It Ahead Without Ruining Texture
- Questions People Always Ask Before Making This Recipe

Sourdough Photo Styling Tips
- Total Time: 10-25 minutes
- Yield: Beautiful sourdough photos
Description
Elevate your homemade sourdough bread photos with these simple styling tips, perfect for showcasing your beautiful sourdough loaf. A well-styled photo can make all the difference in sharing your baking triumphs, inspiring others, and simply appreciating the art of a perfectly baked loaf. This guide isn’t about baking a sourdough loaf, but rather about presenting your already-baked masterpiece in the most appealing way possible. You’ll love these tips because they are incredibly easy to implement, require minimal extra effort, and use items you likely already have around your home.
Ingredients
Instructions
1. Choose Your Location Wisely: Find a spot in your home with abundant natural light. This is usually near a window, but avoid direct, harsh sunlight which can create overexposed areas and deep shadows. A soft, diffused light is ideal.
2. Set Up Your Background: Place your cutting board or chosen surface on a clean, uncluttered background. A plain wall, a wooden table, or even a simple linen tablecloth draped over a surface works perfectly. Avoid busy patterns or distracting elements.
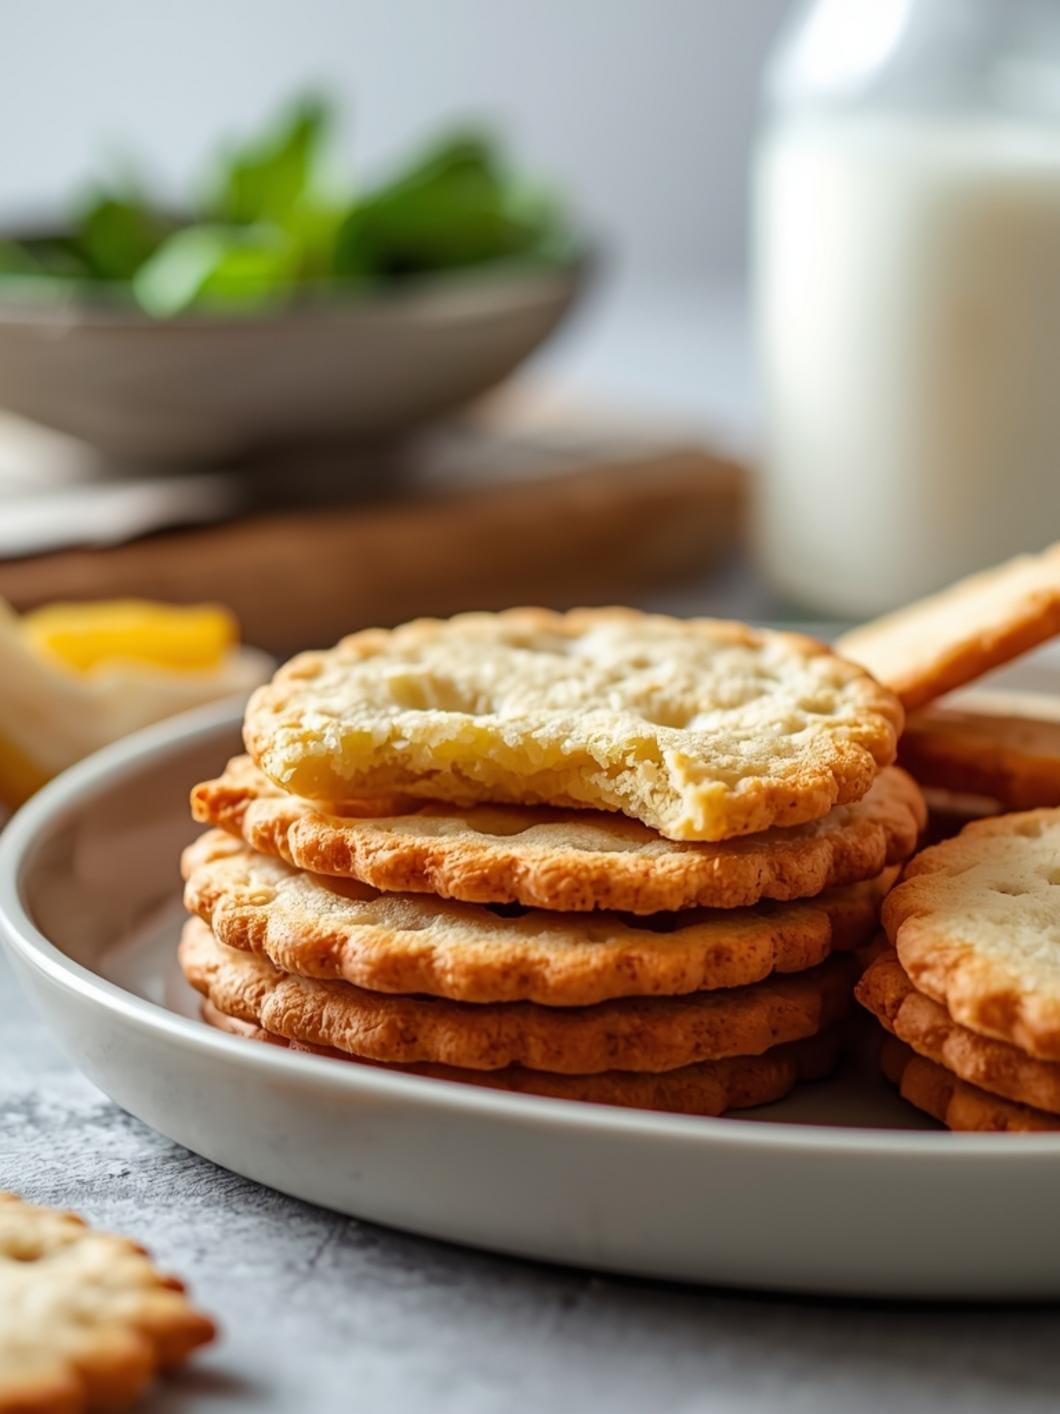
3. Position Your Sourdough Loaf: Place your whole, uncut sourdough loaf on the cutting board. Consider its best angle – perhaps where the scoring is most prominent or the crust has a beautiful color.
4. Introduce the Slice: Carefully slice a piece or two from your loaf using your bread knife. Arrange these slices slightly fanned out or leaning against the whole loaf to showcase the beautiful open crumb structure.
5. Add Simple Props: Drape a linen tea towel casually near the bread. Place small bowls with olive oil, butter, or flaky sea salt nearby. A sprig of fresh rosemary or thyme can add a touch of color and freshness. Remember, less is often more.
6. Adjust and Refine: Take a moment to look at your arrangement. Are there any distracting elements? Is the lighting even? Adjust the position of your loaf, slices, and props until everything looks balanced and appealing.
7. Capture Your Shots: Take multiple photos from different angles – overhead, eye-level, and close-ups. Experiment with slight adjustments to your props and lighting between shots.
- Prep Time: 5-10 minutes
- Cook Time: 0 minutes
- Category: food photography
- Method: styling
- Cuisine: styling
Nutrition
- Serving Size: 1 styled loaf
Keywords: sourdough, photography, food styling, bread, baking, tips, homemade, presentation, photo shoot, props
What You’ll Love About This Quick And Easy Recipe
This guide isn’t about baking a sourdough loaf, but rather about presenting your already-baked masterpiece in the most appealing way possible. You’ll love these tips because they are incredibly easy to implement, require minimal extra effort, and use items you likely already have around your home. This approach is perfect for anyone who wants to share their baking journey, whether it’s with friends, family, or a wider audience online. It’s for the home baker who takes pride in their craft and wants their photos to reflect the care and effort put into each loaf. These styling ideas work for any occasion where you want to celebrate your homemade bread, from a casual family breakfast to a special dinner gathering.
Everything You Need To Make This Recipe Without Stress
This section focuses on the props and elements that will enhance your sourdough photos, not the ingredients for the bread itself. Think of these as your styling toolkit.
INGREDIENTS:

- Your freshly baked sourdough loaf
- A clean cutting board (wood or slate works well)
- A sharp bread knife
- Small bowls or ramekins
- Fresh herbs (rosemary, thyme, basil)
- A linen or cotton tea towel
- Rustic serving dishes or plates
- Natural light source
- A simple background (plain wall, wooden table, neutral fabric)
- Optional: small dishes of olive oil, butter, or flaky sea salt
For simple substitutions, if you don’t have a wooden cutting board, a clean, neutral-colored ceramic tile or even a large white plate can work. Don’t have fresh herbs? A sprinkle of dried herbs or even a few whole peppercorns can add texture. Any clean, plain fabric can substitute for a linen tea towel. The key is to keep things simple and let the bread be the star.
Time Needed From Start To Finish
- Prep Time: 5-10 minutes (gathering props, setting up your space)
- Styling Time: 5-15 minutes (arranging the bread and props, taking photos)
- Total Time: 10-25 minutes
This timeframe assumes you have your loaf ready and your props easily accessible. It’s a fast process that yields beautiful results!
How To Make It Step By Step With Visual Cues

Creating an appealing photo of your sourdough loaf is all about thoughtful arrangement and good lighting. Follow these steps to capture your bread’s best side.
- Choose Your Location Wisely: Find a spot in your home with abundant natural light. This is usually near a window, but avoid direct, harsh sunlight which can create overexposed areas and deep shadows. A soft, diffused light is ideal.
- Set Up Your Background: Place your cutting board or chosen surface on a clean, uncluttered background. A plain wall, a wooden table, or even a simple linen tablecloth draped over a surface works perfectly. Avoid busy patterns or distracting elements.
- Position Your Sourdough Loaf: Place your whole, uncut sourdough loaf on the cutting board. Consider its best angle – perhaps where the scoring is most prominent or the crust has a beautiful color.
- Introduce the Slice: Carefully slice a piece or two from your loaf using your bread knife. Arrange these slices slightly fanned out or leaning against the whole loaf to showcase the beautiful open crumb structure.
- Add Simple Props: Drape a linen tea towel casually near the bread. Place small bowls with olive oil, butter, or flaky sea salt nearby. A sprig of fresh rosemary or thyme can add a touch of color and freshness. Remember, less is often more.
- Adjust and Refine: Take a moment to look at your arrangement. Are there any distracting elements? Is the lighting even? Adjust the position of your loaf, slices, and props until everything looks balanced and appealing.
- Capture Your Shots: Take multiple photos from different angles – overhead, eye-level, and close-ups. Experiment with slight adjustments to your props and lighting between shots.
Easy Variations And Serving Ideas That Fit Real Life
While the focus is on styling, thinking about how you’d serve your sourdough can inspire your photos. For a classic look, a simple pat of butter and a sprinkle of flaky sea salt alongside your sliced loaf is timeless. For a more rustic feel, arrange your bread with a small bowl of high-quality olive oil for dipping, perhaps with a dash of balsamic vinegar.
To add a touch of freshness, include a small cluster of cherry tomatoes or a handful of fresh basil leaves. If you’re photographing for a brunch spread, consider a small jar of homemade jam or honey in the background. For a more substantial serving idea, you could photograph your loaf next to a simple charcuterie board with cheese and cured meats. These additions not only make for beautiful photos but also offer delicious ways to enjoy your homemade sourdough.
Common Slip-Ups And How To Avoid Them
Even with simple styling, a few common mistakes can detract from your sourdough photos. Knowing them can help you avoid them.
- Poor Lighting: The biggest culprit! Avoid harsh overhead lights, direct sunlight, or dark, shadowy corners. Always seek out soft, natural light, ideally from a window. If the light is too bright, you can diffuse it with a sheer curtain or a piece of parchment paper.
- Cluttered Backgrounds: A busy background can distract from your beautiful bread. Make sure your backdrop is clean, simple, and doesn’t compete for attention. Move away any unnecessary objects.
- Over-Styling: While props are good, too many can make the photo look messy and take away from the star – your sourdough. Stick to 2-3 complementary items.
- Unflattering Angles: Don’t just take one shot. Experiment! Some loaves look best from a slight overhead angle, others from eye-level. Pay attention to how the light hits the crust and the crumb.
- Dirty Props: Ensure your cutting board, knife, and any dishes are spotless. Crumbs or smudges can be very noticeable in a photo.
- Not Showcasing the Crumb: A key feature of sourdough is its open, airy crumb. Make sure to slice a piece or two and arrange them so this beautiful texture is visible.
How To Store It And Make It Ahead Without Ruining Texture
This section refers to storing your *props* for easy photo setup, as the sourdough loaf itself has its own storage requirements (which aren’t part of this styling guide).
To make your styling sessions efficient, designate a small box or drawer for your “photo props.” Keep your favorite linen towels, small bowls, and a dedicated bread knife clean and ready to go. This way, when your sourdough comes out of the oven, you can quickly grab your styling essentials without a frantic search. For fresh herbs, if you plan to use them regularly for photos, consider growing a small herb garden or keeping a small bunch in water in your fridge. Having everything organized will save you time and stress, making the photo process enjoyable.
Questions People Always Ask Before Making This Recipe
Here are some common questions about styling sourdough for photos.
Q: Do I need a fancy camera to take good sourdough photos? A: Not at all! Most modern smartphones have excellent cameras that can capture stunning images, especially when paired with good lighting and thoughtful styling.
Q: Should I cut the whole loaf for the photo? A: It’s best to leave most of the loaf whole and just cut one or two slices. This shows the integrity of the loaf while also revealing the crumb.
Q: What kind of cutting board is best for photos? A: Wooden cutting boards (especially rustic ones) or slate boards tend to photograph very well, adding warmth and texture. However, a clean, neutral-colored board works just fine.
Q: How do I get that “golden hour” lighting effect? A: The “golden hour” is the hour after sunrise or before sunset when the light is soft and warm. If you can’t shoot during these times, try to find a window with indirect light, or use a sheer curtain to diffuse bright light.
Q: Can I use artificial light for my photos? A: While natural light is preferred, if you must use artificial light, opt for a softbox or a lamp with a diffuser. Avoid harsh, direct overhead lights which create unflattering shadows.
Q: What if my sourdough doesn’t have a perfect crumb? A: Focus on its best features! Perhaps the crust is beautifully browned, or the scoring is intricate. Highlight what you love most about your loaf.
Q: How do I make my photos look cohesive if I’m taking many? A: Try to use a consistent background, similar props,

FAQs
- Can I make these ahead? Yes—prep ahead, refrigerate, then serve when ready.
- How long do leftovers last? Store covered in the fridge for 3–4 days for best texture.
- Can I adjust sweetness? Yes—add more or less sweetener to taste.
- Can I change the fruit? Yes—swap strawberries for blueberries, raspberries, or sliced banana.