Whipping up quick and delicious meals for busy families can feel like a superpower, and these sourdough lunchbox pizza squares are about to become your new secret weapon. Perfect for meal prepping on a Sunday afternoon, they transform into an effortless grab-and-go lunch that kids and adults alike will adore.

Imagine the joy of pulling a homemade pizza square from the freezer, knowing a satisfying and tasty meal is just minutes away. This recipe is designed for convenience, making healthy and appealing lunch options a reality even on the most hectic weekdays.
Table of Contents
- What You’ll Love About This Quick And Easy Recipe
- Everything You Need To Make This Recipe Without Stress
- Time Needed From Start To Finish
- How To Make It Step By Step With Visual Cues
- Easy Variations And Serving Ideas That Fit Real Life
- Common Slip-Ups And How To Avoid Them
- How To Store It And Make It Ahead Without Ruining Texture
- Questions People Always Ask Before Making This Recipe

Sourdough Lunchbox Pizza Squares
- Total Time: 35-40 minutes
- Yield: 12-16 squares 1x
Description
These sourdough lunchbox pizza squares are a convenient and delicious meal prep solution for busy families. Perfect for grab-and-go lunches, they are freezer-friendly and can be customized with various toppings. The recipe focuses on ease of preparation, making wholesome and appealing meals accessible even on hectic weekdays.
Ingredients
Instructions
1. 1. Activate the Yeast: In a large bowl, combine the warm water, active dry yeast, and granulated sugar. Stir gently and let it sit for 5-10 minutes until the mixture becomes foamy, indicating the yeast is active and ready.
2. 2. Combine Wet Ingredients: Add the active sourdough starter and 2 tablespoons of olive oil to the foamy yeast mixture. Stir well to combine all the wet ingredients thoroughly.
3. 3. Mix in Dry Ingredients: Gradually add the all-purpose flour and salt to the wet mixture. Mix with a wooden spoon or your hands until a shaggy dough forms.
4. 4. Knead the Dough: Turn the dough out onto a lightly floured surface and knead for 5-7 minutes until it becomes smooth and elastic. If the dough is too sticky, add a little more flour, one tablespoon at a time.
5. 5. First Rise (Bulk Fermentation): Lightly grease a clean bowl with olive oil, place the dough in it, and turn it once to coat. Cover the bowl with plastic wrap or a clean kitchen towel and let it rise in a warm place for 2-3 hours, or until doubled in size.
6. 6. Shape the Pizza Squares: Once risen, gently punch down the dough to release the air. On a lightly floured surface, roll the dough into a large rectangle, about 1/4-inch thick. Using a pizza cutter or knife, cut the rectangle into individual squares, roughly 3×3 inches or your desired lunchbox size.
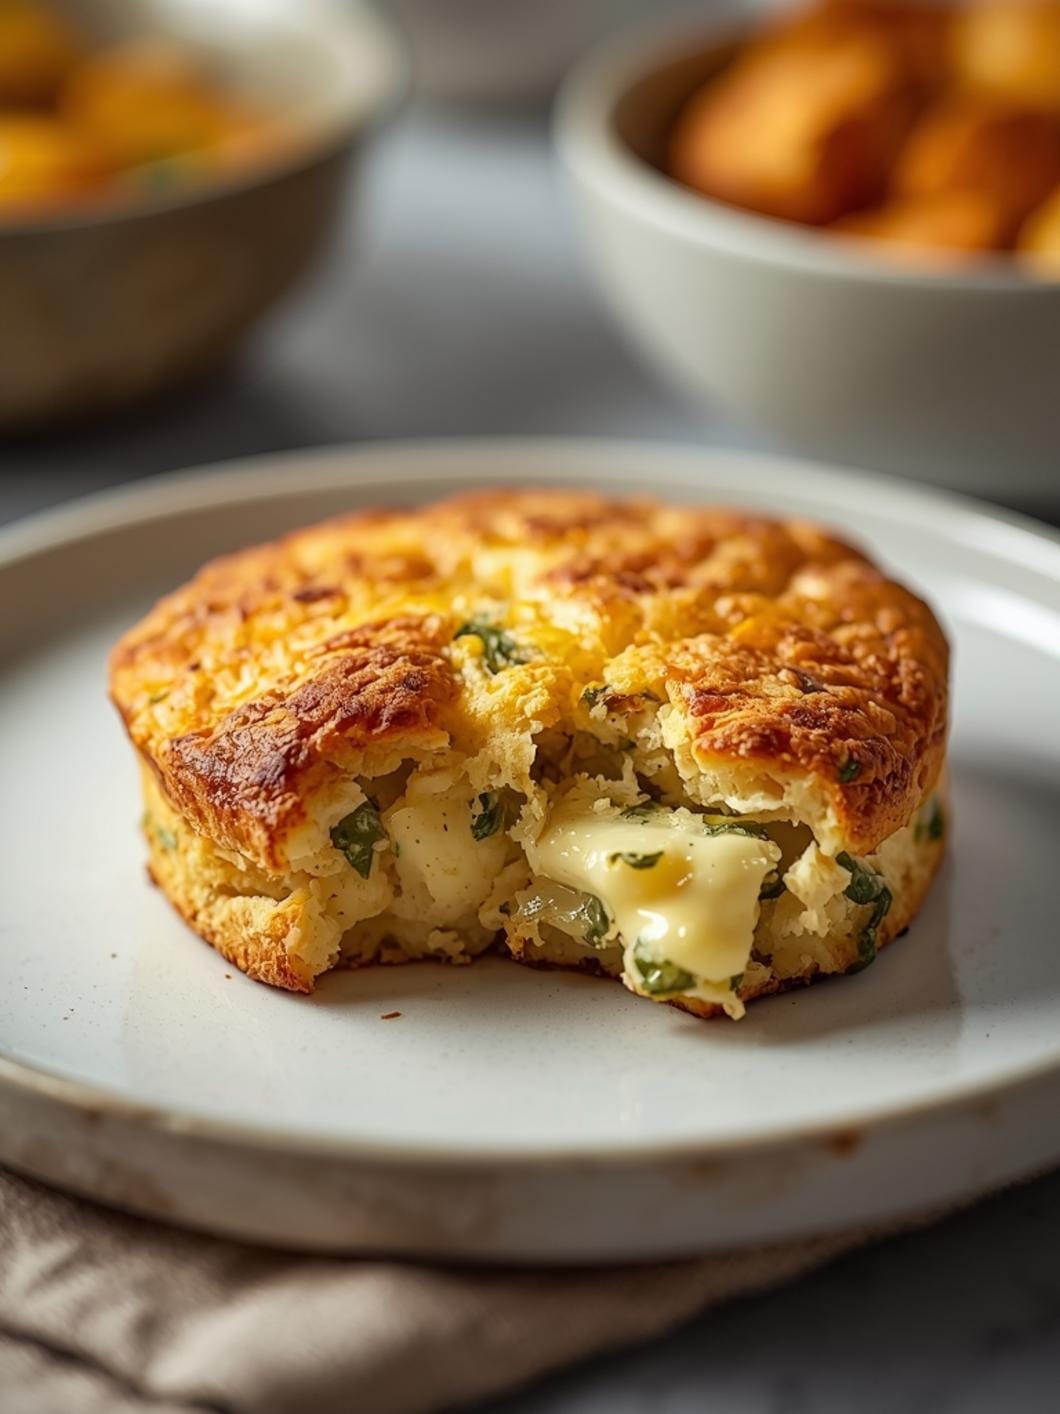
7. 7. Assemble the Pizzas: Transfer the dough squares to a baking sheet lined with parchment paper. Spread a thin layer of pizza sauce over each square, leaving a small border for the crust. Sprinkle generously with shredded mozzarella cheese and top with mini pepperoni or your chosen toppings.
8. 8. Bake the Pizza Squares: Preheat your oven to 400 F (200 C). Bake the pizza squares for 15-20 minutes, or until the crust is golden brown and the cheese is bubbly and slightly browned. Let them cool on the baking sheet for a few minutes before transferring to a wire rack.
- Prep Time: 20 minutes
- Cook Time: 15-20 minutes
- Category: main dish
- Method: baking
- Cuisine: american
Nutrition
- Serving Size: 1 square
Keywords: sourdough, pizza, lunchbox, meal prep, freezer friendly, kid friendly, easy, homemade, pepperoni, cheese
What You’ll Love About This Quick And Easy Recipe
This recipe for sourdough lunchbox pizza squares is a game-changer for anyone juggling a busy schedule and the need for wholesome, appealing meals. It’s perfect for parents looking to streamline lunch prep, individuals seeking convenient freezer-friendly options, or anyone who loves the comforting taste of pizza in a portable format. These squares are ideal for school lunchboxes, quick office meals, or even a casual weeknight dinner when you need something fast and satisfying. The beauty lies in their simplicity and the ability to make a large batch ahead of time, ensuring you always have a delicious, homemade option ready to go.
Everything You Need To Make This Recipe Without Stress
Gathering your ingredients for these pizza squares is straightforward, focusing on common pantry staples and refrigerator essentials. The goal is to make this process as stress-free as possible, allowing you to focus on the fun of assembly.
INGREDIENTS:

- 1 cup warm water (105-115°F)
- 1 teaspoon active dry yeast
- 1 teaspoon granulated sugar
- 2 cups active sourdough starter (fed and bubbly)
- 4 cups all-purpose flour, plus more for dusting
- 2 teaspoons salt
- 2 tablespoons olive oil, plus more for greasing
- 1 cup pizza sauce
- 2 cups shredded mozzarella cheese
- 1/2 cup mini pepperoni
- Optional toppings: sliced bell peppers, cooked sausage, mushrooms, olives
For the flour, standard all-purpose flour works perfectly here, but you can also experiment with a blend of bread flour for a chewier crust. When it comes to pizza sauce, feel free to use your favorite store-bought brand or a quick homemade version. The shredded mozzarella can be substituted with a blend of Italian cheeses for added flavor, and any preferred pizza toppings can be added or swapped out based on your family’s preferences. Think about cooked crumbled sausage, finely diced bell peppers, or even some black olives.
Time Needed From Start To Finish
Preparing these sourdough lunchbox pizza squares is surprisingly quick, especially considering the delicious results and future convenience.
- Prep Time: 20 minutes
- Cook Time: 15-20 minutes
- Total Time: 35-40 minutes
This timing reflects the active hands-on work, not including the dough’s rising time, which is largely passive. The actual baking time is short, making this a perfect recipe for a quick weeknight dinner or a weekend meal prep session.
How To Make It Step By Step With Visual Cues

Creating these delightful pizza squares is an enjoyable process. Follow these steps for a perfect batch every time.
- Activate the Yeast: In a large bowl, combine the warm water, active dry yeast, and granulated sugar. Stir gently and let it sit for 5-10 minutes until the mixture becomes foamy, indicating the yeast is active and ready.
- Combine Wet Ingredients: Add the active sourdough starter and 2 tablespoons of olive oil to the foamy yeast mixture. Stir well to combine all the wet ingredients thoroughly.
- Mix in Dry Ingredients: Gradually add the all-purpose flour and salt to the wet mixture. Mix with a wooden spoon or your hands until a shaggy dough forms.
- Knead the Dough: Turn the dough out onto a lightly floured surface and knead for 5-7 minutes until it becomes smooth and elastic. If the dough is too sticky, add a little more flour, one tablespoon at a time.
- First Rise (Bulk Fermentation): Lightly grease a clean bowl with olive oil, place the dough in it, and turn it once to coat. Cover the bowl with plastic wrap or a clean kitchen towel and let it rise in a warm place for 2-3 hours, or until doubled in size.
- Shape the Pizza Squares: Once risen, gently punch down the dough to release the air. On a lightly floured surface, roll the dough into a large rectangle, about 1/4-inch thick. Using a pizza cutter or knife, cut the rectangle into individual squares, roughly 3×3 inches or your desired lunchbox size.
- Assemble the Pizzas: Transfer the dough squares to a baking sheet lined with parchment paper. Spread a thin layer of pizza sauce over each square, leaving a small border for the crust. Sprinkle generously with shredded mozzarella cheese and top with mini pepperoni or your chosen toppings.
- Bake the Pizza Squares: Preheat your oven to 400°F (200°C). Bake the pizza squares for 15-20 minutes, or until the crust is golden brown and the cheese is bubbly and slightly browned. Let them cool on the baking sheet for a few minutes before transferring to a wire rack.
Easy Variations And Serving Ideas That Fit Real Life
These sourdough lunchbox pizza squares are incredibly versatile, making them easy to adapt to various tastes and occasions. For a kid-friendly twist, stick to classic cheese and pepperoni, or let them choose their favorite simple toppings like cooked ham or corn. You can also make a “build-your-own” pizza square bar, laying out various toppings and letting everyone customize their own before baking.
Consider different cheese blends, like provolone and Parmesan, or add a sprinkle of dried oregano or Italian seasoning to the sauce for extra flavor. For a vegetarian option, load them up with finely diced bell peppers, sautéed mushrooms, or spinach. Serve these warm with a side of marinara sauce for dipping, or pack them cold in lunchboxes alongside some fruit and veggie sticks for a complete meal. They also make fantastic appetizers for a casual gathering or a quick snack after school.
Common Slip-Ups And How To Avoid Them
Even simple recipes can have a few pitfalls, but knowing what to look out for can help you achieve perfect results every time. One common mistake is not activating the yeast properly. If your yeast mixture doesn’t get foamy after 5-10 minutes, your yeast might be old or the water temperature was off. Start over with fresh yeast and ensure your water is warm, not hot (which kills the yeast) or cold (which won’t activate it).
Another common issue is over-flouring the dough during kneading or rolling. Too much flour can make the pizza squares dry and tough. Use just enough flour to prevent sticking. Similarly, don’t overload your pizza squares with too many toppings, especially wet ones, as this can make the crust soggy. Stick to a thin layer of sauce and moderate amounts of cheese and toppings for the best texture. Finally, ensure your oven is fully preheated before baking; a cold oven can lead to uneven cooking and a less crispy crust.
How To Store It And Make It Ahead Without Ruining Texture
These sourdough lunchbox pizza squares are designed for meal prepping and freezer storage, making them incredibly convenient. Once baked and completely cooled, you have a few options for storage. For short-term storage (1-2 days), place the cooled squares in an airtight container in the refrigerator.
For freezer meal prep, arrange the completely cooled pizza squares in a single layer on a baking sheet and freeze until solid (about 1-2 hours). Once frozen, transfer them to a freezer-safe bag or airtight container, separating layers with parchment paper to prevent sticking. They will keep well in the freezer for up to 2-3 months.
To reheat from frozen, you can pop them directly into a preheated oven or toaster oven at 350°F (175°C) for 10-15 minutes, or until heated through and the cheese is bubbly. Alternatively, microwave them for 1-2 minutes, though the crust won’t be as crispy. Reheating from the refrigerator takes less time, usually 5-8 minutes in the oven or 30-60 seconds in the microwave.
Questions People Always Ask Before Making This Recipe
Can I use sourdough discard instead of active starter? While active starter is recommended for best rise and flavor, you can use sourdough discard. However, you might need to add an extra 1/2 teaspoon of yeast to compensate for the discard’s lower leavening power, and the rise time might be slightly longer.
Do I have to let the dough rise for 2-3 hours? The long rise allows the sourdough flavor to develop and the dough to become light and airy. While you can shorten it slightly, aim for at least 90 minutes to ensure a good texture.
Can I make the dough ahead of time? Yes, after the first rise, you can punch down the dough, place it in an oiled bowl, cover tightly, and refrigerate for up to 24 hours. Let it come to room temperature for about 30 minutes before shaping.
**What if I don’t have a pizza cutter?

FAQs
- Can I make these ahead? Yes—prep ahead, refrigerate, then serve when ready.
- How long do leftovers last? Store covered in the fridge for 3–4 days for best texture.
- Can I adjust sweetness? Yes—add more or less sweetener to taste.
- Can I change the fruit? Yes—swap strawberries for blueberries, raspberries, or sliced banana.