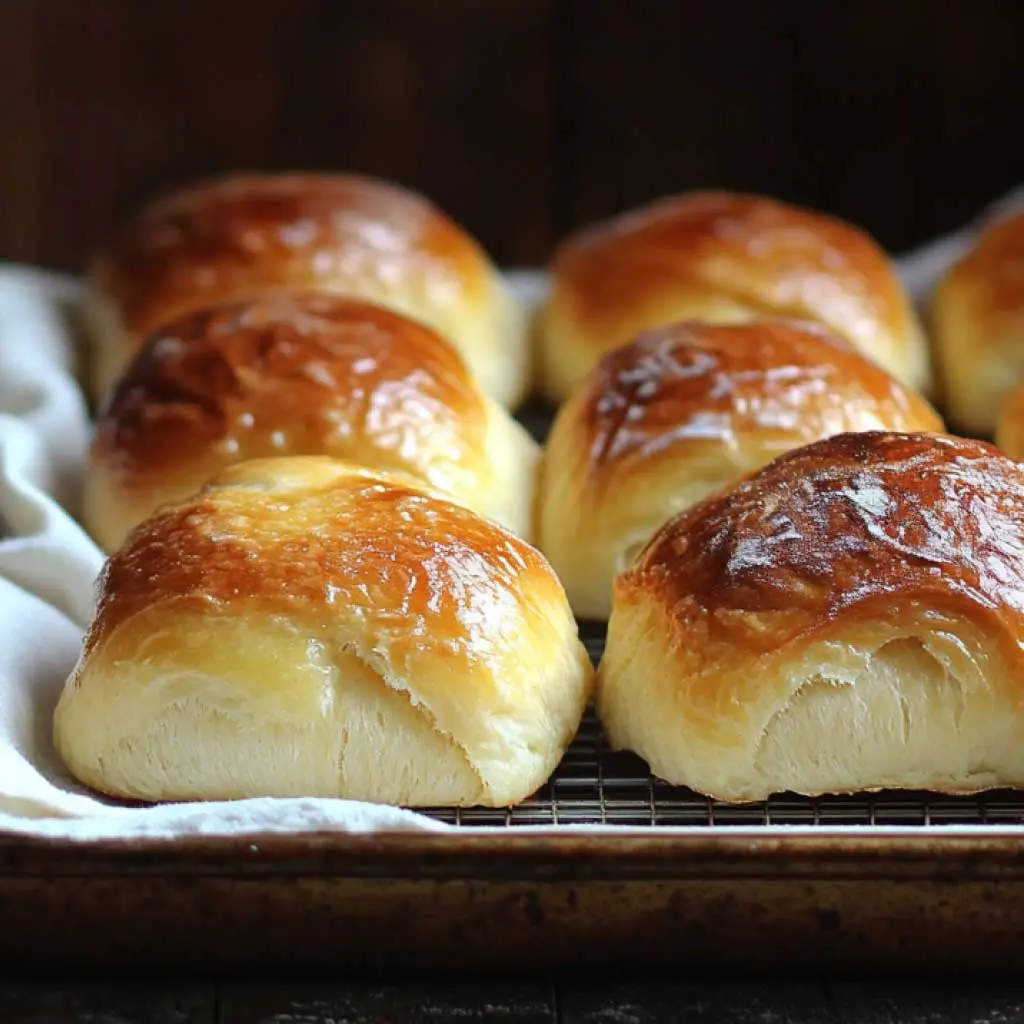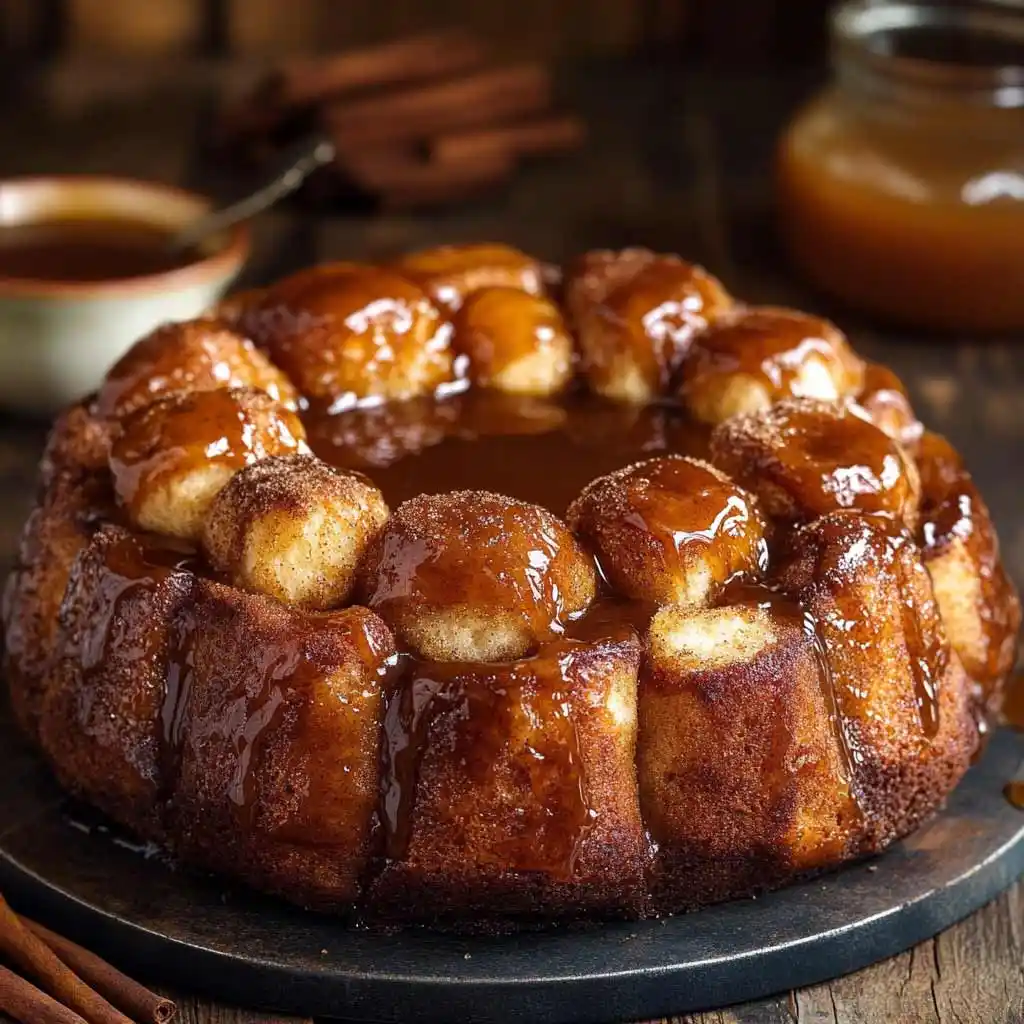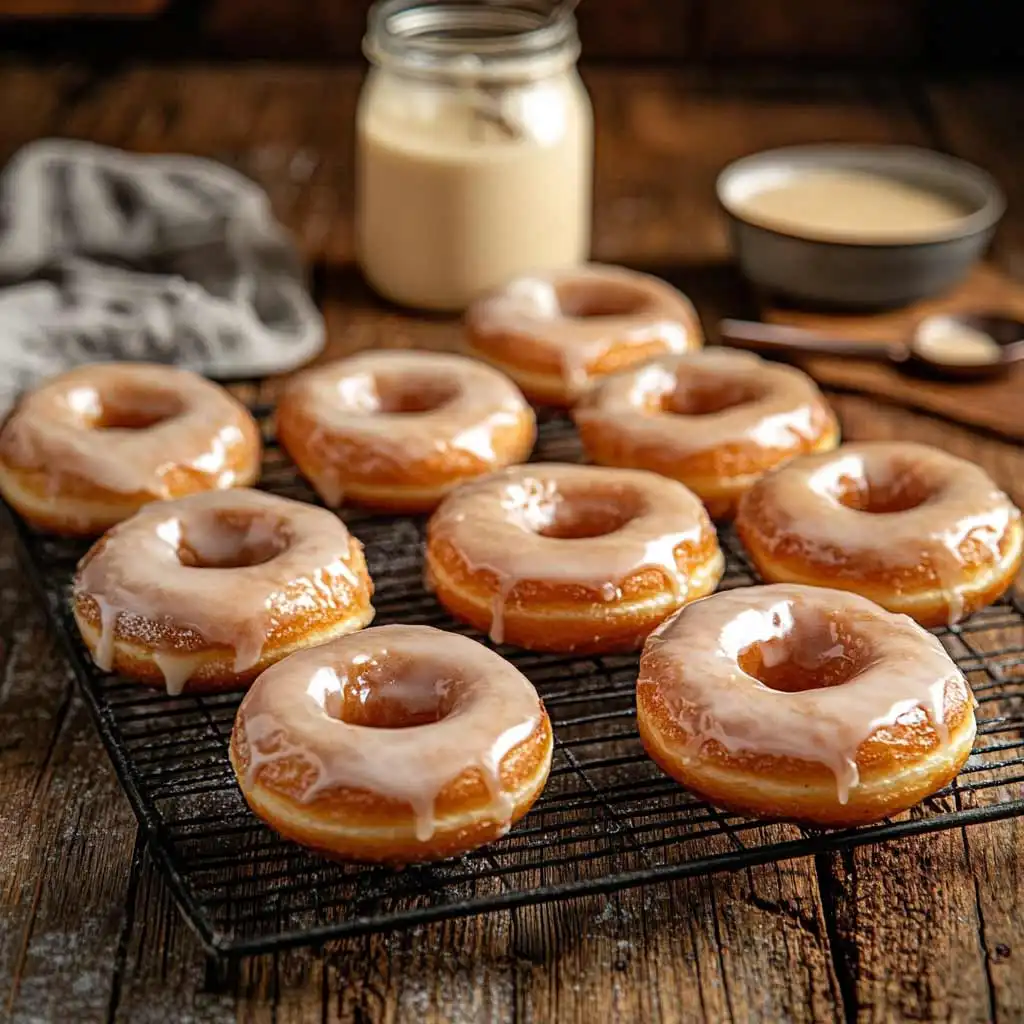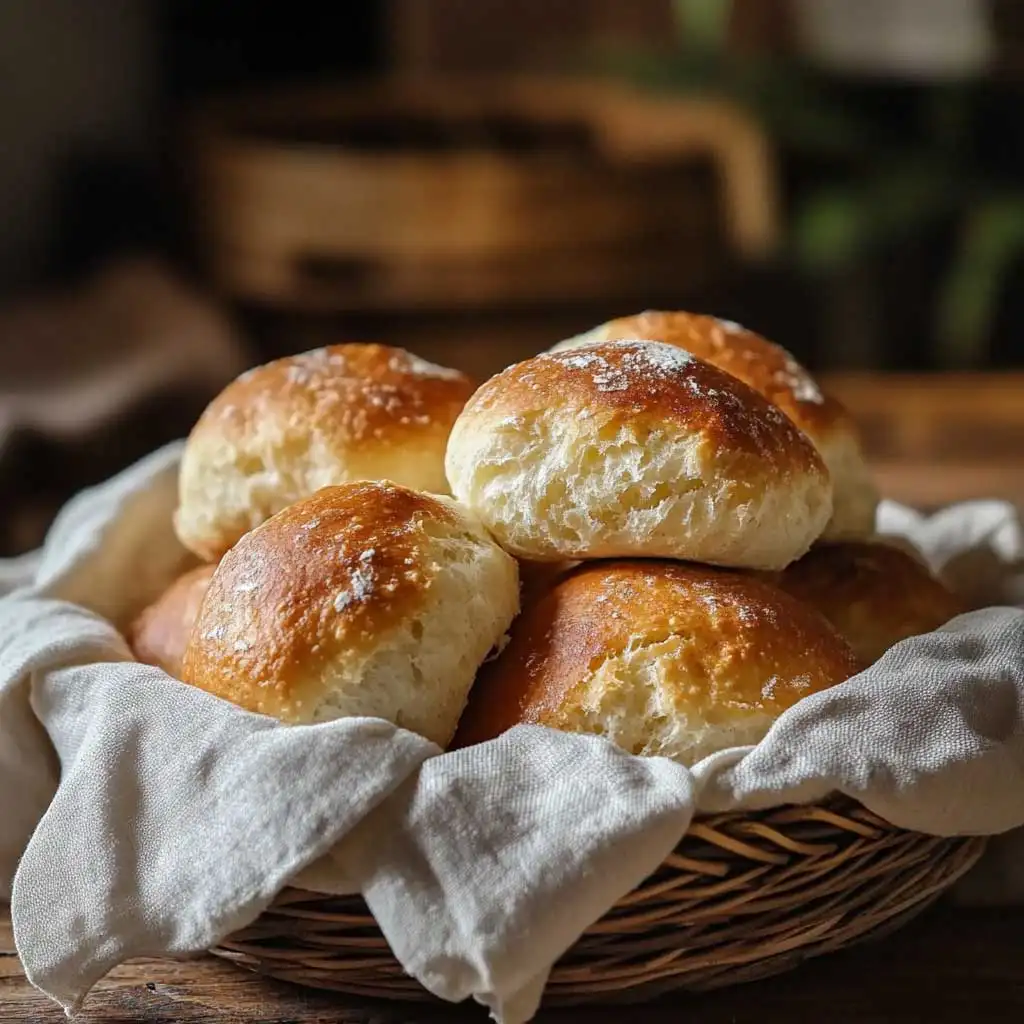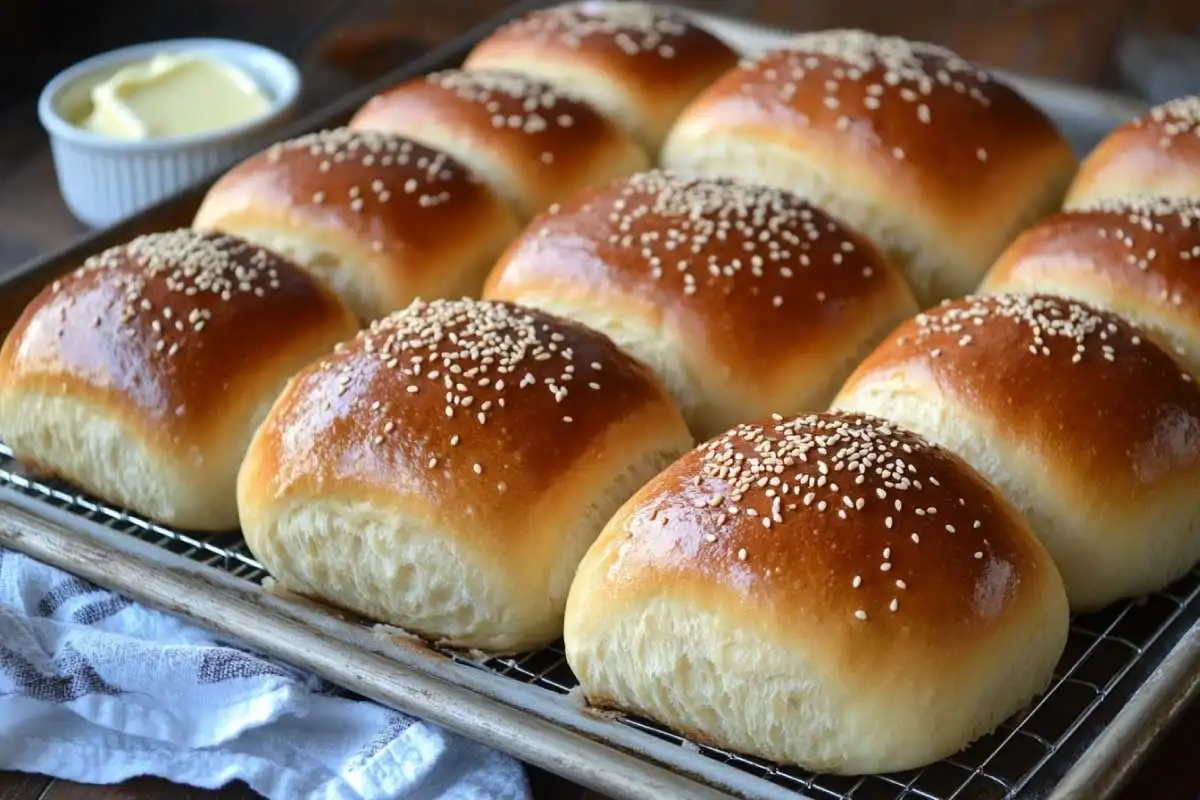
Welcome to the most life-changing baking project you didn’t know you needed: homemade sourdough rolls. These are not your average rolls, folks. Soft, fluffy, and graced with that signature tang of sourdough, they’re perfect for everything—family dinners, holiday feasts, or that moment when you deserve a little carb therapy (aka, always).
If you’re like me, you’ve likely dealt with grocery-store rolls that crumble at the first touch or go rock-hard after a day. Trust me, these homemade sourdough bread rolls are the antidote. Not only are they incredibly tender with a chewy golden crust, but they also pack flavor. (Store-bought who?) And here’s the kicker—they’re made with your sourdough starter or discard, solving that “what do I do with all this extra starter” dilemma.
I’ll walk you through every step of the process and throw in some tricks to make them come out bakery-perfect every time. Bonus? If you’re hooked on all things sourdough, be sure to bake The Ultimate Guide to Making Sourdough Hot Dog Buns too. Because homemade buns > everything else. Let’s dive in.
What Makes Sourdough Rolls So Special?
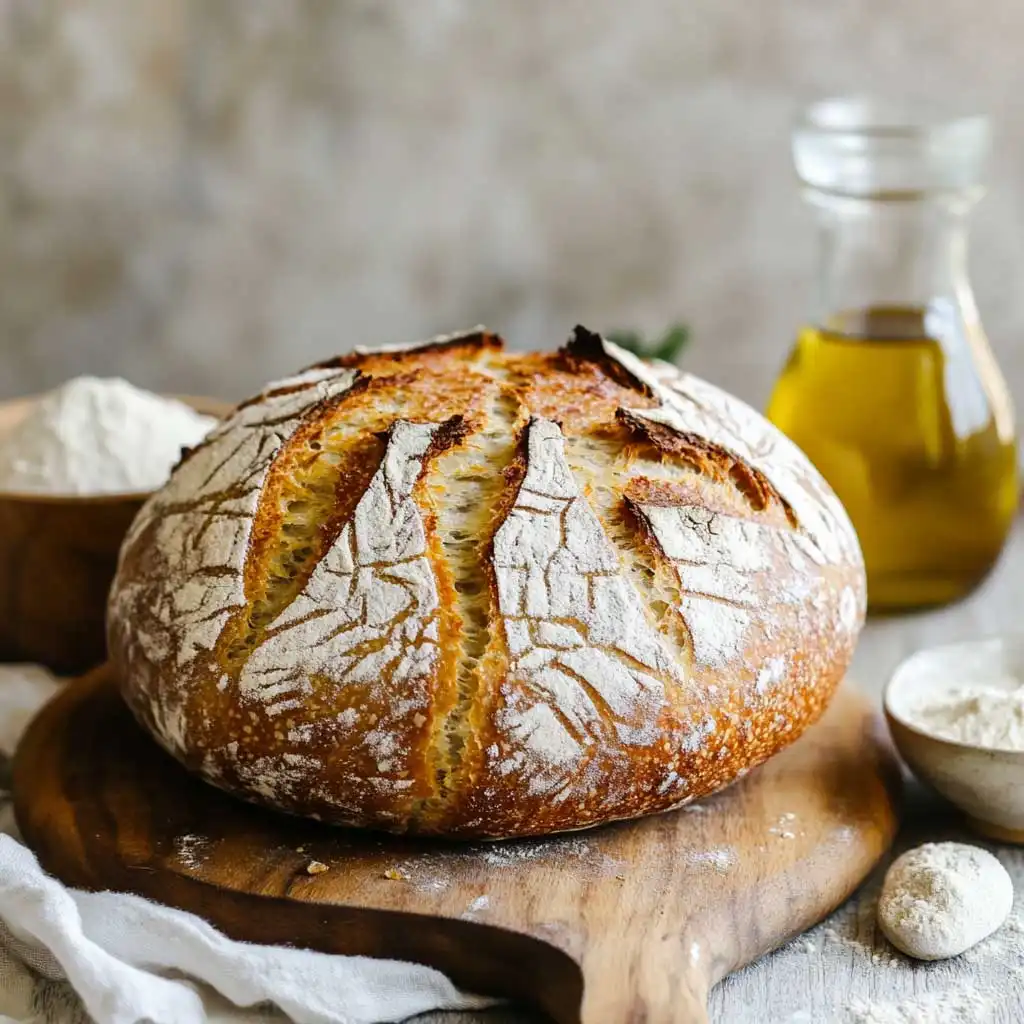
If you’ve ever wondered why sourdough baked goods hit different, it boils down to two words: natural fermentation. While these sourdough rolls do get a little help from instant yeast to quicken the process, you still get that lovely tangy complexity from using sourdough starter. Translation? Better flavor and that feel-good bonus of making something from scratch with real, clean ingredients.
Here are a few reasons why soft sourdough rolls absolutely slay in every bread basket:
- Fluffy + Tangy: These rolls get their airy texture from yeast and their deep flavor from sourdough—all in one harmonious bite.
- No-waste hero: Using sourdough starter (or discard) ensures you’re not throwing away that precious fermentation gold.
- Perfect for everything: Dinner, burgers, leftover sandwich experiments … these are your blank slate.
Think of these as the roll equivalent of a soft, warm hug. Can’t you almost smell them baking already? Let’s get rolling (I had to).
What You’ll Need to Make Sourdough Rolls
Baking bread often sounds intimidating, but sourdough dinner rolls are about as low-maintenance as it gets. They require just a handful of basic pantry staples and tools—no fancy machines, no sweat.
Ingredients
For a batch of 12 pillowy rolls, gather the following:
- 100g sourdough starter or discard (~½ cup)
- 400g all-purpose flour (~3¼ cups)
- 3 tbsp sugar (for just a touch of sweetness)
- 1 tsp salt
- 180ml whole milk, warmed (~¾ cup)
- 1 large egg, beaten (room temp is best)
- 40g unsalted butter, melted (~3 tbsp)
- 1½ tsp instant yeast
Optional toppings: sesame seeds, poppy seeds, or a sprinkle of flaky salt on top for extra pizzazz.
Tools
- Mixing bowls (always go bigger—you’ll thank me later).
- Dough scraper (optional, but it’s a game changer for sticky dough).
- Rolling pin (or just grab an empty bottle if you’re in a pinch).
- Parchment paper or a silicone baking mat.
- Baking sheet.
Recipe Instructions: Sourdough Roll Masterclass

Here’s where the magic happens. While this might look like a lot of steps, I promise it’s straightforward—and worth every minute. Most of the time is hands-off while your dough rises and does its thing.
1. Start the Dough Magic
In a large mixing bowl, whisk together the sourdough starter, warm milk, sugar, and yeast. Let it sit for 3–5 minutes, until frothy. This tells you the yeast is alive and ready to party.
Next, add the melted butter, beaten egg, and salt, stirring until combined. Gradually mix in the flour—starting with about 300g—and stir until a shaggy dough forms.
2. Knead Like You Mean It
Turn the dough out onto a lightly floured surface. Knead for 8–10 minutes by hand, adding more flour (a little at a time) until the dough is smooth but still slightly sticky. Think soft chewing gum—not a dense brick. If using a stand mixer, let it knead for 5–6 minutes with a dough hook attachment.
3. First Rise: Rest and Relax
Place your dough in a greased bowl, cover with a clean kitchen towel or plastic wrap, and let it rise in a warm spot for 1–1½ hours. The goal? Puffy and doubled in size. (Pro Tip: If your kitchen is cool, place your dough bowl near the oven or on top of the fridge—warmth = happy yeast.)
4. Shape the Dough
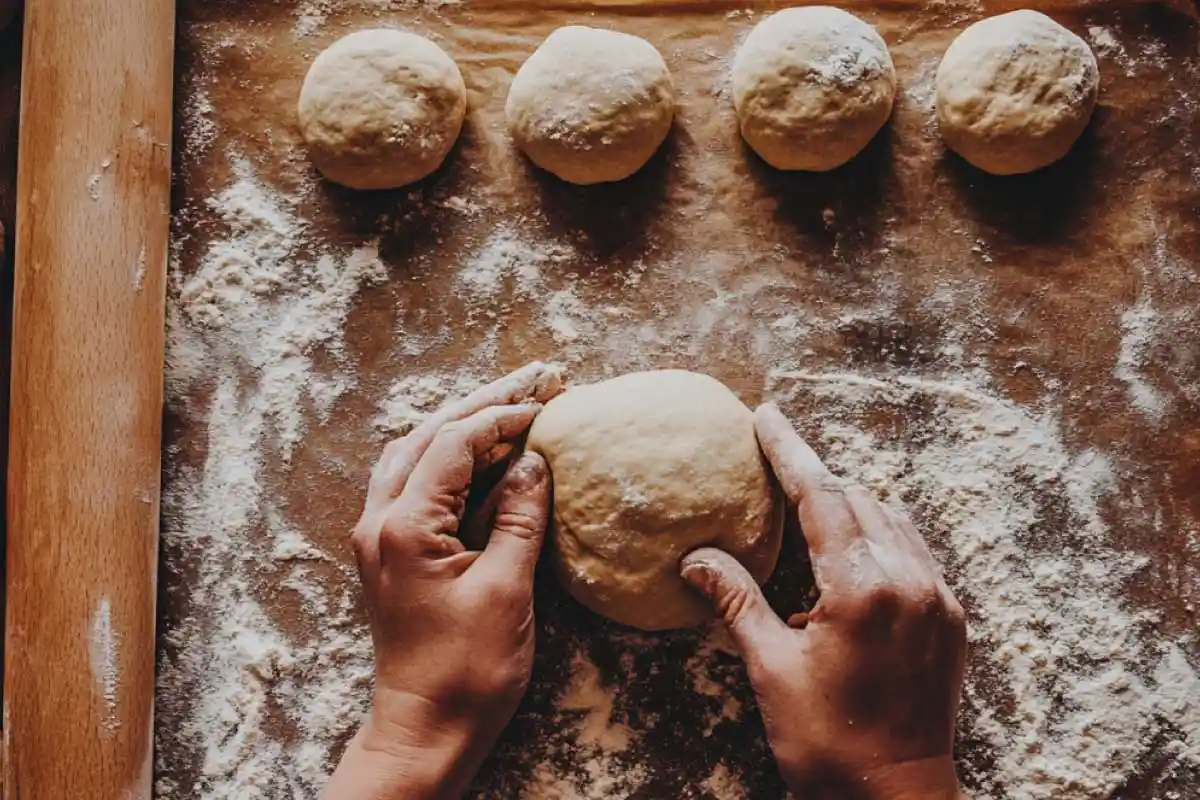
Once doubled, punch the dough down gently (the most satisfying step) and divide it into 12 equal pieces. Use a kitchen scale for accuracy if you’re a perfectionist like me. Shape each piece into a round ball by tucking the edges underneath, like wrapping a mini burrito. Place the rolls evenly on a parchment-lined baking sheet.
5. Second Rise: The Final Countdown
Cover your tray with a towel or loose plastic wrap, and let the rolls proof for another 30–45 minutes. They should look noticeably puffed, like adorable little clouds of dough.
6. Bake Those Rolls
Preheat your oven to 375°F (190°C). For a shiny, golden crust, brush the tops with milk, egg wash, or melted butter. Sprinkle on sesame or poppy seeds if you’re feelin’ extra fancy.
Bake for 18–22 minutes, or until golden-brown and irresistibly aromatic. Remove from the oven and let cool—if you can resist diving in right away.
Serving Ideas: These Rolls Are Ready for ANY Occasion
Your sourdough rolls are now ready to steal the spotlight. Here’s how you can turn them into the MVP of any meal:
- Thanksgiving perfection: These beauties are a must for sopping up gravy.
- Breakfast dream: Slather one with butter and a drizzle of honey, or sandwich some bacon and eggs.
- Burger bliss: A slightly oversized roll makes the perfect canvas for juicy patties—check out this guide to sourdough hamburger buns for more inspo.
- Soup buddy: Dip them into creamy tomato or butternut squash soup for instant comfort.
They’re also delicious straight off the cooling rack with just a swipe of butter. Pro-tip: Double the recipe and freeze the extras (hello, future-you will thank you).
FAQs About Sourdough Rolls
Can I skip the yeast and rely solely on the sourdough starter?
100% yes! Just know it’ll take longer for the dough to rise—like 6–8 hours for each proofing step. This is for when you’re in full fermenting-zen mode.
Can I freeze these rolls?
Absolutely. Freeze after baking and cooling. To use, thaw at room temp and warm in the oven for 5 minutes at 350°F.
What’s the difference between sourdough starter and discard?
“Starter” is fresh, bubbly, and active, while “discard” is older and often used for flavor—not leavening. Either works here since we’re adding yeast.
There you have it: a foolproof guide to sourdough rolls that’ll make every meal better. Once you bake these, expect requests for dinner parties, holidays, and random Tuesdays.
Got extra starter? Check out this recipe for The Ultimate Guide to Making Sourdough Hot Dog Buns—your grill nights just got an upgrade.
Now go forth, bake, and enjoy every glorious, buttery bite. Let me know in the comments how yours turned out! 💛
PrintSourdough Rolls
- Total Time: 8 hours ( Rising) 45 minutes (Prep+Cook)
- Yield: 12 1x
Ingredients
- 100g sourdough starter or discard (~½ cup)
- 400g all-purpose flour (~3¼ cups)
- 3 tbsp sugar (for just a touch of sweetness)
- 1 tsp salt
- 180ml whole milk, warmed (~¾ cup)
- 1 large egg, beaten (room temp is best)
- 40g unsalted butter, melted (~3 tbsp)
- 1½ tsp instant yeast
Instructions
In a large mixing bowl, whisk together the sourdough starter, warm milk, sugar, and yeast. Let it sit for 3–5 minutes, until frothy. This tells you the yeast is alive and ready to party.
Next, add the melted butter, beaten egg, and salt, stirring until combined. Gradually mix in the flour—starting with about 300g—and stir until a shaggy dough forms.
Turn the dough out onto a lightly floured surface. Knead for 8–10 minutes by hand, adding more flour (a little at a time) until the dough is smooth but still slightly sticky. Think soft chewing gum—not a dense brick. If using a stand mixer, let it knead for 5–6 minutes with a dough hook attachment.
Place your dough in a greased bowl, cover with a clean kitchen towel or plastic wrap, and let it rise in a warm spot for 1–1½ hours. The goal? Puffy and doubled in size. (Pro Tip: If your kitchen is cool, place your dough bowl near the oven or on top of the fridge—warmth = happy yeast.)
Once doubled, punch the dough down gently (the most satisfying step) and divide it into 12 equal pieces. Use a kitchen scale for accuracy if you’re a perfectionist like me. Shape each piece into a round ball by tucking the edges underneath, like wrapping a mini burrito. Place the rolls evenly on a parchment-lined baking sheet.
Cover your tray with a towel or loose plastic wrap, and let the rolls proof for another 30–45 minutes. They should look noticeably puffed, like adorable little clouds of dough.
Preheat your oven to 375°F (190°C). For a shiny, golden crust, brush the tops with milk, egg wash, or melted butter. Sprinkle on sesame or poppy seeds if you’re feelin’ extra fancy.
Bake for 18–22 minutes, or until golden-brown and irresistibly aromatic. Remove from the oven and let cool—if you can resist diving in right away.
Nutrition
- Calories: 180-220
- Sodium: 200-250mg
- Fat: 3-5g
- Saturated Fat: 1g
- Carbohydrates: 30-35g
- Fiber: 1-2g
- Protein: 6-7g
- Cholesterol: 10-20mg
Keywords: Sourdough Rolls


