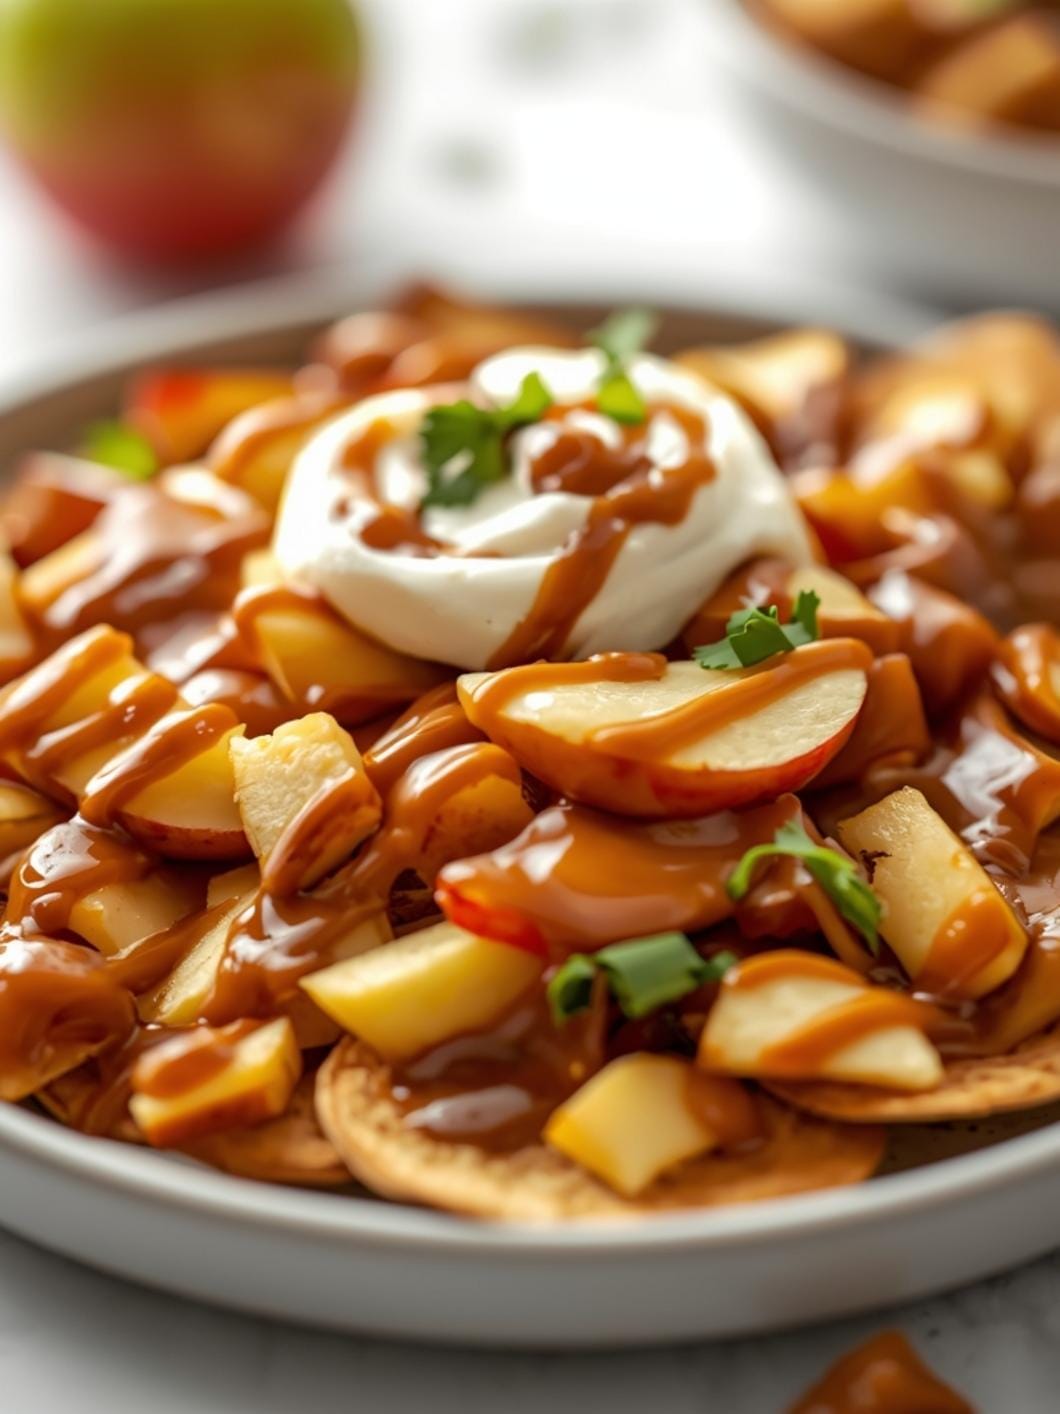
Get ready to conjure up some serious Halloween fun with this incredibly easy and delightfully spooky snack board! Perfect for a family movie night or a casual get-together, this board is all about bringing festive cheer without the fuss. You don’t need to be a culinary wizard to create a spread that looks impressive and tastes fantastic.

This guide will walk you through crafting a Halloween snack board that’s both playful and practical. We’ll focus on simple, store-bought ingredients and quick DIY touches that transform everyday snacks into ghoulishly good treats. So grab your favorite Halloween movie, and let’s get snacking!
Table of Contents
- What You’ll Love About This Quick And Easy Recipe
- Everything You Need To Make This Recipe Without Stress
- Time Needed From Start To Finish
- How To Make It Step By Step With Visual Cues
- Easy Variations And Serving Ideas That Fit Real Life
- Common Slip-Ups And How To Avoid Them
- How To Store It And Make It Ahead Without Ruining Texture

Spooky Halloween Snack Board
- Total Time: 25-35 minutes
- Yield: 1 snack board 1x
Description
Conjure up some serious Halloween fun with this incredibly easy and delightfully spooky snack board! Perfect for a family movie night or a casual get-together, this board is all about bringing festive cheer without the fuss. This guide will walk you through crafting a Halloween snack board that’s both playful and practical, focusing on simple, store-bought ingredients and quick DIY touches that transform everyday snacks into ghoulishly good treats.
Ingredients
Instructions
1. Prepare Any Baked Elements First: If you’re including “mummy” hot dogs or cheese sticks made with crescent rolls, preheat your oven according to the crescent roll package directions (usually 375 F (190 C)). Unroll the crescent dough, cut it into thin strips, and wrap around mini hot dogs or cheese sticks, leaving a small opening for the “face.” Bake for 10-12 minutes, or until golden brown. Let them cool slightly before adding edible “eyes” with black icing gel.
2. Make the Sweet Cream Cheese Dip: In a small bowl, combine the softened cream cheese, powdered sugar, and vanilla extract. If using, stir in the pumpkin puree for a subtle flavor and orange hue. Mix until smooth and creamy. Transfer to a small serving bowl.
3. Arrange Your Board or Platter: Choose a large cutting board, platter, or serving tray as your base. Start by placing your larger items or bowls of dip first. Position the sweet cream cheese dip and the ranch dressing in prominent spots.
4. Place the Savory Snacks: Arrange your cheese cubes, carrot sticks, celery sticks, and pretzel sticks around the dips. If you made “mummy” hot dogs, place them strategically on the board. Try to create distinct sections for different types of snacks.
5. Add the Sweet Treats: Scatter the mini chocolate chip cookies, gummy worms, and other Halloween candies in various areas of the board. You can pile them in small mounds or line them up for visual appeal.
6. Incorporate Fresh Fruit: Add the green grapes, creating a pop of fresh color and a healthy option. You can leave them on the stem for an extra touch of elegance or scatter individual grapes.
7. Drizzle and Decorate: If desired, drizzle a little chocolate syrup or melted chocolate over some of the sweet items or directly onto the board for a “web” effect. Place a few food-safe plastic spiders or other small Halloween decorations around the board to enhance the spooky theme.
8. Final Touches: Step back and assess your board. Fill in any gaps with smaller items like extra candies or pretzels to make it look abundant and inviting.
- Prep Time: 15-20 minutes
- Cook Time: 10-12 minutes
- Category: appetizer
- Method: assembly
- Cuisine: american
Nutrition
- Serving Size: 8-10 servings
Keywords: halloween, snack board, party food, easy, appetizer, kid friendly, no bake, festive, spooky, quick
What You’ll Love About This Quick And Easy Recipe
This spooky Halloween snack board is an absolute winner for several reasons, making it ideal for busy families and anyone looking to add a touch of festive magic without spending hours in the kitchen. It’s perfect for those spontaneous movie nights, a casual gathering with friends, or as a fun after-school treat leading up to Halloween. The beauty of a snack board lies in its versatility and the fact that everyone can find something they love. It encourages grazing and conversation, making it a relaxed and enjoyable way to share food. This recipe is designed for ease, utilizing pre-made items and simple assembly, which means less stress for you and more time enjoying the spooky season with your loved ones. It’s also incredibly adaptable, allowing you to cater to different tastes and dietary needs with minimal effort.
Everything You Need To Make This Recipe Without Stress
Gathering your ingredients for this Halloween snack board is straightforward, focusing on convenience and fun. Many of these items are likely already in your pantry or easily found at your local grocery store. The key is to think about a mix of sweet, savory, crunchy, and soft textures to create a balanced and appealing spread. Don’t feel pressured to buy every single item on this list; pick and choose what your family enjoys most!
INGREDIENTS:

- 1 (8-ounce) package crescent roll dough
- 1 (8-ounce) package cream cheese, softened
- 1/2 cup powdered sugar
- 1 teaspoon vanilla extract
- 1/4 cup pumpkin puree (optional, for flavor/color)
- 1 cup pretzel sticks
- 1 cup mini chocolate chip cookies
- 1 cup gummy worms or other Halloween-themed candies
- 1 cup green grapes
- 1 cup cheese cubes (cheddar or Colby Jack work well)
- 1 cup carrot sticks
- 1 cup celery sticks
- 1/2 cup ranch dressing or dip
- 1/2 cup chocolate syrup or melted chocolate for drizzling
- Black icing gel or edible marker (optional, for detailing)
- Plastic spiders or other small Halloween decorations (food-safe, for garnish)
For simple substitutions, feel free to swap out the cream cheese mixture for a store-bought fruit dip if you’re short on time. Instead of pretzel sticks, you could use breadsticks or even thin apple slices. Any small cookies or crackers can replace the mini chocolate chip cookies. For the candies, look for seasonal mixes that include eyeballs, bats, or ghosts. If you don’t have fresh grapes, apple slices or mandarin orange segments are great alternatives. For the veggies, cucumber slices or bell pepper strips are excellent additions. The key is to choose items that are easy to pick up and eat without utensils.
Time Needed From Start To Finish
Creating this Spooky Halloween Snack Board is wonderfully quick, making it perfect for last-minute movie nights or impromptu gatherings. The hands-on time is minimal, allowing you to focus more on the fun assembly.
- Preparation Time: 15-20 minutes
- Cooking Time: 10-12 minutes (for crescent rolls, if making “mummy” dogs or similar)
- Total Time: 25-35 minutes
This timeline assumes you’re making a simple crescent roll treat like “mummy” hot dogs or cheese sticks, which adds a warm, savory element. If you opt for a no-bake board, your total time will be even shorter, closer to the 15-20 minute mark for assembly alone.
How To Make It Step By Step With Visual Cues

Creating your spooky snack board is all about assembly and presentation. Here’s a simple guide to bringing it all together:
- Prepare Any Baked Elements First: If you’re including “mummy” hot dogs or cheese sticks made with crescent rolls, preheat your oven according to the crescent roll package directions (usually 375°F). Unroll the crescent dough, cut it into thin strips, and wrap around mini hot dogs or cheese sticks, leaving a small opening for the “face.” Bake for 10-12 minutes, or until golden brown. Let them cool slightly before adding edible “eyes” with black icing gel.
- Make the Sweet Cream Cheese Dip: In a small bowl, combine the softened cream cheese, powdered sugar, and vanilla extract. If using, stir in the pumpkin puree for a subtle flavor and orange hue. Mix until smooth and creamy. Transfer to a small serving bowl.
- Arrange Your Board or Platter: Choose a large cutting board, platter, or serving tray as your base. Start by placing your larger items or bowls of dip first. Position the sweet cream cheese dip and the ranch dressing in prominent spots.
- Place the Savory Snacks: Arrange your cheese cubes, carrot sticks, celery sticks, and pretzel sticks around the dips. If you made “mummy” hot dogs, place them strategically on the board. Try to create distinct sections for different types of snacks.
- Add the Sweet Treats: Scatter the mini chocolate chip cookies, gummy worms, and other Halloween candies in various areas of the board. You can pile them in small mounds or line them up for visual appeal.
- Incorporate Fresh Fruit: Add the green grapes, creating a pop of fresh color and a healthy option. You can leave them on the stem for an extra touch of elegance or scatter individual grapes.
- Drizzle and Decorate: If desired, drizzle a little chocolate syrup or melted chocolate over some of the sweet items or directly onto the board for a “web” effect. Place a few food-safe plastic spiders or other small Halloween decorations around the board to enhance the spooky theme.
- Final Touches: Step back and assess your board. Fill in any gaps with smaller items like extra candies or pretzels to make it look abundant and inviting.
Easy Variations And Serving Ideas That Fit Real Life
This Halloween snack board is incredibly flexible, allowing you to tailor it to your family’s preferences and whatever you have on hand. For a more savory focus, consider adding mini pepperoni slices, olive “eyeballs” (stuffed with pimentos), or even some spooky-shaped crackers. You can use cookie cutters to make bat or ghost shapes out of cheese slices or tortilla wraps. For a fruitier board, add sliced apples with peanut butter “spiderwebs” or mandarin orange segments with a small celery stick “stem” to resemble mini pumpkins.
When serving, think about creating different zones on your board – a sweet section, a savory section, and a veggie patch. This helps guests navigate the options easily. For a party, consider making two smaller boards rather than one giant one, especially if you have a large gathering, to ensure everyone can reach the snacks. Don’t forget small serving tongs or toothpicks for easy grabbing. A fun idea for kids is to let them help arrange their own mini snack plates from the main board, giving them a sense of ownership over their spooky feast.
Common Slip-Ups And How To Avoid Them
Even with a simple snack board, a few common pitfalls can be easily avoided to ensure your presentation is perfect and your snacks stay fresh.
One common mistake is overcrowding the board. While you want it to look abundant, too many items can make it hard for people to pick up snacks without disturbing others. Arrange items with a little breathing room, and replenish as needed rather than putting everything out at once.
Another slip-up is not considering temperature. If you’re serving items that need to stay cool, like the cream cheese dip or cheese cubes, don’t leave them out at room temperature for too long, especially in a warm room. Use small bowls set into larger bowls of ice if you anticipate a long serving time.
Forgetting a balance of textures and flavors can also make a board less appealing. Aim for a mix of crunchy, soft, sweet, savory, and fresh elements. This keeps the tasting experience interesting and ensures there’s something for everyone.
Finally, not having enough dip or serving utensils can be frustrating for guests. Make sure you have ample dip for the amount of dippable snacks, and provide small spoons or knives for spreads, and tongs or toothpicks for individual items.
How To Store It And Make It Ahead Without Ruining Texture
This Halloween snack board is best assembled fresh, but many components can be prepared in advance to save time.
- Dips: The sweet cream cheese dip can be made up to 2 days in advance and stored in an airtight container in the refrigerator. Ranch dressing is also typically store-bought and ready to go.
- Chopped Veggies: Carrot and celery sticks can be pre-cut and stored in an airtight container with a damp

FAQs
- Can I make these ahead? Yes—prep ahead, refrigerate, then serve when ready.
- How long do leftovers last? Store covered in the fridge for 3–4 days for best texture.
- Can I adjust sweetness? Yes—add more or less sweetener to taste.
- Can I change the fruit? Yes—swap strawberries for blueberries, raspberries, or sliced banana.