When fall arrives, the crisp air, glowing pumpkins, and spooky vibes call for dinners that are festive as well as delicious. That’s where Spooky Season Cheeseburger Skulls for Dinner come in — a playful twist on a family favorite. These spooky creations take the comfort of a traditional cheeseburger and give it a Halloween-ready makeover using skull-shaped molds. Perfect for kids, parties, or family dinners, they’re filling, fun, and guaranteed to impress.

In this article, we’ll explore the story behind the recipe, ingredients and tools you’ll need, prep tips, serving suggestions, and FAQs so you can enjoy a frightfully tasty feast.
Why Cheeseburger Skulls Make Halloween Special
Every Halloween, my family looks forward not just to costumes and candy, but to the themed dinners we create before heading out for trick-or-treating. One year, instead of making the usual stew or pizza, I decided to surprise the kids with something extra spooky — cheeseburgers shaped like skulls. When I revealed them fresh out of the oven, their faces lit up brighter than any jack-o-lantern!
There’s something magical about spooky season treats that go beyond sugar. A hearty dish like cheeseburger skulls ties together the fun of dressing up with the comfort of a well-loved meal. For parents, they’re a lifesaver — packed with protein, easy to portion, and perfect for Halloween dinners for family gatherings. Plus, kids adore the novelty factor. Instead of begging for candy before heading out, they dig into something Mom or Dad made with a mix of love and Halloween spirit.
Cheeseburger skulls prove that festive food doesn’t have to mean complicated recipes. It’s about transforming the ordinary into something extraordinary. That’s why they’ve become one of my favorite Halloween-themed food traditions — you can make them in under an hour, they look incredible on a decorated table, and they bring joy to the entire household.
Print
Spooky Season Cheeseburger Skulls
- Total Time: 45 minutes
- Yield: 6 skulls 1x
Description
Turn dinner into a spooky Halloween surprise with these Cheeseburger Skulls! Juicy beef molded into creepy skulls and stuffed with melted cheese—perfect for family dinners, themed parties, or a haunted movie night.
Ingredients
1 ½ to 2 lbs ground beef (80/20 blend recommended)
1 cup shredded cheddar cheese (or cheese of choice)
1 small onion, finely diced
2 cloves garlic, minced
Salt and black pepper to taste
Ketchup, mustard, or sauces for serving
Burger buns or lettuce wraps (optional)
Skull-shaped silicone baking mold
Instructions
1. Preheat oven to 375°F (190°C).
2. In a bowl, combine ground beef, onion, garlic, salt, and pepper.
3. Lightly oil the skull molds to prevent sticking.
4. Press beef into each mold cavity, fill with shredded cheese, then seal with more beef.
5. Place molds on a baking sheet and bake for 25–30 minutes, or until internal temperature reaches 160°F (71°C).
6. Let rest for 5 minutes before unmolding to retain juices.
7. Serve on buns or as-is with spooky sides or dipping sauces.
Notes
Swap beef for ground turkey or plant-based meat.
Add jalapeños or barbecue sauce to the filling for flavor twists.
Great as a main dish for Halloween dinners or scary movie nights.
- Prep Time: 15 minutes
- Cook Time: 30 minutes
- Category: Halloween Dinner
- Method: Baking
- Cuisine: American
Nutrition
- Serving Size: 1 skull
- Calories: 320
- Sugar: 1g
- Sodium: 250mg
- Fat: 22g
- Saturated Fat: 9g
- Unsaturated Fat: 11g
- Trans Fat: 1g
- Carbohydrates: 3g
- Fiber: 0g
- Protein: 25g
- Cholesterol: 80mg
Keywords: cheeseburger skulls, Halloween dinner, spooky skull burgers, Halloween kids food, creepy cheeseburgers
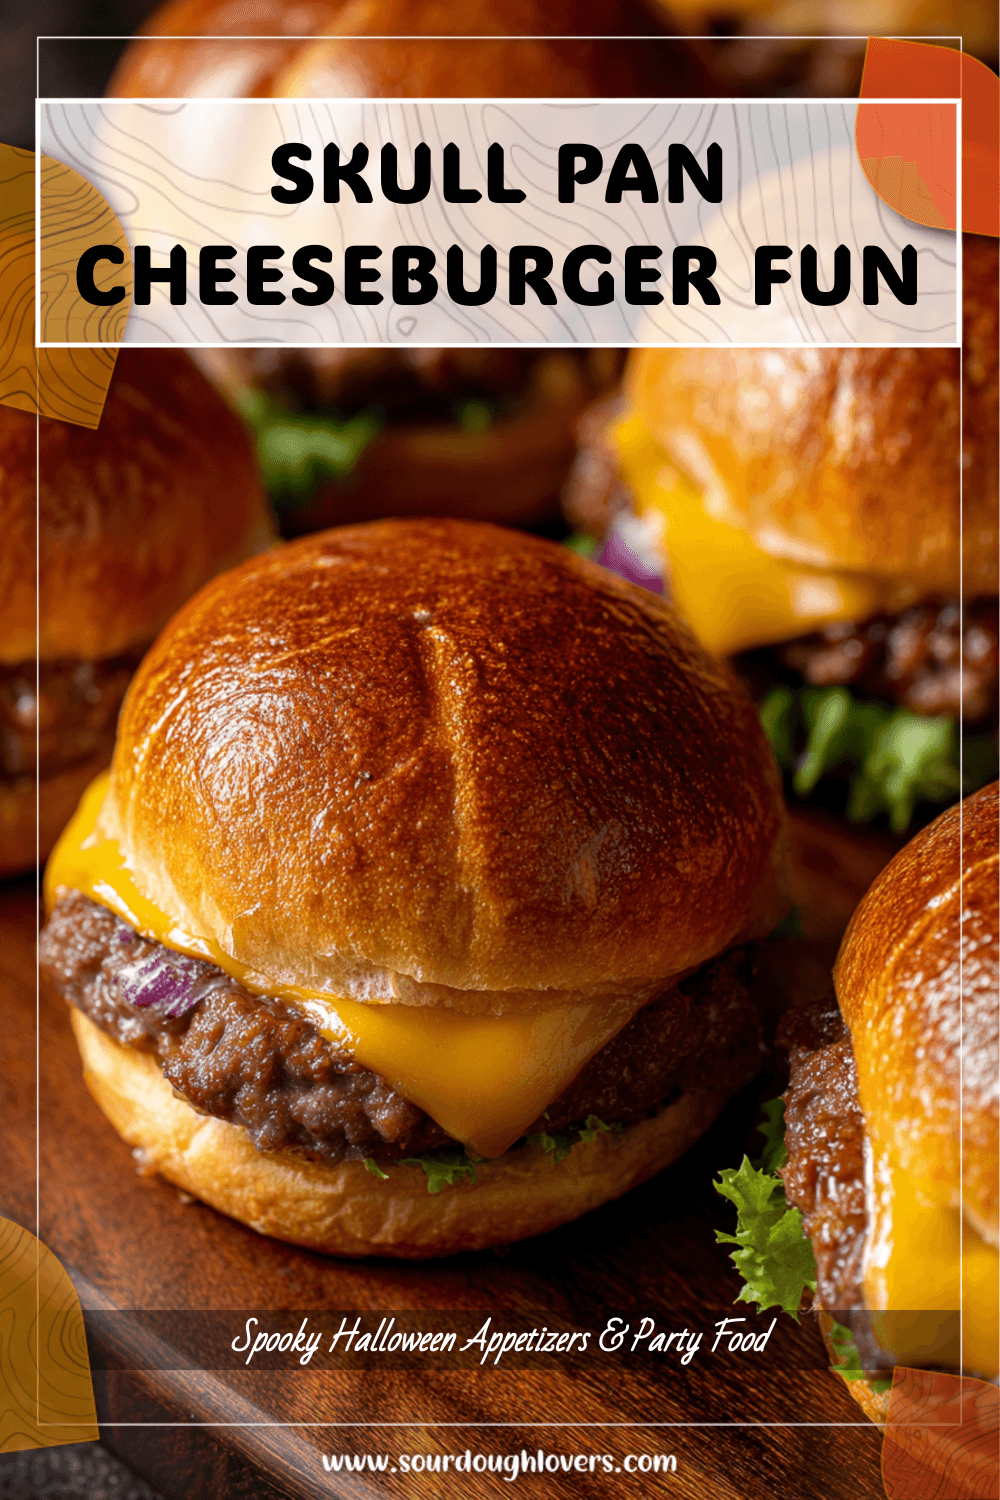
A Spooky Twist on a Classic Dinner Favorite
At their core, cheeseburger skulls are wonderfully simple: savory beef, melty cheese, and a golden outer crust of dough. But with the help of a skull mold baking pan, what was once a weekday dinner staple becomes a chillingly charming showpiece. They’re a reminder that comfort food doesn’t have to be boring — it can carry the mood of the season while still being family-friendly.
Imagine the look on your guests’ faces when your Halloween dinner table is lined with grinning cheeseburger skulls, paired with flickering candles and cobweb napkins. They take the spirit of Halloween and put it right on the plate, working as both a main dish and a conversation starter. The fun part? Each skull can be personalized — some gooey with extra cheese, some packed with jalapeños for spice, others simple for picky eaters.
This spooky twist keeps dinner interactive while boosting the excitement leading up to a night of costumes and candy. Instead of just another meal, cheeseburger skulls turn the table itself into a Halloween experience. Whether you’re throwing a party, feeding a group of hungry kids, or simply wanting something festive for spooky season, this recipe guarantees dinner will be remembered as much as the candy haul.
Ingredients & Tools You Need
The Essentials for Cheeseburger Skulls
One of the best parts about this recipe is how approachable it is. Most of the ingredients can be found in your fridge right now or picked up at any grocery store. To make a successful batch of cheeseburger skulls for your Halloween food dinner, you’ll want to prepare everything ahead of time so assembling is quick and fun. Below is a handy table to keep everything organized:
| Ingredient | Quantity | Notes & Substitutions |
|---|---|---|
| Ground beef (80/20) | 1 to 1.5 lbs | Use ground turkey or chicken as a lighter alternative |
| Shredded cheese | 1–2 cups | Cheddar works best, but mozzarella, Colby Jack, or pepper jack are great too |
| Refrigerated biscuit dough or pizza dough | 1 can (8 pieces) | Crescent roll dough also works for a flakier texture |
| Onion (optional) | ½ cup, finely diced | Adds sweetness and flavor to the beef |
| Garlic (optional) | 2 cloves, minced | Can sub with 1 tsp garlic powder |
| Ketchup or BBQ sauce | 2–3 tbsp | For extra flavor inside the filling |
| Pickles or jalapeños (optional) | ¼ cup, chopped | Adds tang or spice depending on preference |
| Salt & pepper | To taste | Simple seasoning everyone has at home |
| Cooking spray or butter | Light coating | To grease the skull mold pan |
Kitchen Tools & Prep Tips
Before you begin, gather the right tools so the process goes smoothly. Here’s what you’ll need:
- Oven: Preheated for baking your skulls (375–400°F).
- Large skillet: To brown the beef and mix in seasonings.
- Skull-shaped mold pan: The star of the show — typically cast aluminum.
- Measuring cups & spoons, cutting board & knife, plus utensils for stirring.
Prep Tips: Chop onions and garlic in advance, grease molds generously, and keep fillings cooled before stuffing the dough. For parties, double the recipe and rotate batches to keep everything warm in a low oven.
Portion Sizes: Each skull equals about one serving for kids, two for adults. Adjust quantities for your Halloween guest list!
Step-by-Step Preparation Guide
Making the Cheeseburger Filling
Heat a skillet over medium-high, then brown the ground beef for about 6–8 minutes. Drain excess grease before seasoning with salt, pepper, onions, and garlic. Stir in ketchup or BBQ sauce for depth. For extra spice, fold in jalapeños or chili flakes. Reduce heat and mix in shredded cheese, letting it melt into a gooey blend. Cool the filling before using so the dough stays intact in the molds. This simple step makes prep easier when making multiple batches for Halloween dinners for family gatherings.
Baking Cheeseburger Skulls to Perfection
Preheat oven to 375°F (190°C) and grease your skull mold pan well. Press biscuit or pizza dough into each cavity, ensuring it covers the base and sides. Spoon in cooled filling, leaving space to seal. Stretch extra dough over the top, pinching edges together. Bake for 18–22 minutes until golden. Cool in pan 5–7 minutes before gently removing each skull. A silicone spatula helps release them cleanly, keeping their carved details intact and spooky.
Serving Ideas, FAQs & Conclusion
Fun Ways to Serve Cheeseburger Skulls
These skulls already look striking, but Halloween flair takes them to the next level. Offer dipping sauces like ketchup “blood,” ranch “ghost goo,” and BBQ “witch’s brew.” Pair with sides such as roasted sweet potato “pumpkin fries,” olive spider deviled eggs, and purple cabbage salad. Serve drinks like sparkling apple cider or themed cocktails for adults. Style the table with cobwebs, candles, and black platters so the cheeseburger skulls pop as the centerpiece of your Halloween dinner table.
FAQ
1. Can I make cheeseburger skulls ahead of time? Yes, cook the filling a day before and bake fresh for best results.
2. What dough works best? Biscuit dough is easiest. Pizza dough creates chewy skulls; crescent rolls add flakiness.
3. How to prevent leaks? Cool filling fully and pinch dough seams tightly.
4. Can I freeze them? Yes. Bake first, wrap, and reheat at 350°F until warmed through.
5. Do I need a skull pan? Yes, to achieve the distinct spooky look. They’re sold online and in seasonal stores.
Conclusion
Cheeseburger skulls blend the coziness of comfort food with playful Halloween spirit. They’re festive, filling, and perfect for building spooky family traditions. Whether it’s a pre-trick-or-treat dinner for kids or the highlight of your Halloween party, this dish guarantees fun and flavor. When planning your Spooky Season Cheeseburger Skulls for Dinner, remember it’s less about perfection and more about making memories. As pumpkins glow and costumes fill the streets, your Halloween table will have already set the tone for an unforgettable night — one spooky bite at a time.