There’s nothing quite like the comforting aroma of freshly baked bread filling your kitchen, especially as the days grow shorter and the air turns crisp.

These homemade honey butter rolls are the perfect way to bring that warmth and coziness to your fall dinners. They’re incredibly simple to make, yet they taste like you’ve spent hours in the kitchen.
Whether you’re hosting a family gathering or just looking for an easy side dish to elevate a weeknight meal, these honey bread rolls are a delightful addition. Their soft texture and sweet, buttery glaze make them irresistible to both kids and adults alike.
Table of Contents
- What You’ll Love About This Quick And Easy Recipe
- Everything You Need To Make This Recipe Without Stress
- Time Needed From Start To Finish
- How To Make It Step By Step With Visual Cues
- Easy Variations And Serving Ideas That Fit Real Life
- Common Slip-Ups And How To Avoid Them
- How To Store It And Make It Ahead Without Ruining Texture
- Questions People Always Ask Before Making This Recipe
- A Friendly Wrap-Up And The Best Way To Serve It

Quick and Easy Honey Butter Rolls
- Total Time: 15-17 minutes
- Yield: 8 rolls 1x
Description
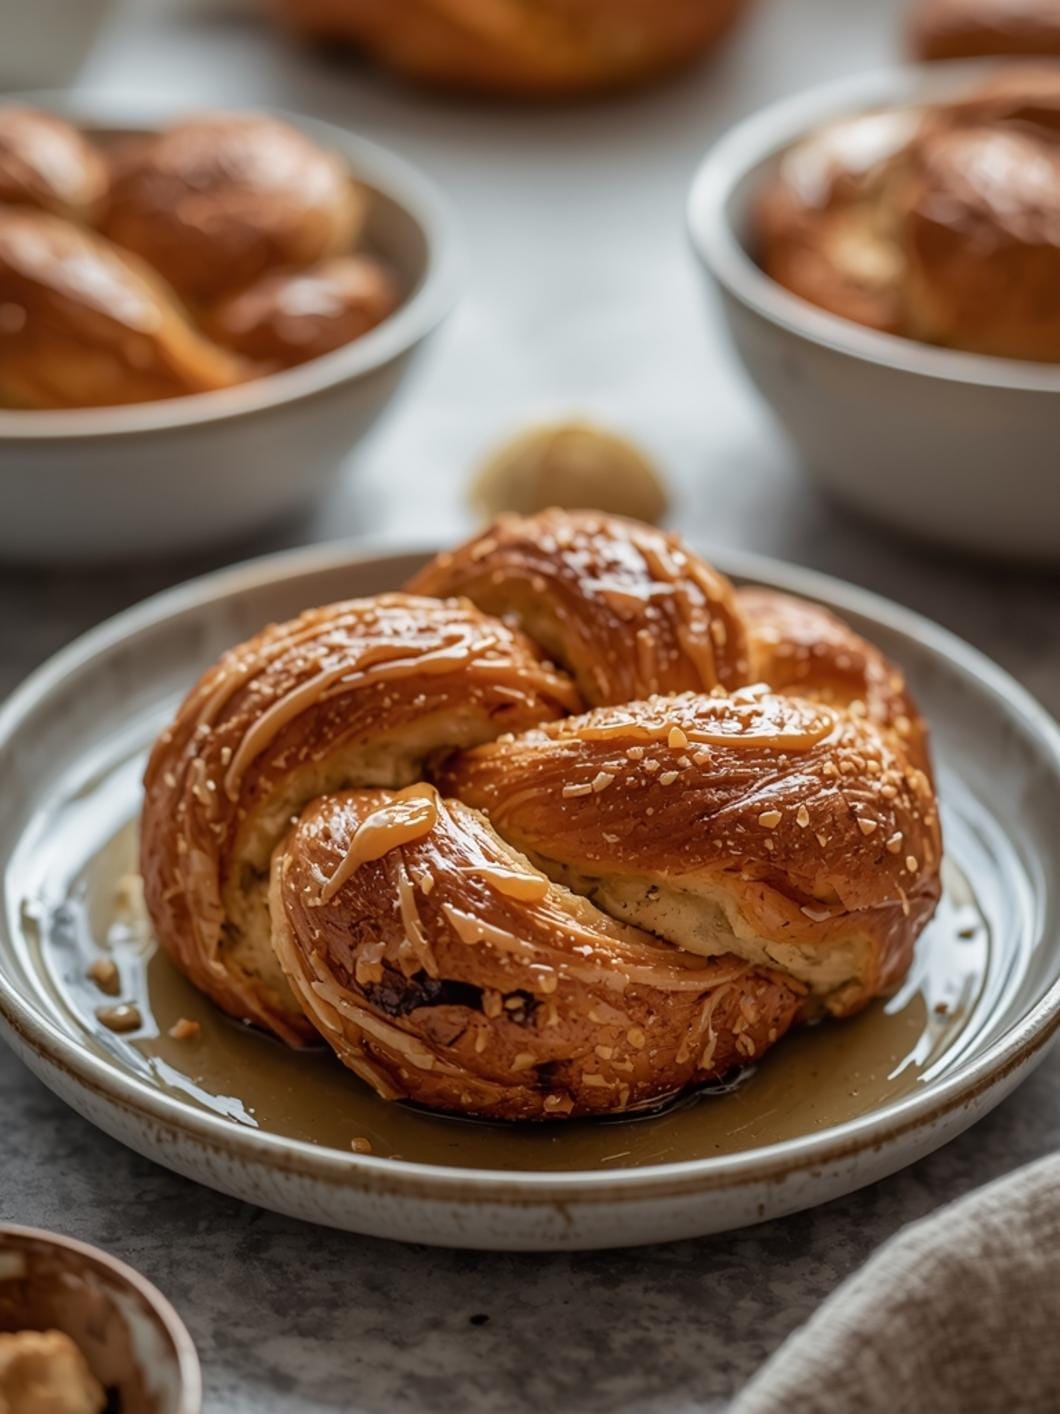
These incredibly simple honey butter rolls are made with refrigerated crescent dinner rolls and brushed with a sweet, buttery glaze. Perfect for fall dinners or any meal, they come together quickly and are a delightful addition to any table.
Ingredients
Instructions
1. Preheat your oven to 375 F (190 C). Line a baking sheet with parchment paper to prevent sticking and make cleanup easier.
2. Carefully open the can of refrigerated crescent rolls. Unroll the dough onto your prepared baking sheet or a clean work surface. Separate the dough along the perforations into individual triangles.
3. Starting from the wider end of each triangle, gently roll the dough towards the pointed tip. Place the rolled crescent rolls onto your parchment-lined baking sheet, leaving a little space between each one.
4. In a small microwave-safe bowl, combine the melted butter, honey, optional ground cinnamon, and a pinch of salt. Whisk everything together until it’s well combined and smooth.
5. Using a pastry brush, generously brush the tops of each unbaked crescent roll with the honey butter mixture. Ensure each roll is well coated.
6. Place the baking sheet in your preheated oven and bake for 10-12 minutes, or until the rolls are golden brown and puffed up. Keep an eye on them towards the end of the baking time.
7. Once the rolls are out of the oven, for an extra touch of sweetness and shine, you can brush them again with any remaining honey butter glaze while they are still warm.
8. Transfer the warm rolls to a serving basket or plate and serve immediately. They are best enjoyed fresh out of the oven!
- Prep Time: 5 minutes
- Cook Time: 10-12 minutes
- Category: side dish
- Method: baking
- Cuisine: american
Nutrition
- Serving Size: 1 roll
Keywords: honey butter rolls, crescent rolls, easy bread, fall recipes, quick side dish, sweet rolls, dinner rolls, comfort food, baking, homemade
What You’ll Love About This Quick And Easy Recipe
This recipe is a true winner for anyone looking to add a touch of homemade goodness to their table without all the fuss. It’s designed for busy families and beginner bakers, focusing on ease and speed without compromising on flavor. You’ll love how quickly these rolls come together, making them an ideal last-minute addition to a holiday meal or a simple weeknight dinner. They’re incredibly versatile, pairing beautifully with everything from roasted chicken to hearty stews, and their slightly sweet profile makes them a favorite with even the pickiest eaters. This recipe is all about bringing comfort and deliciousness to your home with minimal effort.
Everything You Need To Make This Recipe Without Stress
Gathering your ingredients for these honey butter rolls is straightforward. You likely have most of these pantry staples on hand already, which makes whipping up a batch even easier. We’re keeping things simple with store-bought crescent rolls as our base, ensuring a quick and foolproof result every time.
INGREDIENTS:

- 1 (8-ounce) can refrigerated crescent dinner rolls (such as Pillsbury)
- 1/4 cup unsalted butter, melted
- 2 tablespoons honey
- 1/4 teaspoon ground cinnamon (optional)
- Pinch of salt
For the crescent rolls, any brand of refrigerated crescent dinner rolls will work perfectly. If you prefer, you can use butter-flavored crescent rolls for an extra rich taste. When it comes to honey, feel free to use your favorite local variety; clover honey or wildflower honey both work wonderfully. The cinnamon is entirely optional but adds a lovely warm spice note that complements the honey and butter beautifully, especially for fall. If you don’t have unsalted butter, salted butter can be used, just omit the extra pinch of salt from the recipe.
Time Needed From Start To Finish
This recipe is designed for speed and convenience, making it perfect for those busy weeknights or when you need a quick side dish.
- Prep time: 5 minutes
- Cook time: 10-12 minutes
- Total time: 15-17 minutes
How To Make It Step By Step With Visual Cues

Making these honey butter rolls is incredibly simple, even for novice bakers. Follow these steps for perfect, golden-brown rolls every time.
- Preheat Your Oven and Prepare Your Baking Sheet: Start by preheating your oven to 375°F (190°C). Line a baking sheet with parchment paper to prevent sticking and make cleanup a breeze. This also helps the rolls brown evenly.
- Unroll and Separate the Crescent Dough: Carefully open the can of refrigerated crescent rolls. Unroll the dough onto your prepared baking sheet or a clean work surface. Separate the dough along the perforations into individual triangles.
- Roll Up the Crescent Triangles: Starting from the wider end of each triangle, gently roll the dough towards the pointed tip. Place the rolled crescent rolls onto your parchment-lined baking sheet, leaving a little space between each one.
- Prepare the Honey Butter Glaze: In a small microwave-safe bowl, combine the melted butter, honey, optional ground cinnamon, and a pinch of salt. Whisk everything together until it’s well combined and smooth.
- Brush the Rolls with Honey Butter: Using a pastry brush, generously brush the tops of each unbaked crescent roll with the honey butter mixture. Don’t be shy; this is where all that delicious flavor comes from!
- Bake Until Golden Brown: Place the baking sheet in your preheated oven and bake for 10-12 minutes, or until the rolls are golden brown and puffed up. Keep an eye on them towards the end of the baking time, as oven temperatures can vary.
- Apply a Second Layer of Honey Butter (Optional): Once the rolls are out of the oven, for an extra touch of sweetness and shine, you can brush them again with any remaining honey butter glaze while they are still warm.
- Serve Warm and Enjoy: Transfer the warm rolls to a serving basket or plate and serve immediately. They are best enjoyed fresh out of the oven!
Easy Variations And Serving Ideas That Fit Real Life
These honey butter rolls are fantastic on their own, but a few simple tweaks can make them even more special or fit different occasions. For a kid-friendly twist, you can sprinkle a little bit of granulated sugar mixed with cinnamon on top of the rolls before baking, creating a “cinnamon roll” effect that kids adore. You can also add a tiny dash of vanilla extract to the honey butter mixture for an extra layer of warmth and flavor.
When serving, these rolls are wonderful alongside traditional fall dinners like roasted turkey, ham, or a hearty pot roast. They also make a great addition to a brunch spread, pairing well with scrambled eggs and fresh fruit. For a party or buffet, arrange them attractively in a bread basket lined with a cloth napkin. You can even offer a small bowl of extra honey butter or a fruit jam for dipping. Consider serving them with a sprinkle of flaky sea salt on top for a lovely sweet and savory contrast.
Common Slip-Ups And How To Avoid Them
Even with a simple recipe like this, a few common mistakes can occur. Being aware of them will help you achieve perfect honey butter rolls every time.
One frequent issue is overbaking the rolls. Because crescent rolls are thin, they can go from perfectly golden to burnt very quickly. Always keep a close eye on them during the last few minutes of baking. If you notice them browning too fast, you can loosely tent them with aluminum foil.
Another common slip-up is not brushing enough honey butter on the rolls before baking. This glaze is key to their flavor and golden crust. Don’t skimp! Make sure each roll is generously coated. If your butter cools and solidifies a bit, simply pop it back in the microwave for a few seconds to re-melt.
Finally, using cold crescent dough straight from the fridge can sometimes lead to uneven baking. While not strictly necessary for this recipe, letting the dough sit out for 5-10 minutes before unrolling can make it more pliable and easier to work with, resulting in more uniform rolls.
How To Store It And Make It Ahead Without Ruining Texture
These honey butter rolls are definitely best enjoyed fresh and warm from the oven. However, if you have leftovers, they can be stored. Place any cooled leftover rolls in an airtight container or a resealable plastic bag at room temperature for up to 2 days. To reheat them, you can pop them in the microwave for 10-15 seconds, or for a crispier exterior, warm them in a preheated oven at 300°F (150°C) for about 5 minutes.
Making these ahead isn’t ideal for the best texture, as the fluffy, tender quality is best right after baking. However, you can prepare the honey butter mixture in advance and store it in the refrigerator for up to a week. When you’re ready to bake, simply melt the mixture and proceed with the recipe. This small step can save you a few minutes on a busy day.
Questions People Always Ask Before Making This Recipe
Can I use homemade crescent roll dough? While this recipe specifically uses store-bought refrigerated crescent rolls for ease and speed, you can certainly use your favorite homemade crescent roll dough if you prefer. Just be aware that the total time will increase significantly.
Can I make these rolls savory instead of sweet? Absolutely! You can omit the honey and cinnamon from the butter mixture. Instead, mix in garlic powder, dried herbs like oregano or thyme, and a pinch of black pepper for savory garlic herb rolls.
What if I don’t have a pastry brush? No problem! You can gently spoon the honey butter mixture over the rolls, or even use the back of a spoon to spread it evenly. A clean paper towel dipped in the mixture can also work in a pinch.
Can I freeze these honey butter rolls? It’s generally not recommended to freeze baked crescent rolls, as they can lose their delicate texture and become a bit dry upon thawing. They are best enjoyed fresh.
My rolls aren’t browning evenly, what should I do? Oven hot spots can cause uneven browning. Try rotating your baking sheet halfway through the baking time to ensure all the rolls get even exposure to the heat.
Can I add anything else to the rolls? For a richer flavor, you could sprinkle a tiny bit of brown sugar on the dough before rolling. For a nutty crunch, a few finely chopped pecans or walnuts could be added to the honey butter mixture.
A Friendly Wrap-Up And The Best Way To Serve It
These homemade honey butter rolls

FAQs
- Can I make these ahead? Yes—prep ahead, refrigerate, then serve when ready.
- How long do leftovers last? Store covered in the fridge for 3–4 days for best texture.
- Can I adjust sweetness? Yes—add more or less sweetener to taste.
- Can I change the fruit? Yes—swap strawberries for blueberries, raspberries, or sliced banana.